Cordova Media Capture
May 21, 2021 Cordova
Table of contents
1. Step 1 - Install the media capture plug-in
3. Step 3 - Add an event listener
This plug-in is used to access the device's capture options.
Step 1 - Install the media capture plug-in
To install this plug-in, we'll open the command prompt and run the following code -
C:\Users\username\Desktop\CordovaProject>cordova plugin add cordova-plugin-media-capture
Step 2 - Add a button
Since we want to show you how to capture audio, pictures, and videos, we'll .html buttons in index and video.
<button id = "audioCapture">AUDIO</button>
<button id = "imageCapture">IMAGE</button>
<button id = "videoCapture">VIDEO</button>
Step 3 - Add an event listener
The next step is to .js event listener within onDeviceReady in the index file.
document.getElementById("audioCapture").addEventListener("click", audioCapture);
document.getElementById("imageCapture").addEventListener("click", imageCapture);
document.getElementById("videoCapture").addEventListener("click", videoCapture);
Step 4A - Capture audio
The .js callback function in the index is audioCapture. /b10> To start the recorder, we'll use the captureAudio method. /b11>We use two options - limit will allow only one audio clip to be recorded per capture operation, and duration is the number of seconds of the sound clip.
function audioCapture() {

   var options = {
      limit: 1,
      duration: 10
   };

   navigator.device.capture.captureAudio(onSuccess, onError, options);

   function onSuccess(mediaFiles) {
      var i, path, len;

      for (i = 0, len = mediaFiles.length; i < len; i += 1) {
         path = mediaFiles[i].fullPath;
         console.log(mediaFiles);
      }
   }

   function onError(error) {
      navigator.notification.alert('Error code: ' + error.code, null, 'Capture Error');
   }

}
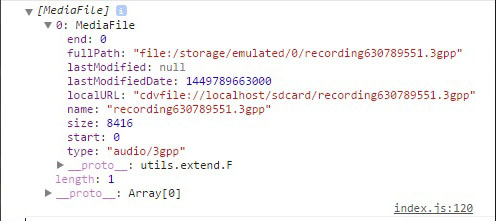
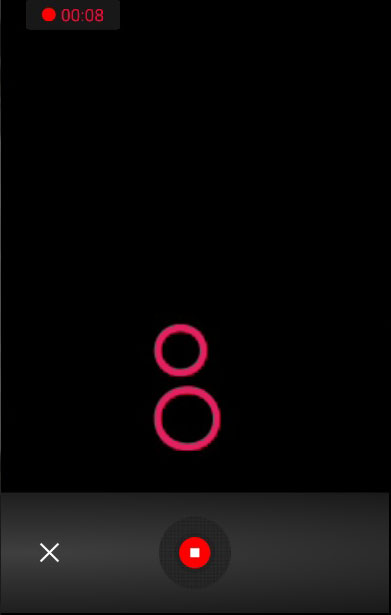
When the AUDIO button is pressed, the recorder opens.
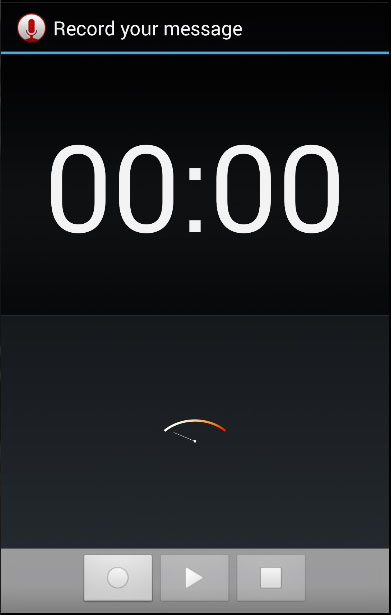
The console displays an array of returns of user-captured objects.
Step 4B - Capture image function
The ability to capture an image will be the same as the last one. /b10> The only difference is that we're using the captureImage method this time.
function imageCapture() {

   var options = {
      limit: 1
   };

   navigator.device.capture.captureImage(onSuccess, onError, options);

   function onSuccess(mediaFiles) {
      var i, path, len;

      for (i = 0, len = mediaFiles.length; i < len; i += 1) {
         path = mediaFiles[i].fullPath;
         console.log(mediaFiles);
      }
   }

   function onError(error) {
      navigator.notification.alert('Error code: ' + error.code, null, 'Capture Error');
   }

}
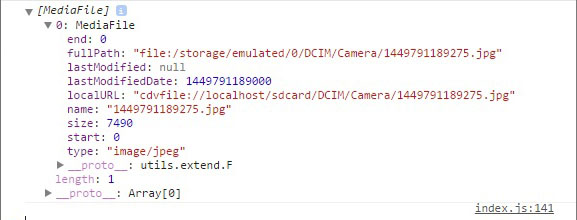
Now we can click the IMAGE button to start the camera.

When we take a picture, the console records the array using the image object.
Step 4C - Capture video feature
Let's repeat the same concept to capture the video. /b10> We'll use the videoCapture method.
function videoCapture() {

   var options = {
      limit: 1,
      duration: 10
   };

   navigator.device.capture.captureVideo(onSuccess, onError, options);

   function onSuccess(mediaFiles) {
      var i, path, len;

      for (i = 0, len = mediaFiles.length; i < len; i += 1) {
         path = mediaFiles[i].fullPath;
         console.log(mediaFiles);
      }
   }

   function onError(error) {
      navigator.notification.alert('Error code: ' + error.code, null, 'Capture Error');
   }

}
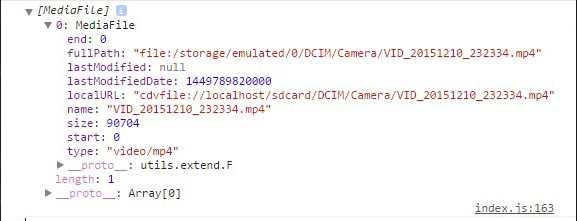
If you press the VIDEO button, the camera opens and we can record the video.
After you save the video, the console returns the array again. /b10> This time with the video object inside.