17.2 Create a RAID disk array
May 24, 2021 That's what Linux should learn
Since iSCSI storage technology is used to provide shared storage resources to remote users, the stability and availability of the server used to store the resources must first be guaranteed, otherwise, if there is a failure in the process of use, maintenance is more complex and difficult than the local hard disk device. I t is therefore recommended that readers deploy RAID disk array groups to ensure the security of their data, as explained in Chapter 7 of this book. H ere's an example of configuring a RAID 5 disk array group. Given that Chapter 7 has covered RAID disk array technology and configuration methods in great detail, this section does not repeat the meaning and purpose of the parameters, and forgotten readers can turn back and look at it.
Start by adding four new hard drives to the virtual machine to create a RAID 5 disk array and backup disk, as shown in Figure 17-2.
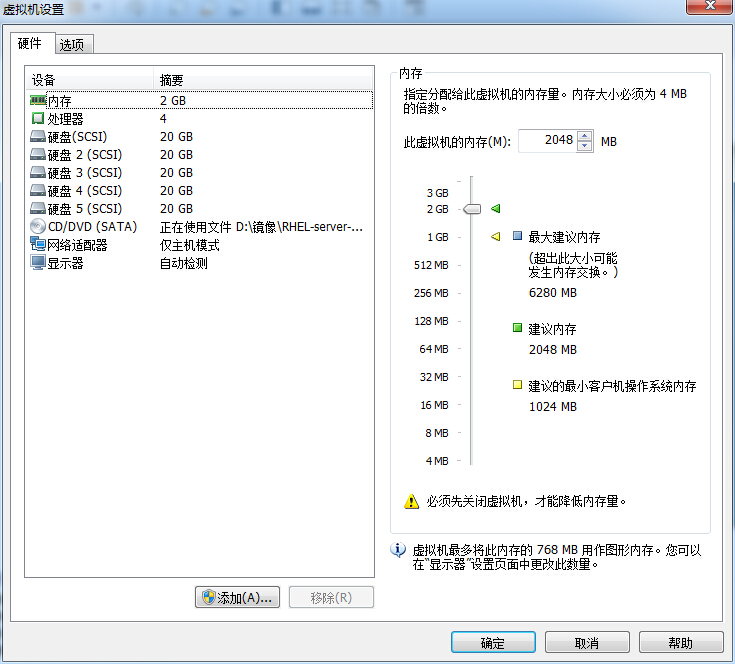
Figure 17-2 adds four new hard drives to create a RAID 5-level disk array
Start the virtual machine system and use the mdadm command to create a RAID disk array. W here, the -Cv parameter is the level of the RAID disk array, /dev/md0 is the name of the resulting array group, the -n 3 parameter is the number of hard disks required to create the RAID 5 disk array, the -l 5 parameter is the level of the RAID disk array, and the -x 1 parameter is the number of backup disks of the disk array. W rite the names of the hard drives you use one by one after the command. In addition, you can use the wildcards explained in Chapter 3 to specify the name of the hard disk device, which interested readers can try.
[root@linuxprobe ~]# mdadm -Cv /dev/md0 -n 3 -l 5 -x 1 /dev/sdb /dev/sdc /dev/sdd /dev/sde mdadm: layout defaults to left-symmetric mdadm: layout defaults to left-symmetric mdadm: chunk size defaults to 512K mdadm: size set to 20954624K mdadm: Defaulting to version 1.2 metadata mdadm: array /dev/md0 started. A fter the above command is successfully executed, a new device named /dev/md0 is obtained, which is a RAID Level 5 disk array, and a backup disk to protect the hard disk data. Y ou can use the mdadm -D command to view the details of your device. I n addition, since it is highly likely that there will be a change in device identification order when using remote devices, it is possible to mount the wrong storage device the next time you write device names such as /dev/sdb, /dev/sdc directly in the fstab mount profile. T he UUID value, on the other, is a unique identifier for the device and can be used to accurately regionally sub-region local or remote devices. So we can record this value and fill it out in the mount profile in a moment.
[root@linuxprobe ~]# mdadm -D /dev/md0 /dev/md0: Version : 1.2 Creation Time : Thu Sep 24 21:59:57 2017 Raid Level : raid5 Array Size : 41909248 (39.97 GiB 42.92 GB) Used Dev Size : 20954624 (19.98 GiB 21.46 GB) Raid Devices : 3 Total Devices : 4 Persistence : Superblock is persistent Update Time : Thu Sep 24 22:02:23 2017 State : clean Active Devices : 3 Working Devices : 4 Failed Devices : 0 Spare D evices : 1 Layout : left-symmetric Chunk Size : 512K Name : linuxprobe.com:0 ( local to host linuxprobe.com) UUID : 3370f643:c10efd6a:44e91f2a:20c71f3e Events : 26 Number Major Minor RaidDevice State 0 8 16 0 active sync /dev/sdb 1 8 32 1 active sync /dev/sdc 4 8 48 2 active sync /dev/sdd 3 8 64 - spare /dev/sde