7.1.1 Deploy disk arrays
May 23, 2021 That's what Linux should learn
With the hard drive device management foundation from the last chapter in place, it's easy to deploy RAID and LVM again. First, you need to add four hard disk devices to the virtual machine to make a RAID 10 disk array, as shown in Figure 7-5.
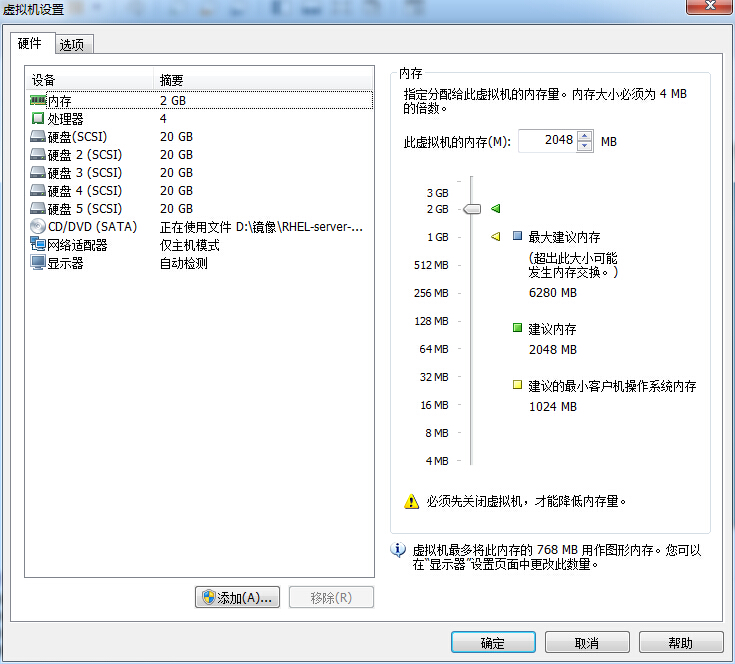
Figure 7-5 adds 4 hard disk devices for virtual machine system simulation
These hard disk devices are simulated and do not need to buy a few real physical hard drives to plug into the computer. It is important to remember to add hard disk devices to the virtual machine after you shut down the system, otherwise the added hard disk devices may not be recognized by the virtual machine system due to differences in the computer architecture.
The mdadm command is used to manage the software RAID hard drive array in Linux systems in the format of "mdadm (mode) and RAID device name .
Currently, servers used in production environments are generally equipped with RAID array cards, and although servers are getting cheaper and cheaper, we don't have to buy a single server for an experiment, but we can learn to create and manage software RAID disk arrays in Linux systems with mdadm commands, and the theoretical knowledge involved is exactly the same as in a production environment. The common parameters of the mdadm command and their function are shown in Table 7-1.
Common parameters and effects of the Table 7-1 mdadm command
Parameter Act -a Detection Device Name -n Specifies number of devices -l Specifies RAID level -C Creation -v Display Process -f Simulated Device Corruption -r Remove Device -Q View Summary Information -D View Details - S Stop RAID Disk Array Next, create RAID 10 with the mdadm command with the name "/dev/md0".
As noted in Chapter 6, udev is a service in the Linux system kernel that names hardware, and its naming rules are simple. W e can guess through naming rules that the name of the second SCSI storage device will be /dev/sdb, and so on. U sing a hard disk device to deploy a RAID disk array is a lot like a class of several students, but you can't always name a class /dev/sdbcde. A lthough it is visible at a glance what elements it is made up of, it is not conducive to our memory and reading. What's more, what if we use 10, 50, 100 hard drives to deploy RAID disk arrays?
At this point, you need to use the parameters in mdadm. Where the -C parameter represents the creation of a RAID array card, the -v parameter shows the process of creating, and then appends a device name/dev/md0, so that /dev/md0 is the name of the created RAID disk array; The yes parameter represents the automatic creation of a device file, the -n 4 parameter represents the deployment of this RAID disk array using four hard drives, the -l 10 parameter represents the RAID 10 scheme, and finally the name of the four hard disk devices is done.
[root@linuxprobe ~]# mdadm -Cv /dev/md0 -a yes -n 4 -l 10 /dev/sdb /dev/sdc /dev/sdd /dev/sde mdadm: layout defaults to n2 mdadm: layout defaults to n2 mdadm: chunk size defaults to 512K mdadm: size set to 20954624K mdadm: Defaulting to version 1.2 metadata mdadm: array /dev/md0 started. Second, format the fabricated RAID disk array into an EXT4 format.
[root@linuxprobe ~]# mkfs.ext4 /dev/md0 mke2fs 1.42.9 (28-Dec-2013) Filesystem label= OS type: Linux Block size=4096 (log=2) Fragment size=4096 (log=2) Stride=128 blocks, Stripe width=256 blocks 2621440 inodes, 10477312 blocks 523865 blocks (5.00%) reserved for the super user First data block = 0 Maximum filesystem blocks = 2157969408 320 block groups 32768 blocks per group, 32768 fragments per group 8192 inodes per group Superblock backups stored on blocks: 32768, 98304, 163840, 229376, 294912, 819200, 884736, 1605632, 2654208, 4096000, 7962624 Allocating group tables: done Writing inode tables: done Creating journal (32768 blocks): done Writing superblocks and filesystem accounting information: doneagain,create amount pointand thenmountthe hard drivedeviceoperation. After the mount is successful, you can see the available space is 40GB.
[root @ Linuxprobe ~ # mkdir / raid [root @ Linuxprobe ~] # mount / dev / md0 / raid [root @ Linuxprobe ~] # DF -H FileSystem size used avail us% mounted on / dev / mapper / rhel-root18g 3.0g 15g 17% / devtmpfs 905M 0 905M 0% / DEV TMPFS 914M 84K 914M 1% / dev / shm TMPFS 914M 8.9M 905M 1% / Run TMPFS 914M 0 914M 0% / SYS / FS / CGROUP / DEV / SR03.5g 3.5g 0 100% / Media / CDROM / DEV / SDA1 497M 119M 379M 24% / Boot / DEV / MD0 40G 49M 38G 1% / RAID Finally, check the details of the / dev / md0 disk array, and put the mountThe information is written to the configuration file to make it permanently taken.
[root@linuxprobe ~]# mdadm -D /dev/md0 /dev/md0: Version : 1.2 Creation Time : Tue May 5 07:43:26 2017 Raid Level : raid10 Array Size : 41909248 (39.97 GiB 42.92 GB) Used Dev Size : 20954624 (19.98 GiB 21.46 GB) Raid Devices : 4 Total Devices : 4 Persistence : Superblock is persistent Update Time : Tue May 5 07:46:59 2017 State : clean Active Devices : 4 Working Devices : 4 Failed Devices : 0 Spare Devices : 0 Layout : near=2 Chunk Size : 512K Name : localhost.localdomain:0 (local to host localhost.localdomain) UUID : cc9a87d4:1e89e175:5383e1e8:a78ec62c Events : 17 Number Major Minor RaidDevice State 0 8 16 0 active sync /dev/sdb 1 8 32 1 active sync /dev/sdc 2 8 48 2 active sync /dev/sdd 3 8 64 3 active sync /dev/sde [root@linuxprobe ~]# echo "/dev/md0 /RAID ext4 defaults 0 0" >> /etc/fstab