1.2 Install the configuration VM virtual machine
May 23, 2021 That's what Linux should learn
VMware WorkStation Virtual Machine Software is a desktop virtual software that enables users to run multiple different operating systems simultaneously on a single host. E ach virtual operating system has a separate hard disk partition and data configuration, and multiple virtual machines can be built into a local area network. Linux system requirements for hardware devices are very low, we do not need to buy another computer, the course experiment with virtual machines can be completely done, and VM also supports real-time snapshots, virtual networks, drag files and PXE (Preboot Execute Environment, pre-boot execution environment) network installation and other convenient and practical functions.
Readers may be asked, "Why use a paid virtual machine product to set up an experimental environment instead of some free open source virtual machine software?" " As the foreword to this book says, the reason we learn about Linux systems is not because it's free, it's not because it's open source, but because Linux systems are really useful, and that's the same with VMware Workstation. Although the Internet can always find a free serial number, but Miss Liu Wei really do not recommend the use of pirated software, because since you have in front of this "Linux should learn" can be downloaded from the Internet free of charge (pdf electronic download address https://www.linuxprobe.com/book), please pay more money to buy books to open source organizations and really heart to do products of the company, may the world's better footsteps faster.
Step 1: Run the downloaded Vmware Workstation virtual machine package and you'll see the initial interface of the hyperviser installation wizard as shown in Figure 1-1.
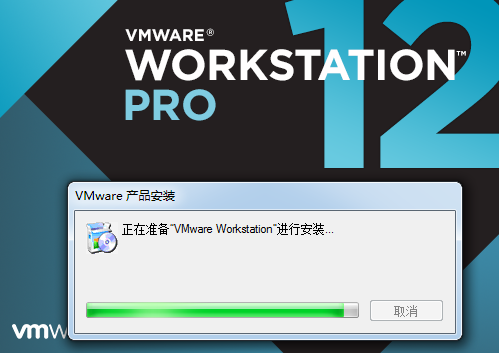
Figure 1-1 The initial interface of the installation wizard for the virtual machine software
Step 2: Click the Next button in the installation wizard interface of the virtual machine software, as shown in Figure 1-2.
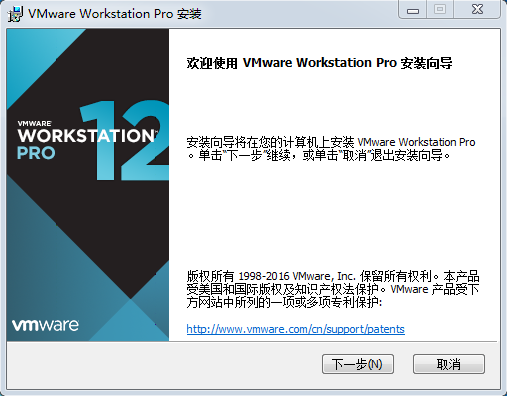
Figure 1-2 The installation wizard for the virtual machine
Step 3: Select the "I accept the terms of the license agreement" check box in the end-user license agreement interface, and then click the Next button, as shown in Figure 1-3.
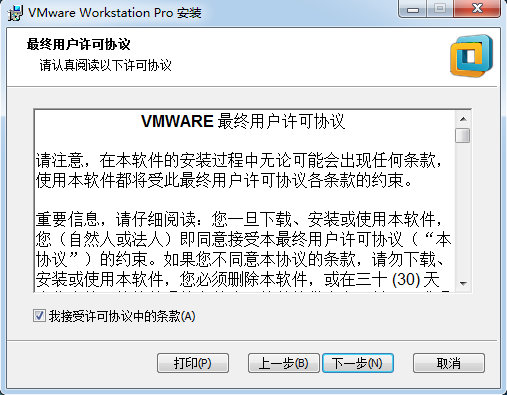
Figure 1-3 Accept the license terms
Step 4: Select where the virtual machine software is installed (the default location is available), select the Enhanced Keyboard Driver check box, and click the Next button, as shown in Figure 1-4.

Figure 1-4 Select the installation path for the virtual machine software
Step 5: Select the Check Product Update at Startup and Help Perfect VMware Workstation Pro check boxes as appropriate, and then click the Next button, as shown in Figures 1-5.
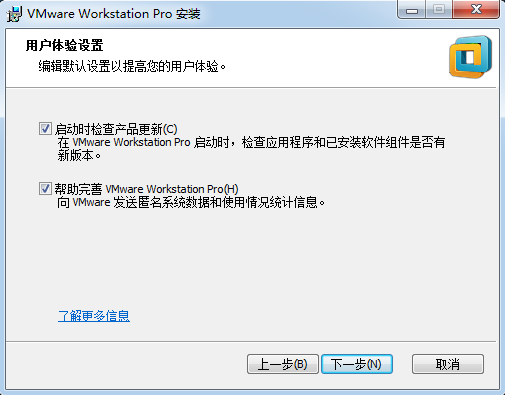
Figure 1-5 User experience settings for virtual machines
Step 6: Select the Desktop and Start Menu Program Folder check boxes, and then click the Next button, as shown in Figures 1-6.
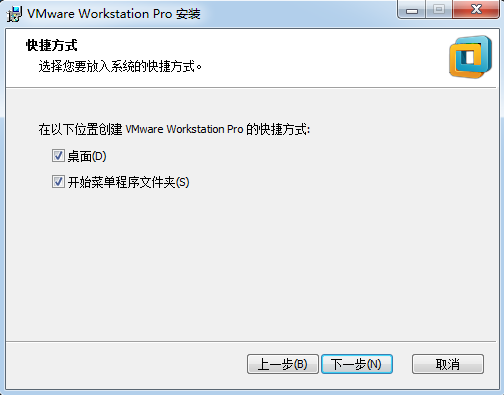
The location where the shortcut to the virtual machine icon was generated in Figure 1-6
Step 7: When everything is ready, click the Install button, as shown in Figures 1-7.
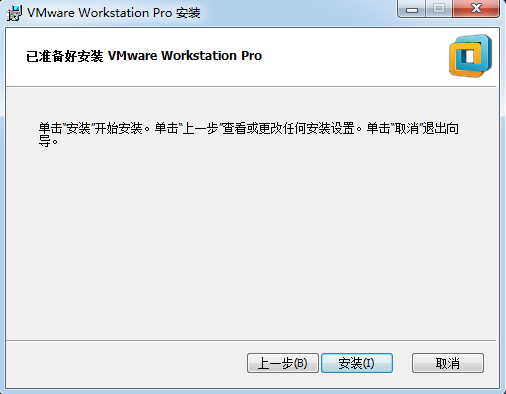
Figure 1-7 Is ready to start installing virtual machines
Step 8: Into the installation process, all you have to do is patiently wait for the installation of the virtual machine software to end, as shown in Figure 1-8.
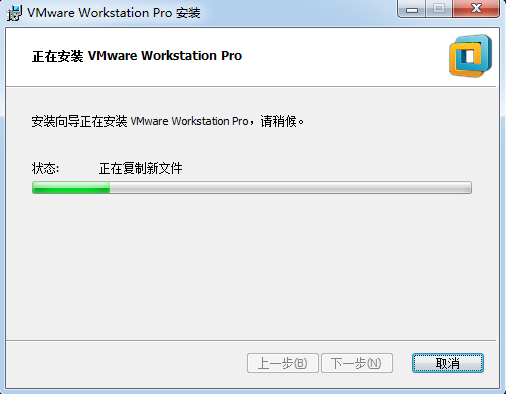
Figure 1-8 waits for the virtual machine software installation to complete
Step 9: After about 5 to 10 minutes, the virtual machine software will be installed and then click the Done button again, as shown in Figure 1-9.
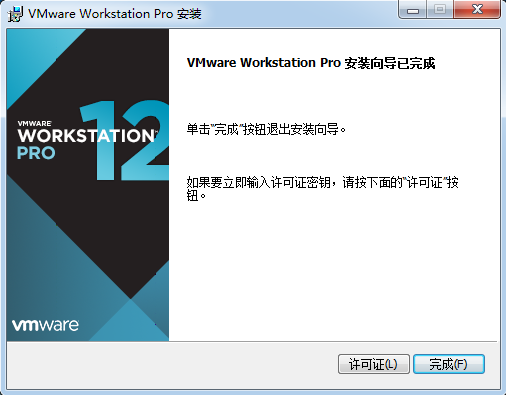
Figure 1-9 Virtual Machine Software Installation Wizard completes the interface
Step 10: Double-click the virtual machine shortcut icon generated on your desktop, enter your license key in the interface shown in Figure 1-10 that pops up, or click the Continue button after you select a trial (select the "I want to try VMware Worksatation 12 30 days" check box here).
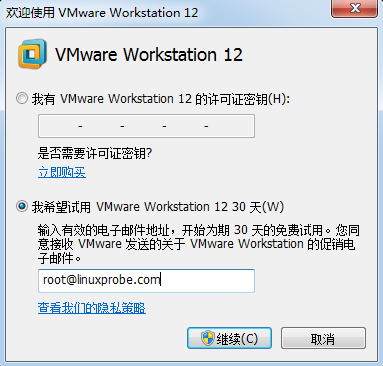
Figure 1-10 Virtual Machine Software License Verification Interface
Step 11: After the "Welcome to VMware Workstation 12" interface, click the Done button, as shown in Figures 1-11.
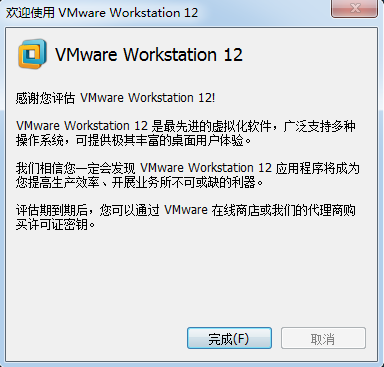
Figure 1-11 Thanks for the virtual machine software interface
Step 12: Double-click the shortcut again on the desktop, and you'll see the management interface for the virtual machine software, as shown in Figure 1-12.
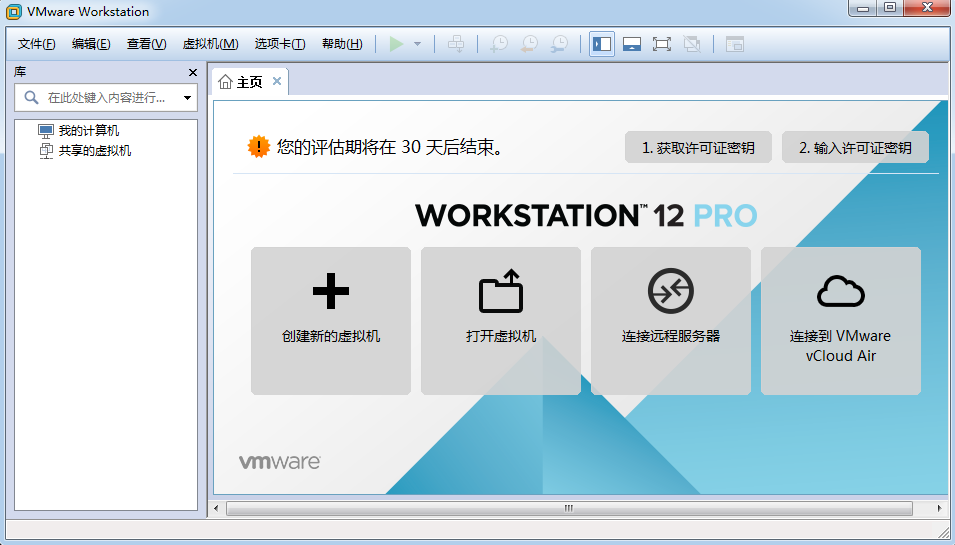
Figure 1-12 Management interface for virtual machine software
Note that LINUX systems cannot be installed immediately after the virtual machine is installed, because the hardware standards for the operating system are also set within the virtual machine. O nly by simulating the hardware resources of the system in the virtual machine can we formally enter the LINUX system installation journey. The power of VM virtual machines is that they can not only extract real physical device resources, but also simulate resources such as multi-network cards or hard drives, so they can fully meet the needs of the learning environment, again, really do not have to buy a new computer.
Step 1: In Figure 1-12, click the Create a new virtual machine option, select the Typical option in the new virtual machine wizard interface that pops up, and then click the Next button, as shown in Figure 1-13.
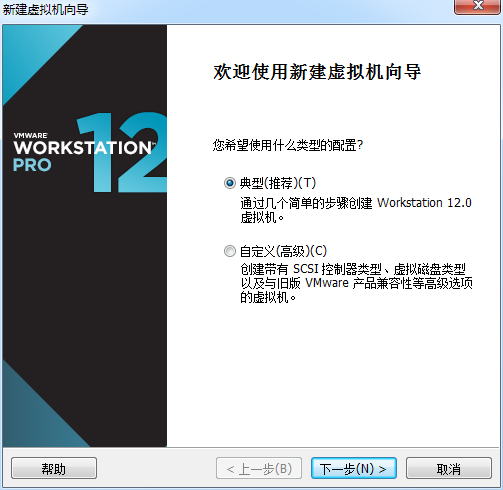
Figure 1-13 New Virtual Machine Wizard
Step 2: Select the Install operating system later option button, and then click the Next button, as shown in Figure 1-14.
In recent years in the course of lectures really met a lot of obedient students, clearly asked to choose the "install the operating system later" option button, the result must choose the "installer disc mirror file" select the screen button, and downloaded THEL 7 system mirror selected. As a result, the virtual machine deploys the most streamlined Linux system for you through the default installation policy, and you are no longer asked about the options for installation settings.
If you are buying books to learn by yourself, please do not underestimate the difficulty of follow-up experiments and Linux knowledge system, not to overestimate their self-study and error-making ability, otherwise you may lose interest in learning due to the system's long-term error reporting, not worth the loss. For students who are allowed by economic conditions and willing to gain in-depth knowledge of Linux systems and obtain Red Hat RHCE, you can take a look at the training presentation delivered by Mr. Liu Wei: https://www.linuxprobe.com/training.
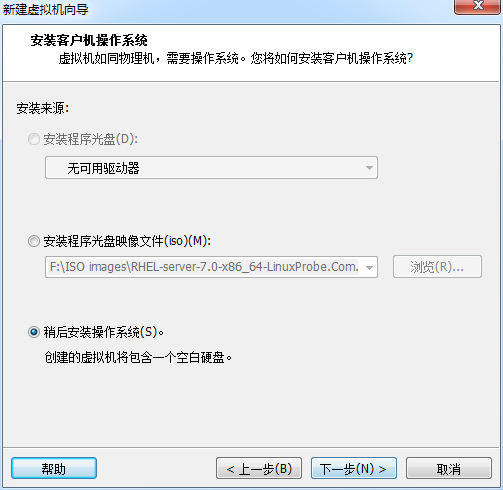
Figure 1-14 Select the source of the virtual machine installation
Step 3: In Figure 1-15, select the type of client operating system as Linux, version Red Hat Enterprise Linux 7 64-bit, and then click the Next button.
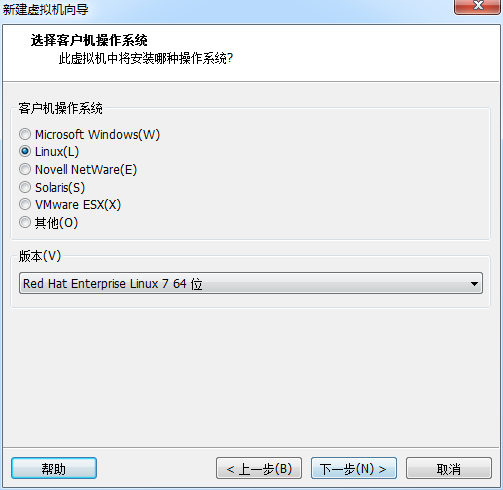
Figure 1-15 Select the version of the operating system
Step 4: Fill in the Virtual Machine Name field and click the Next button after selecting the installation location, as shown in Figures 1-16.
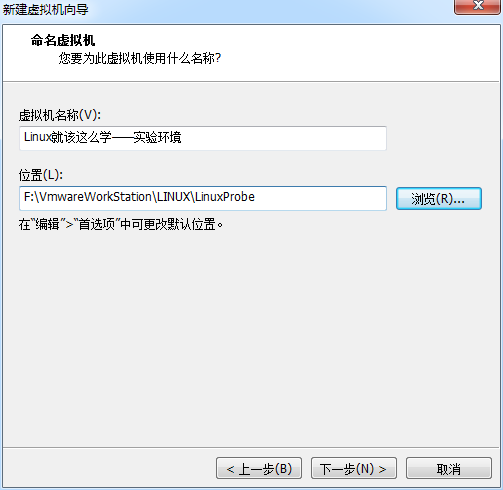
Figure 1-16 Names the virtual machine and sets the installation path
Step 5: Set the Maximum Disk Size of the virtual machine system to 20.0GB (by default), and then click the Next button, as shown in Figures 1-17.
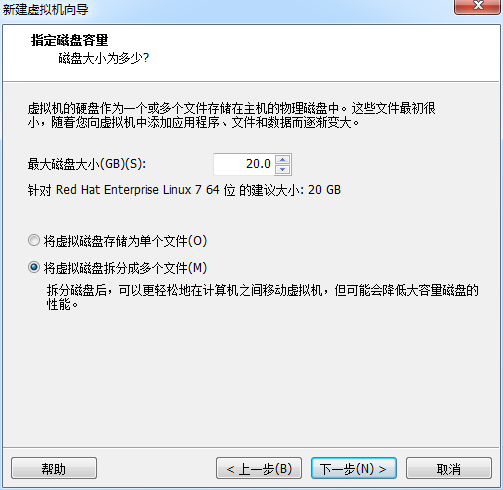
Figure 1-17 The maximum disk size of the virtual machine
Step 6: Click the Custom Hardware button, as shown in Figure 1-18.

Figure 1-18 Configuration interface for virtual machines
Step 7: In the interface shown in Figure 1-19, it is recommended that the amount of virtual machine system memory available be set to 2GB, with a minimum of 1GB. If your real device has strong performance, it is also recommended to set the amount of memory to 2GB, because setting the memory of the virtual machine system too large is not necessary.
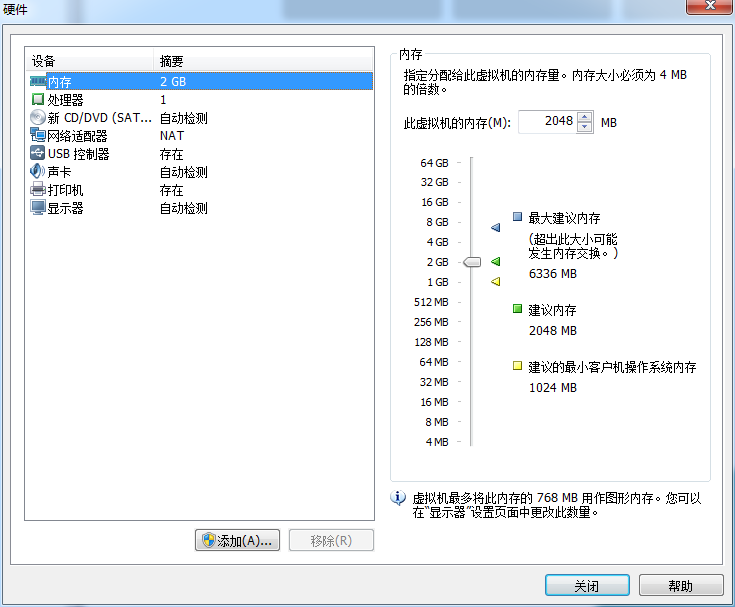
Figure 1-19 sets the amount of memory in the virtual machine
Step 8: Set the number of CPU processors and the number of cores per processor based on the performance of your real machine, and turn on virtualization, as shown in Figures 1-20.
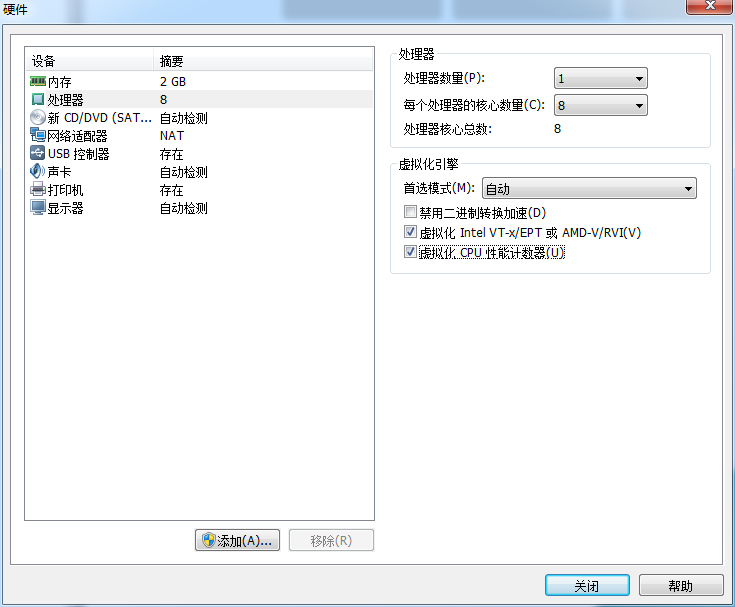
Figure 1-20 sets the processor parameters of the virtual machine
Step 9: The optical drive device should select the downloaded RHEL system image file in "Using ISO Mirror Files" at this time, as shown in Figure 1-21.
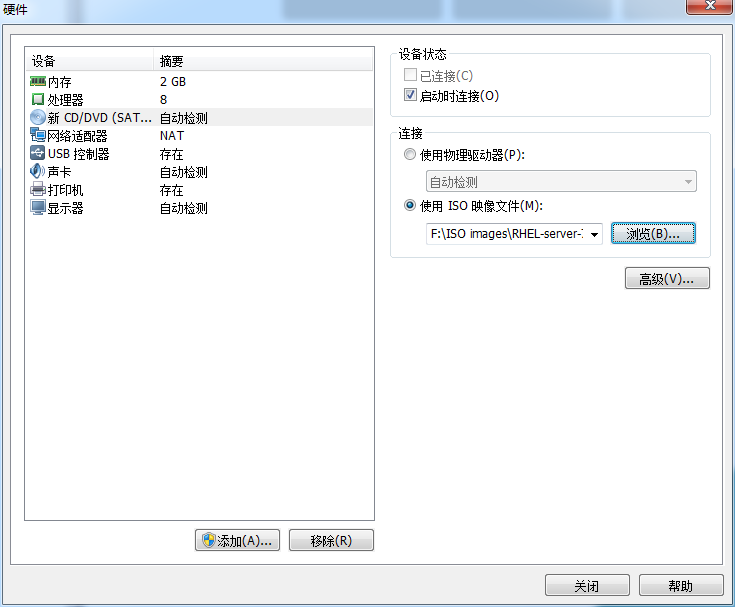
Figure 1-21 sets up the optical drive device for the virtual machine
Step 10: VM virtual machine software provides users with three optional network modes, bridding mode, NAT mode, and host-only mode. Select Host Only Mode, as shown in Figure 1-22.
- Bridge mode: This is equivalent to building a bridge between the physical host and the virtual machine network card so that the external network can be accessed through the physical host's network card.
- NAT mode: Let the network service of VM virtual machine play the role of router, so that the host simulated by virtual machine software can access the external network through the physical host, in the real machine NAT virtual machine network card corresponding to the physical network card is VMnet8.
- Host mode only: only let the host within the virtual machine communicate with the physical host, can not access the external network, in the real machine only host mode analog network card corresponding to the physical network card is VMnet1.
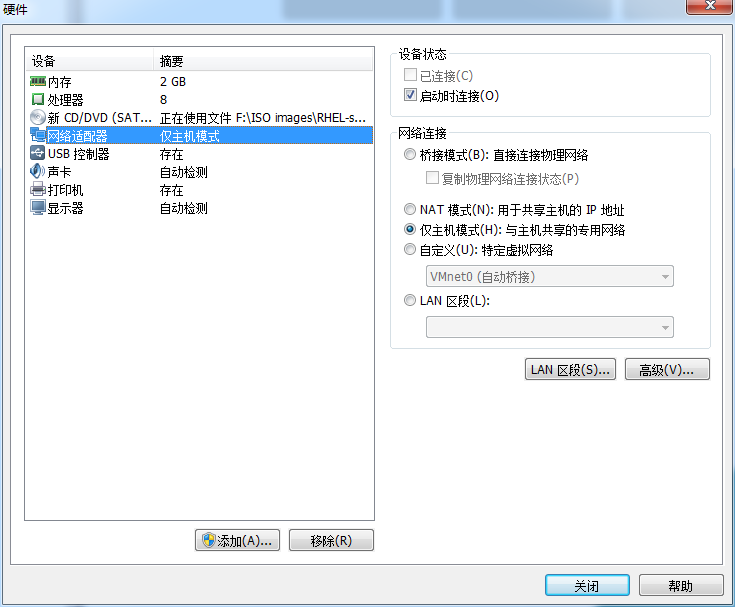
Figure 1-22 Sets up the network adapter for the virtual machine
Step 11: Remove all unwanted devices such as USB controllers, sound cards, printer devices, etc. R emoving the sound card avoids making a prompt sound after an input error, ensuring that your thoughts are not disturbed in future experiments. Then click the Close button, as shown in Figure 1-23.
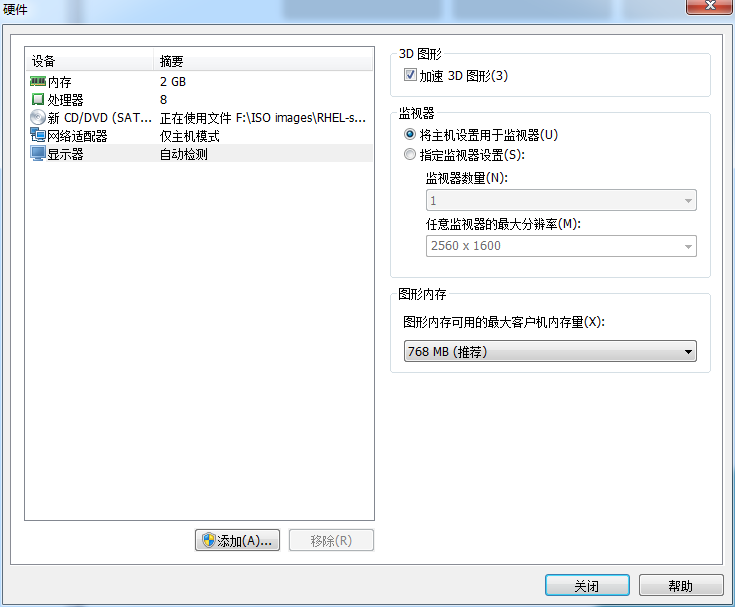
Figure 1-23 Final virtual machine configuration
Step 12: After returning to the virtual machine configuration wizard interface, click the Done button, as shown in Figure 1-24. The installation and configuration of the virtual machine was successfully completed.
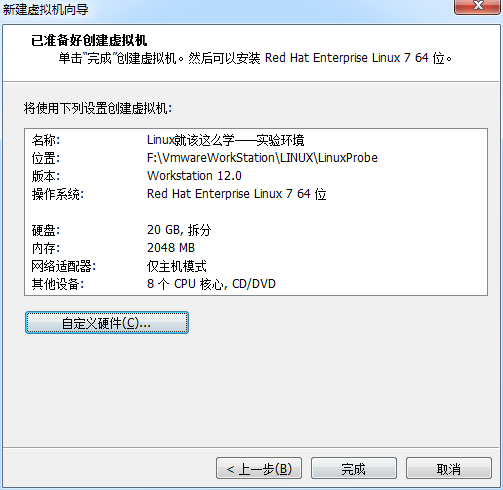
Figure 1-24 ends the virtual machine configuration wizard
Step 13: When you see the interface shown in Figure 1-25, your virtual machine has been configured successfully. N ext, get ready for your Linux system journey. C hapter 1 Deploy a virtual environment to install a linux system. Chapter 1 Deploy a virtual environment to install a linux system.
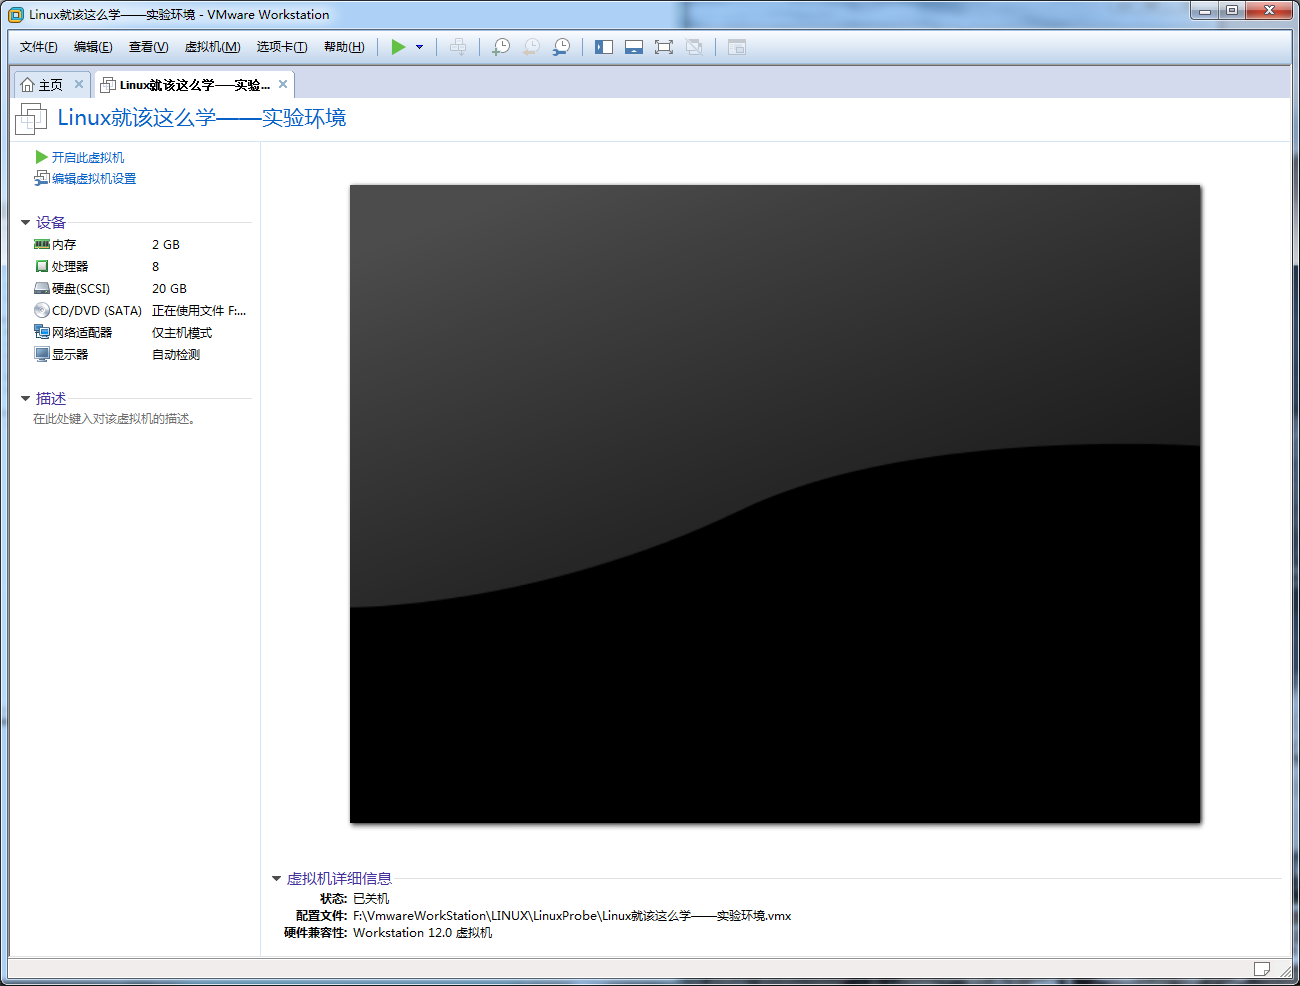
Figure 1-25 A successful interface for virtual machine configuration