19.3 Automatic deployment of clients
May 24, 2021 That's what Linux should learn
Once you have successfully deployed the various related service programs as explained above, you are ready to install the system using PXE and Kickstart unattended. W hen using the following steps to establish a virtual host, it is important to set the client's network card mode to be consistent with the service side of the "host-only mode", otherwise the two devices can not communicate, let alone automatically install the system. The remaining hardware configuration options are not mandatory, you can refer to the configuration options here to set.
Step 1: Open the New Virtual Machine Wizard, select the Typical (Recommended) configuration type, and click the Next button, as shown in Figure 19-5.
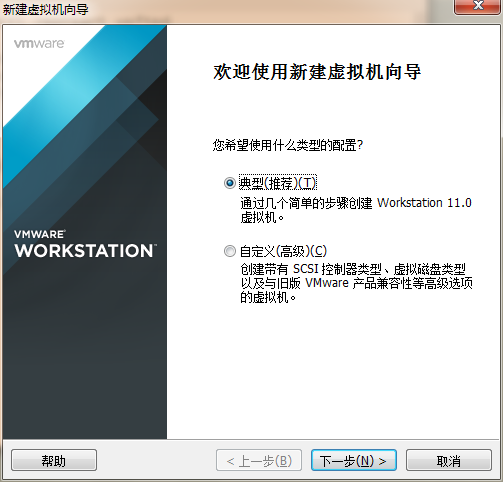
Figure 19-5 selects the configuration type of the virtual machine
Step 2: Set the source of installation of the virtual machine operating system to Install the operating system later. T he goal is to allow virtual machines to actually get a system installation image from the network, while also preventing VMware Workstation virtual machine software from installing the system itself in its own way. Click the Next button, as shown in Figure 19-6.
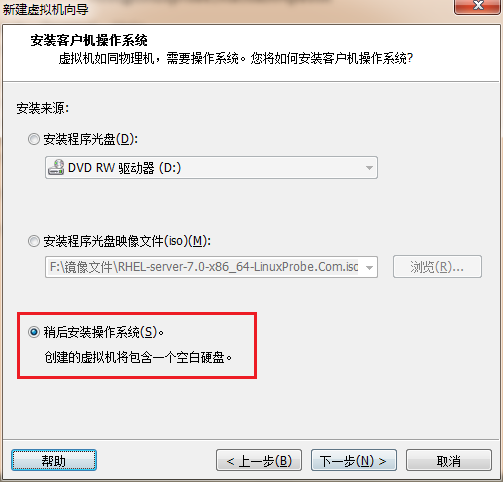
Figure 19-6 sets the installation source for the virtual machine operating system
Step 3: Set Client OS to Red Hat Enterprise Linux 7 64-bit, and then click the Next button, as shown in Figure 19-7.
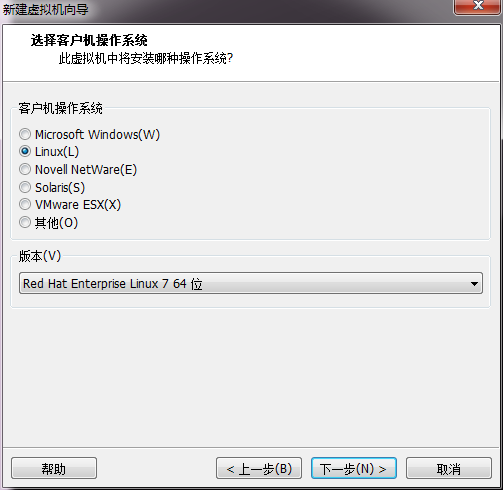
Figure 19-7 selects the operating system of the client host
Step 4: Name the virtual machine and set the installation location. Y ou can define the name of the virtual machine yourself, and the installation location tries to select a partition with as much disk space as possible. Then click the Next button, as shown in Figure 19-8.
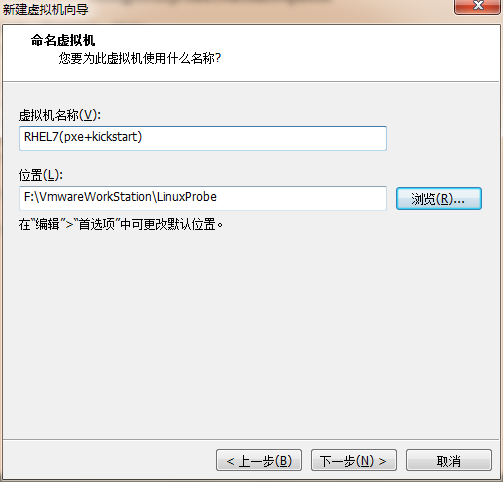
Figure 19-8 names the virtual machine and sets where it is installed
Step 5: Specify the disk capacity. S etting "maximum disk size" to 20GB here refers to the maximum limit that a virtual machine system can use, rather than being immediately full, so it doesn't matter if it's set slightly larger. Then click the Next button, as shown in Figure 19-9.
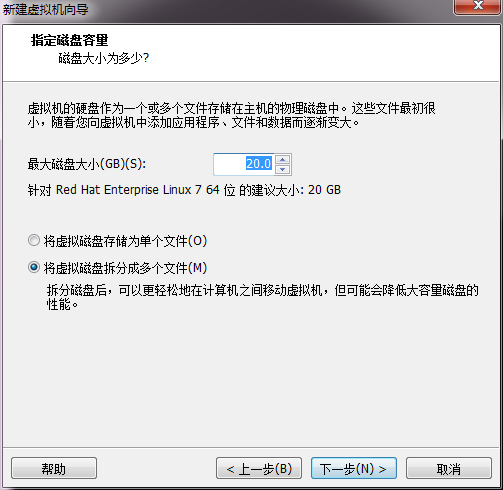
Figure 19-9 specifies disk capacity as 20GB
Step 6: After you end the New Hyperviser, don't worry about opening the virtual machine system. You also need to click the Custom Hardware button in Figure 19-10, set the Network Adapter device to Host Only Mode (this step is important) in the interface shown in Figure 19-11 that pops up, and then click the OK button.
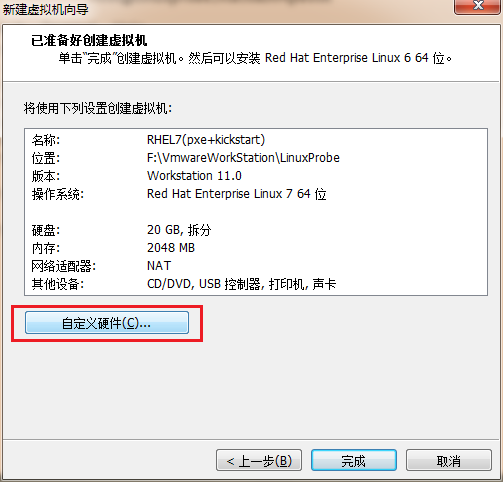
Figure 19-10 Click the Custom Hardware button of the virtual machine

Figure 19-11 sets the virtual machine network adapter device to host-only mode
Now we're ready for both PXE and Kickstart unattended installation systems and virtual hosts. I n a production environment, you only need to set up a properly configured server rack, connect the network cable between the server and the client host, and then start the client host. Next, as in Figures 19-12 and 19-13, the transfer of the optical disc image files and their automatic installation will begin - without any human intervention at all, and will not require simple initialization by the operations personnel until the installation is complete.
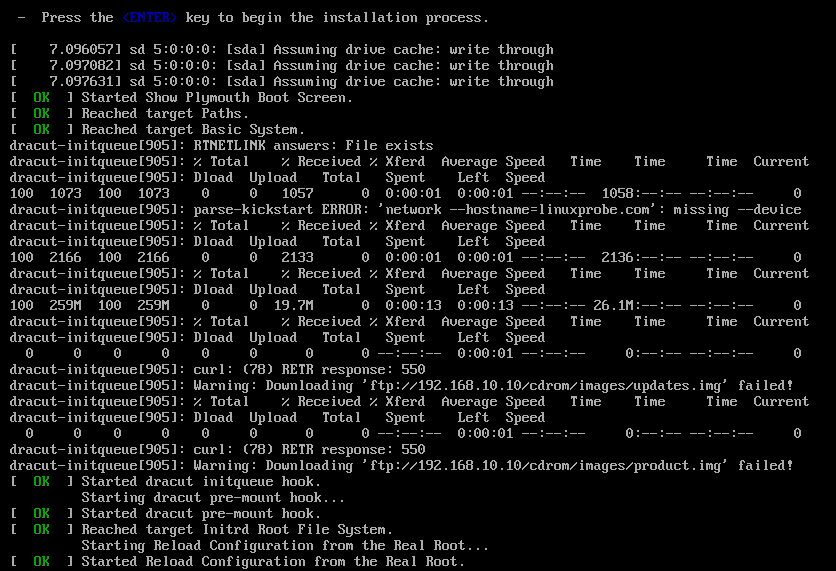
Figure 19-12 automatically transfers the disc mirror file and installs the system
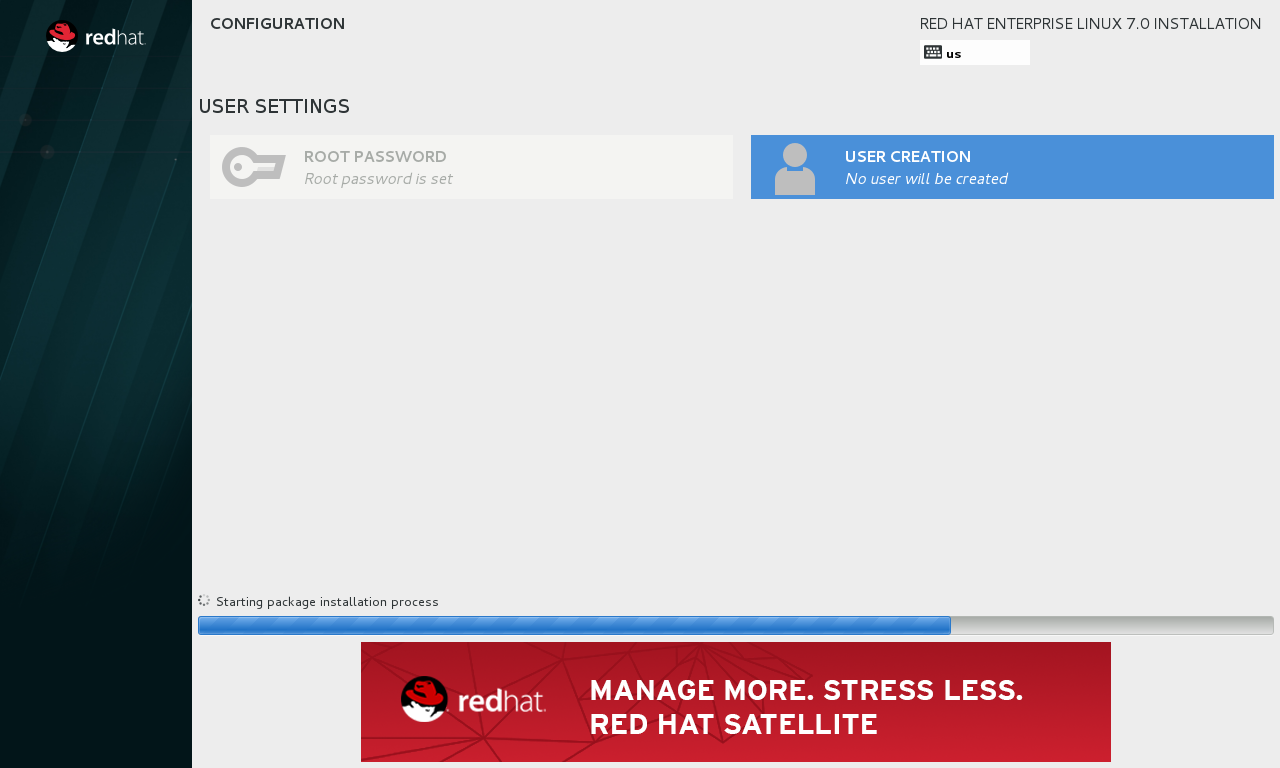
Figure 19-13 Automatic installation of the system without human intervention
Thus, when there are hundreds of servers in the production environment that need to install the system in bulk, the convenience of using unattended installation systems is self-evident.
Have a problem? Ask bold questions!
Because readers have different hardware or operation errors may lead to experimental configuration errors, please be patient and take a closer look at the operation steps, do not be discouraged
Linux technical exchange please add Group A: 560843 (full), Group B: 340829 (recommended), Group C: 463590 (recommended), click here to view the national group.
This group features: through password verification to ensure that each group member is "Linux should learn" readers, more targeted, from time to time free to receive customized gifts.