WordPress profile
May 15, 2021 WordPress
In this chapter, we'll learn how to create a profile in WordPress.
Here are the steps for your profile
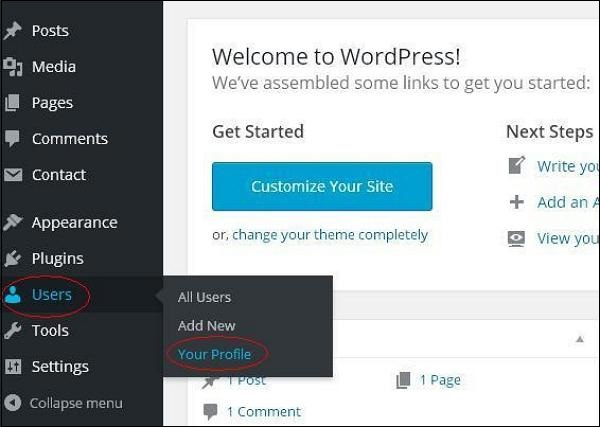
Step (1) - Click Users in the navigation bar on the left → Your Profile.
Step (2) - When you click Your profile, the following screen is displayed.
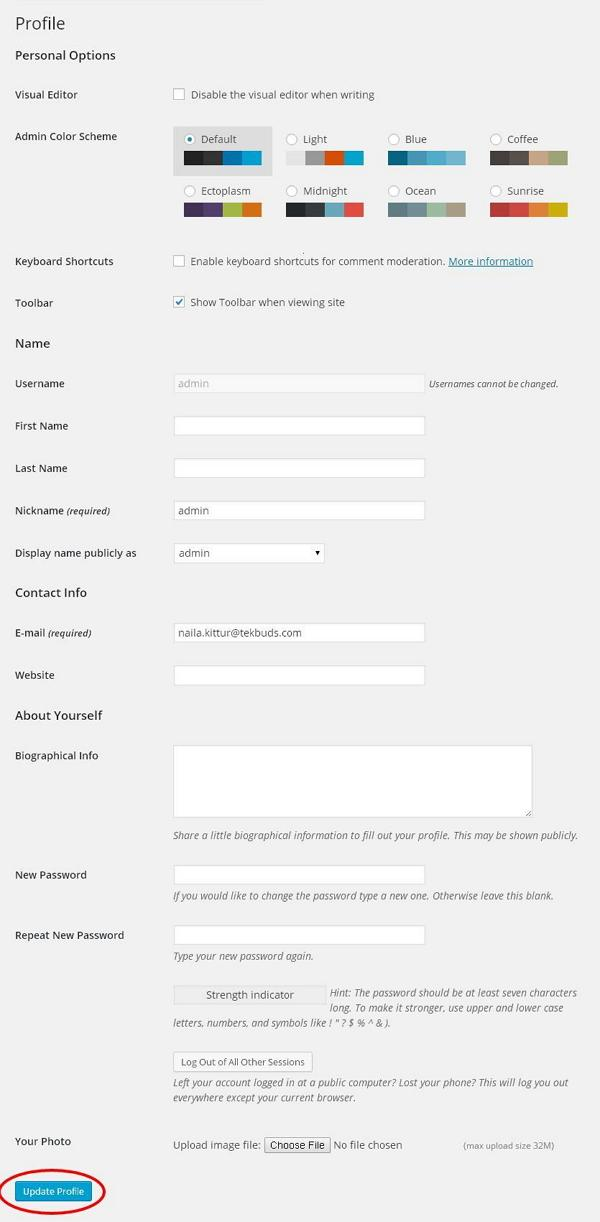
The following personal options appear on the screen -
-
Visual Editor - If you want to create, format, or edit your own posts, you can enable this setting when you add posts/pages to your site. /b10> If you disable this setting, you will not be able to use this option.
-
Admin color scheme - You can change the color of the WordPress website by selecting one of the following options.
-
Keyboard shortcuts - If you're working too fast and need keyboard shortcuts, you can check this box.
-
Toolbar - If you check this box, you can view it when you use WordPress.
Name
-
User name - Enter your userna name.
-
First/Last Name - Enter your first and last name.
-
Nickname - Enter a nickname, if any.
-
Public Display Name - Check this box if you want your name to be publicly displayed.
Contact information
-
E-mail - Enter a valid e-mail address.
-
Website - Enter your URL.
about yourself
-
Biographical information - Some details about you.
-
New password - Enter the password of your choice.
-
Repeat password - Re-enter the verification password. /b10> The password must contain 7 characters.
-
Your photos - You can upload your own pictures from your computer. /b10> This will be your profile picture.
Step (3) - After updating all changes, click Update profile.