Cordova file system
May 21, 2021 Cordova
Table of contents
1. Step 1 - Install the file plug-in
3. Step 3 - Add an event listener
4. Step 4A - Create a file feature
5. Step 4B - Write a file function
This plug-in is used to operate the computer file system on the user's device.
Step 1 - Install the file plug-in
We need to run the code in the command prompt to install this plug-in.
C:\Users\username\Desktop\CordovaProject>cordova plugin add cordova-plugin-file
Step 2 - Add a button
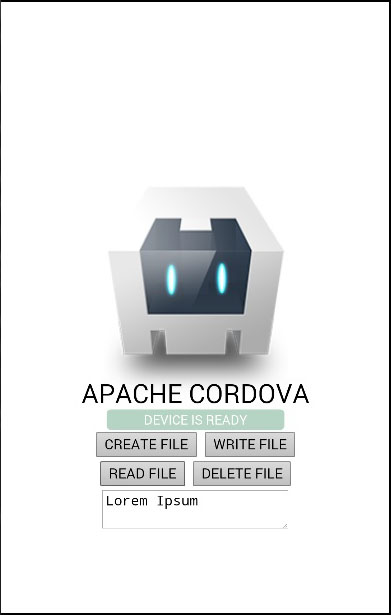
In this example, we'll show you how to create a file, write a file, read it, and delete it. /b10> Therefore, we'll .html buttons in the index file. /b11> We'll also add textarea, and we'll show you the contents of our files.
<button id = "createFile">CREATE FILE</button>
<button id = "writeFile">WRITE FILE</button>
<button id = "readFile">READ FILE</button>
<button id = "removeFile">DELETE FILE</button>

<textarea id = "textarea"></textarea>
Step 3 - Add an event listener
We'll .js event listener to the onDeviceReady function in indexing to make sure everything is started before the plug-in is used.
document.getElementById("createFile").addEventListener("click", createFile);
document.getElementById("writeFile").addEventListener("click", writeFile);
document.getElementById("readFile").addEventListener("click", readFile);
document.getElementById("removeFile").addEventListener("click", removeFile);
Step 4A - Create a file feature
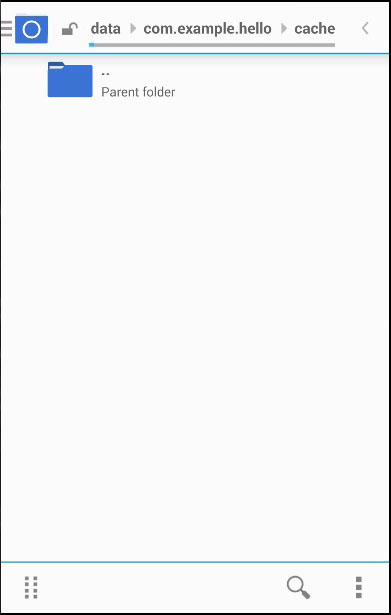
The file will be created in the application root folder on the device. /b10> To access the root folder, you need to provide super user access to your folder. /b11>In our case, the path to the root folder is the path to the root folder. /b12> This folder is now empty.

Now let's add a function that .txt log file. /b10> We'll .js this code in index. /b11> Let's start by requesting the file system. /b12> This method uses four parameters. /b13> Type can be WINDOW. T EMPORARY or WINDOW. P ERSISTENT, size is the byte value required to store (5MB in this case).
function createFile() {
   var type = window.TEMPORARY;
   var size = 5*1024*1024;

   window.requestFileSystem(type, size, successCallback, errorCallback)

   function successCallback(fs) {
      fs.root.getFile('log.txt', {create: true, exclusive: true}, function(fileEntry) {
         alert('File creation successfull!')
      }, errorCallback);
   }

   function errorCallback(error) {
      alert("ERROR: " + error.code)
   }

}
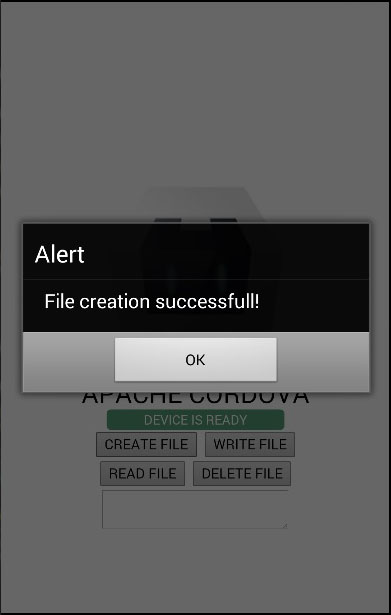
Now we can press the CREATE FILE button and the alert will confirm that we have successfully created the file.
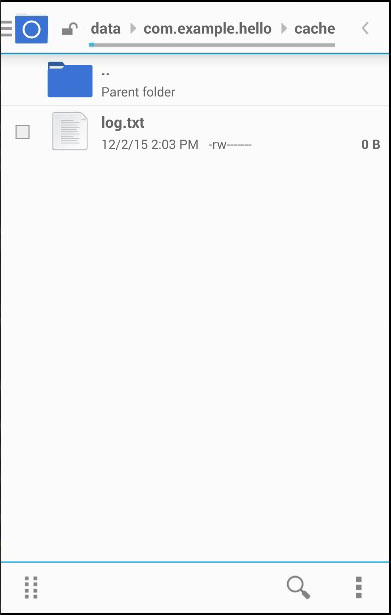
Now we can check your application root folder again and the new file will be there.
Step 4B - Write a file function
The next thing we're going to do is write some text in the file. /b10> We'll request the file system again, and then create a file writer so that we can write the Lorem Ipsum text that we assign to the blob variable.
function writeFile() {
   var type = window.TEMPORARY;
   var size = 5*1024*1024;

   window.requestFileSystem(type, size, successCallback, errorCallback)

   function successCallback(fs) {

      fs.root.getFile('log.txt', {create: true}, function(fileEntry) {

         fileEntry.createWriter(function(fileWriter) {
            fileWriter.onwriteend = function(e) {
               alert('Write completed.');
            };

            fileWriter.onerror = function(e) {
               alert('Write failed: ' + e.toString());
            };

            var blob = new Blob(['Lorem Ipsum'], {type: 'text/plain'});
            fileWriter.write(blob);
         }, errorCallback);

      }, errorCallback);

   }

   function errorCallback(error) {
      alert("ERROR: " + error.code)
   }

}
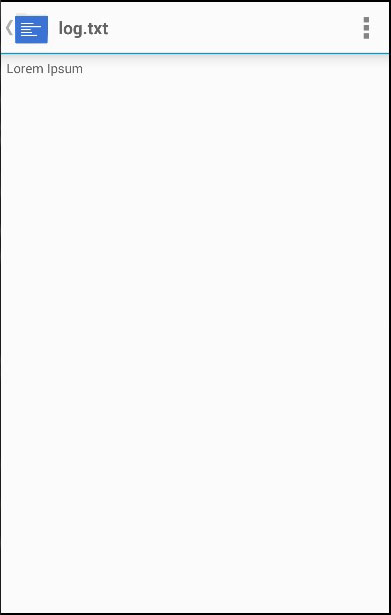
When you press the Write File button, the alert notifies us that the write was successful.

Now we can open the log .txt and see Lorem Ipsum written in it.
Step 4C - Read file function
In this step, we'll .txt log file and display it in the textarea element. /b10> First we request the file system and get the file object, and then we're creating reader. /b11> When the reader loads, we assign the returned value to textarea .
function readFile() {
   var type = window.TEMPORARY;
   var size = 5*1024*1024;

   window.requestFileSystem(type, size, successCallback, errorCallback)

   function successCallback(fs) {

      fs.root.getFile('log.txt', {}, function(fileEntry) {

         fileEntry.file(function(file) {
            var reader = new FileReader();

            reader.onloadend = function(e) {
               var txtArea = document.getElementById('textarea');
               txtArea.value = this.result;
            };

            reader.readAsText(file);

         }, errorCallback);

      }, errorCallback);
   }

   function errorCallback(error) {
      alert("ERROR: " + error.code)
   }

}
When we click the READ FILE button, the text in the file is written in textarea.
Step 4D - Delete file feature
Finally, we'll create the ability .txt the log file.
function removeFile() {
   var type = window.TEMPORARY;
   var size = 5*1024*1024;

   window.requestFileSystem(type, size, successCallback, errorCallback)

   function successCallback(fs) {
      fs.root.getFile('log.txt', {create: false}, function(fileEntry) {

         fileEntry.remove(function() {
            alert('File removed.');
         }, errorCallback);

      }, errorCallback);
   }

   function errorCallback(error) {
      alert("ERROR: " + error.code)
   }

}
We can now press the Delete File button to remove the file from the application root folder. /b10> The alert will notify us that the deletion was successful.
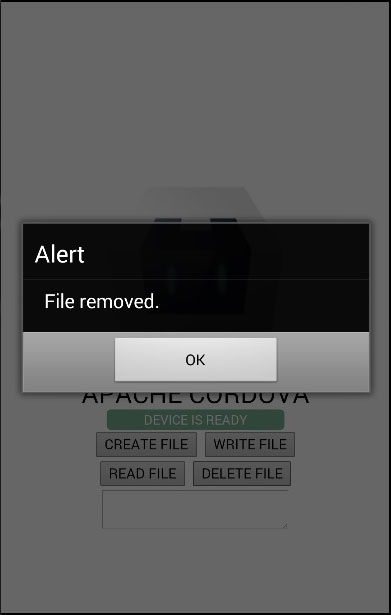
If we check the application root folder, we will see that it is empty.