Cloud Development Dream CMS static deployment
May 27, 2021 Web Cloud Development and Web Hosting Learning Guide
Table of contents
Here's a quick introduction:
Cloud Development: CloudBase is a cloud-based, all-in-one product solution that uses serverless architecture, environment-free construction, and other operations, supporting one cloud and many ends, helping to quickly build small programs, web applications, mobile applications.
Cloud development static site hosting supports the use of cloud development SDK to invoke service-side resources such as cloud functions, cloud storage, cloud databases, etc., thereby expanding static sites to full stack sites
Dream CMS:D edeCMS is based on PHP-MySQL technology development, supports a variety of server platforms, since the first release in 2004, has been released five major versions. DedeCMS with simple, robust, flexible, open source several characteristics of the majority of the domestic CMS market, there are now more than 350,000 sites are using DedeCMS or DedeCMS-based core development, product installation volume reached 950,000.
Why static publishing?
Dream CMS is a dynamic system, dynamic system because it allows users to enter, there is the possibility of being cracked, attack. For businesses, using Dream CMS means placing their websites at the enemy's gun, so static publishing is imperative.
In addition, one benefit of staticization is that the load on the server is significantly reduced, which can reduce the cost of paying for the server for the enterprise.
Install Weaving Dream CMS
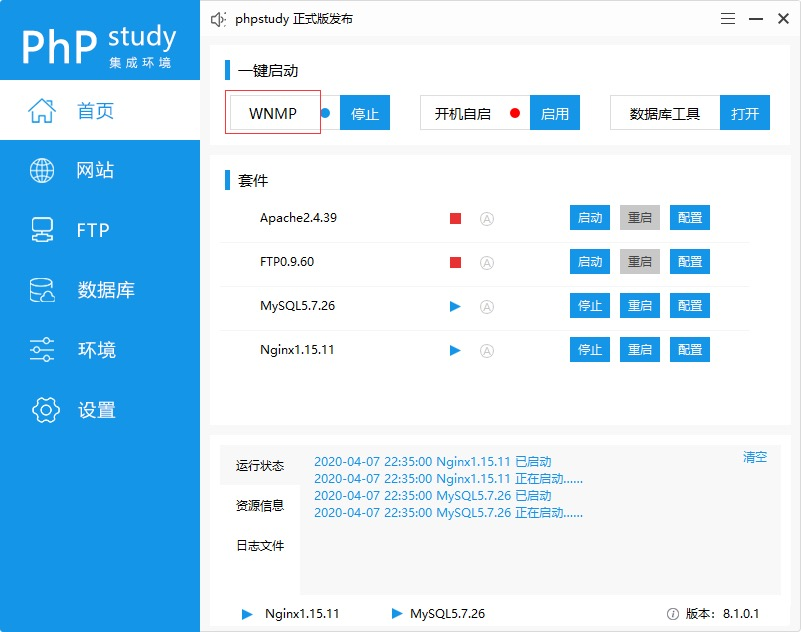
First, we need to build the server locally (I recommend PhpStudy here)
You can go to PhpStudy official website: https://www.xp.cn download and install, after the installation is successful, open and click to start
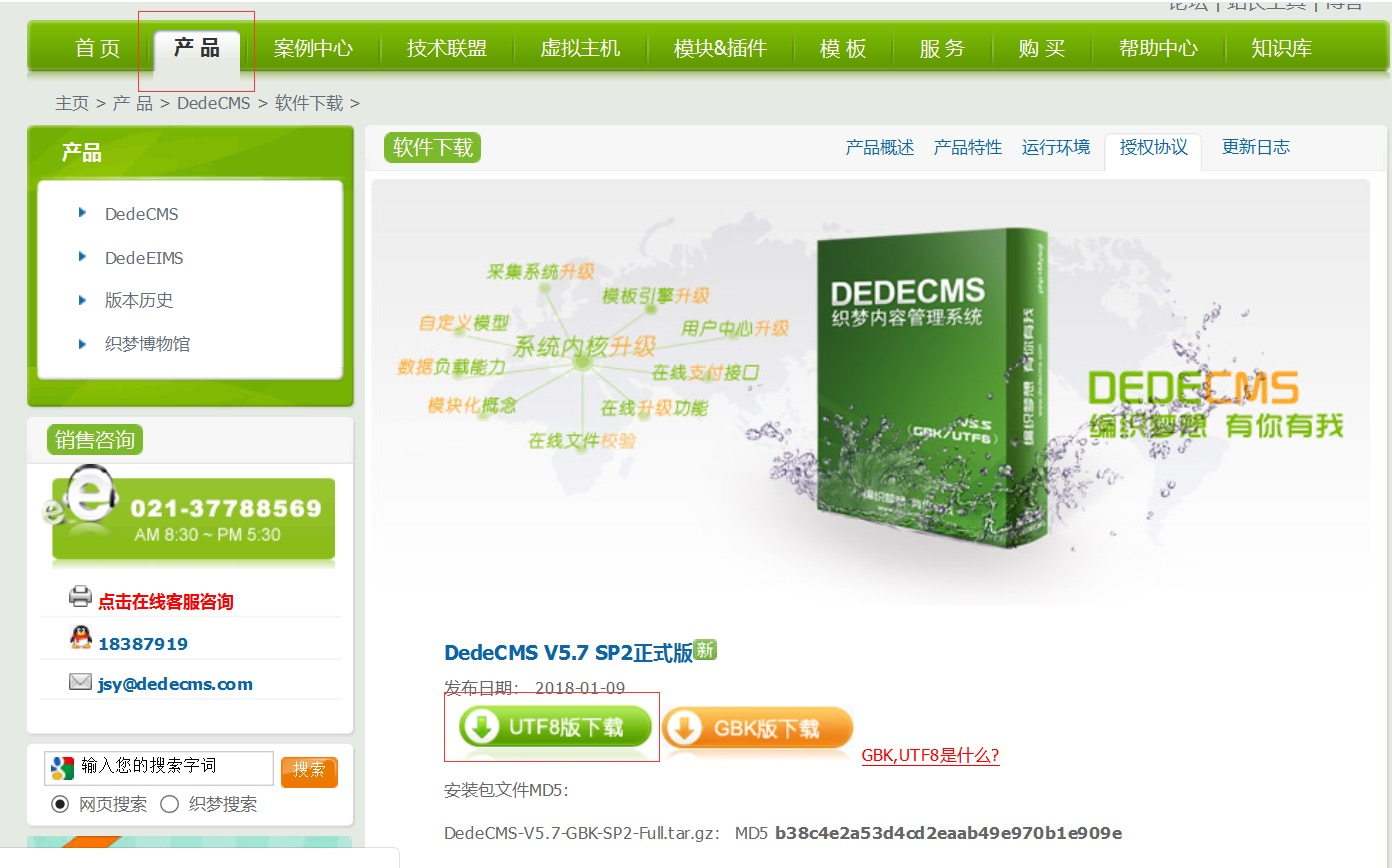
Then go to dream CMS official website: http://www.dedecms.com download the official version of DedeCMS V5.7 SP2 and unzipp it locally
Finally, under the PhpStudy site option, create a site domain name dedecms.cn pointing to just down
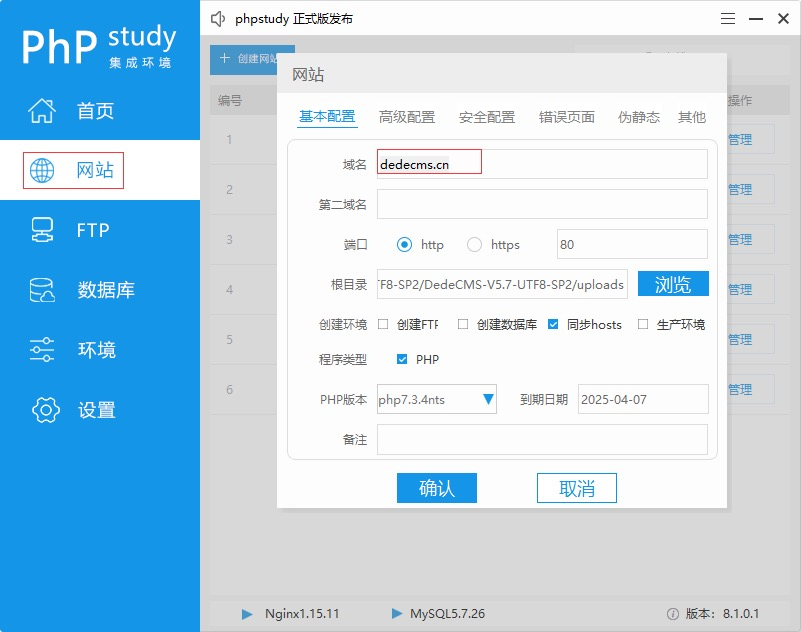
After the successful creation, we open the dedecms.cn browser and the domain name will display the installation page
Under the parameter configuration option, we fill in the database password, the default is root, to get the initialized data experience package
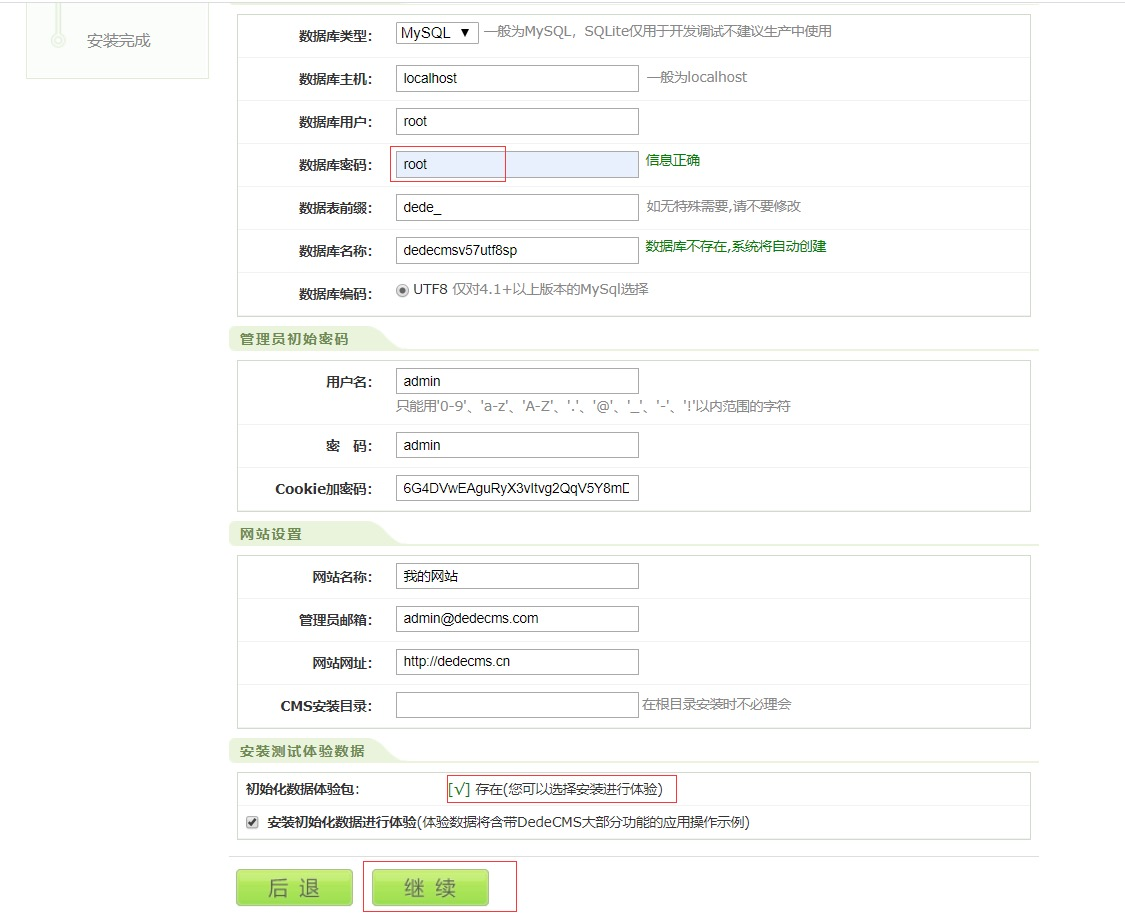
After the installation is successful, the following page will be displayed, this time we point to log into the background of the website, account number and password default are admin
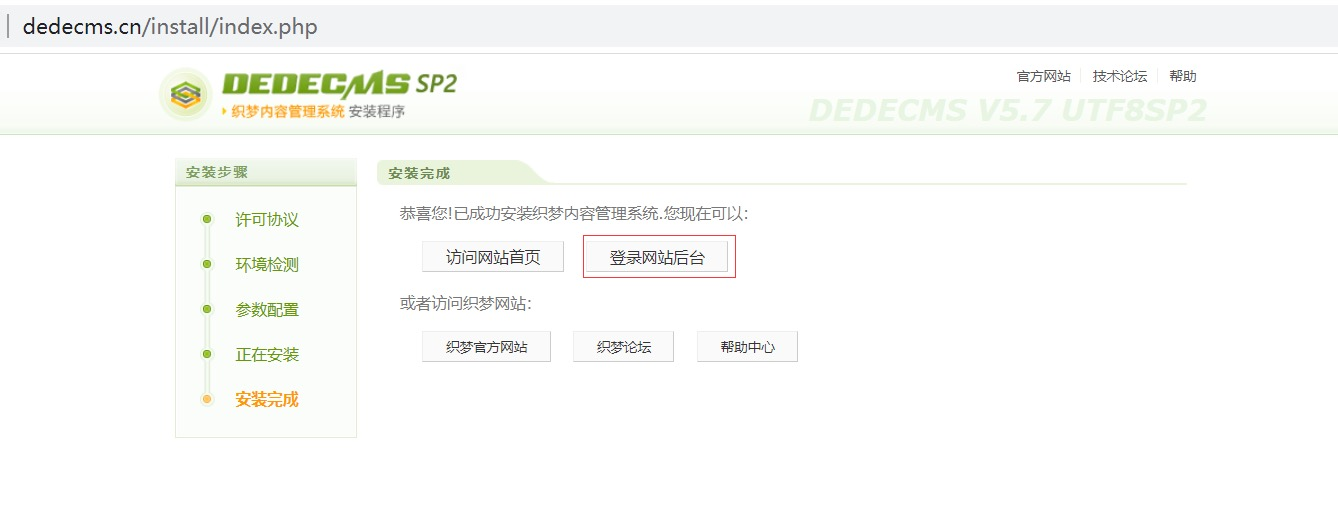
After successful denation, a static file is generated for deployment to the cloud development static site hosting
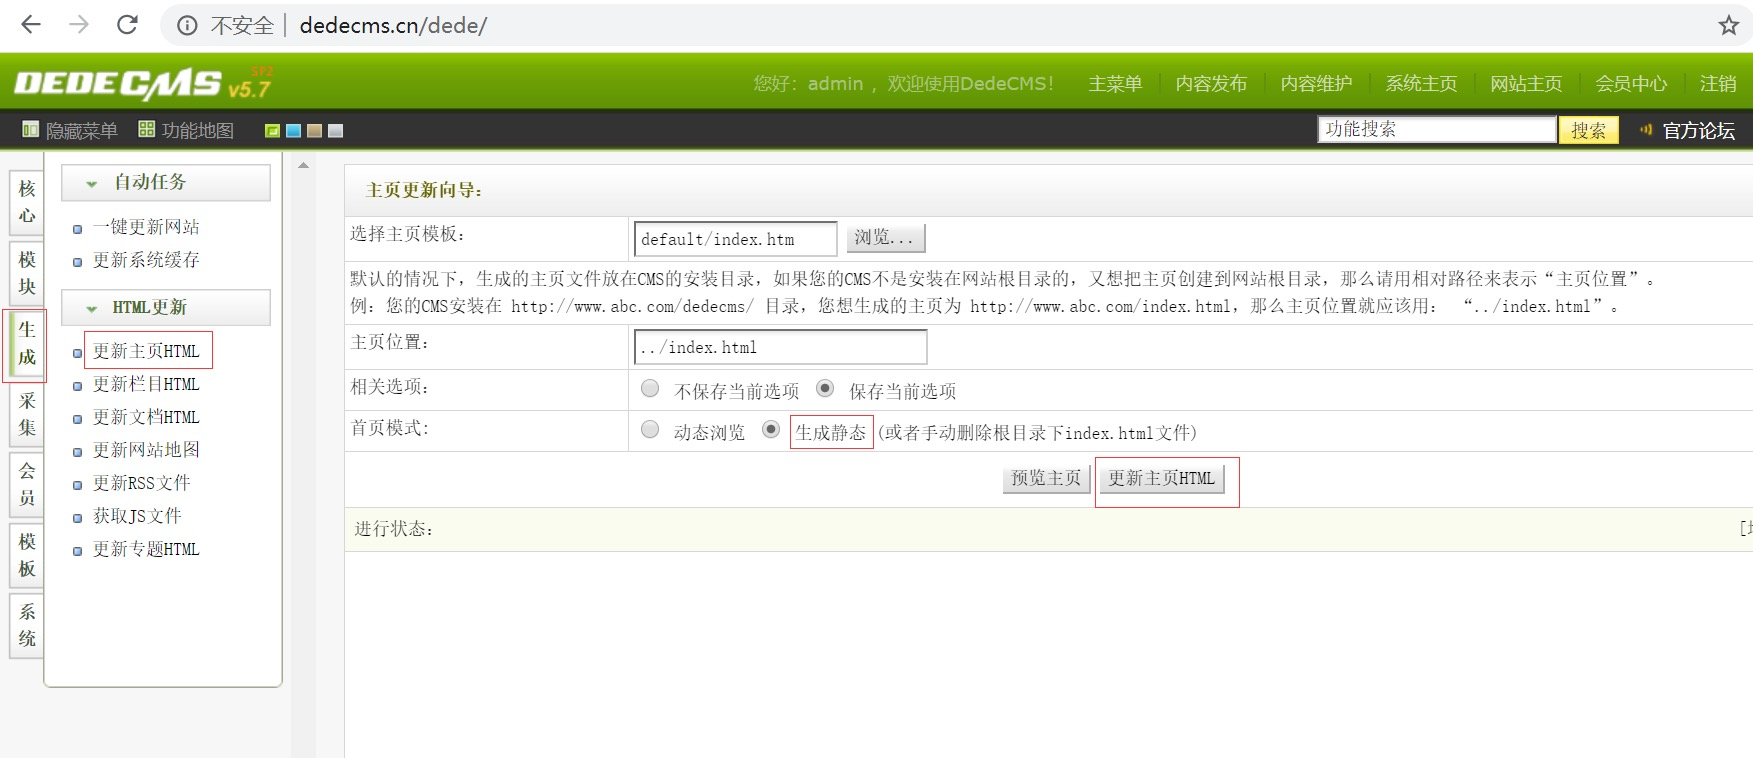
Click on the build option, click the Update Home HTML button on the Update Home HTML page
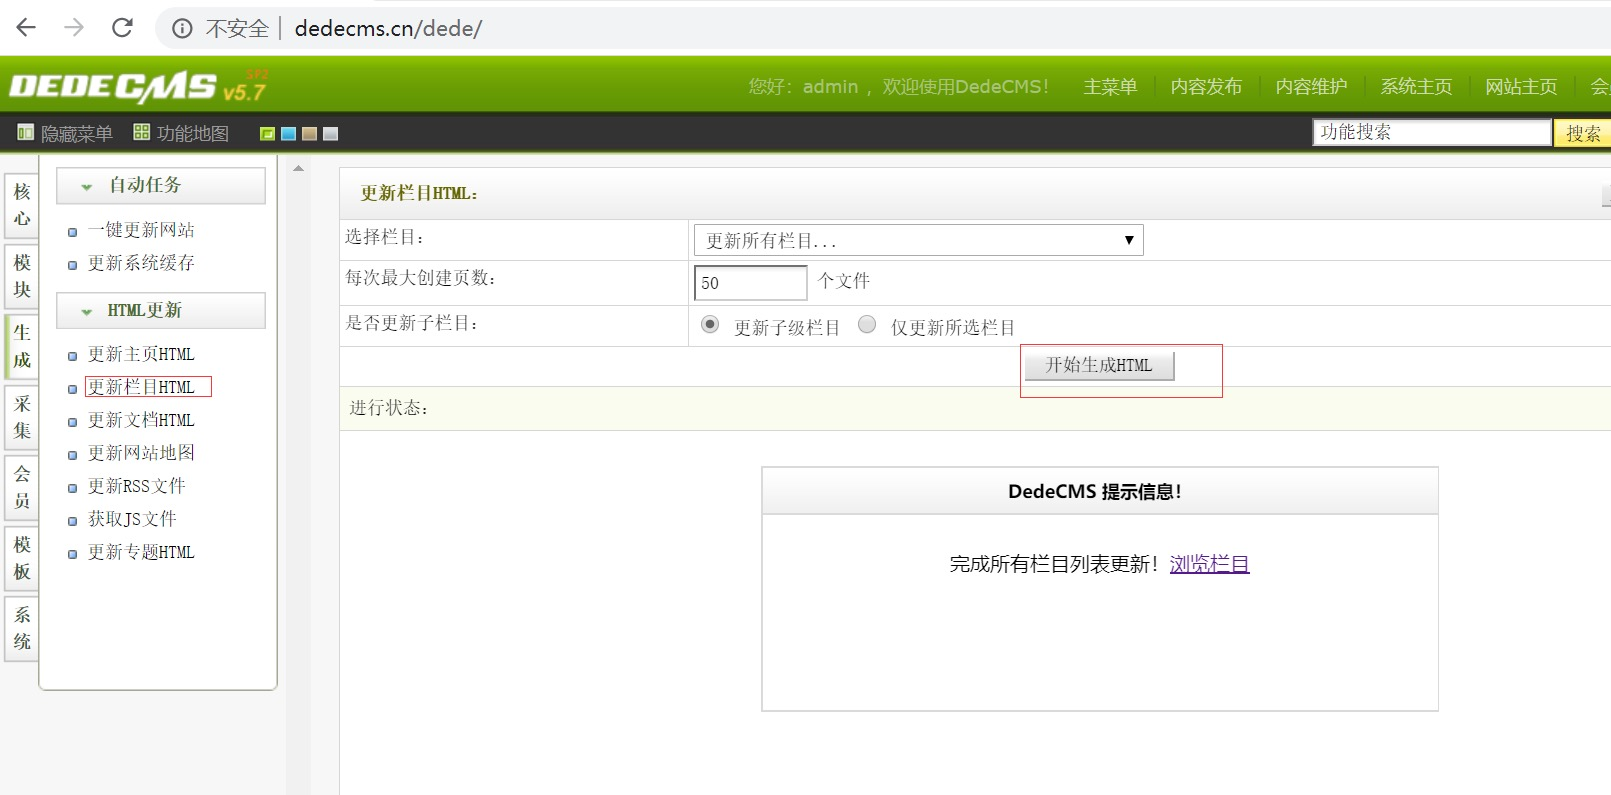
In the update section HTML page, click the Start generating HTML button
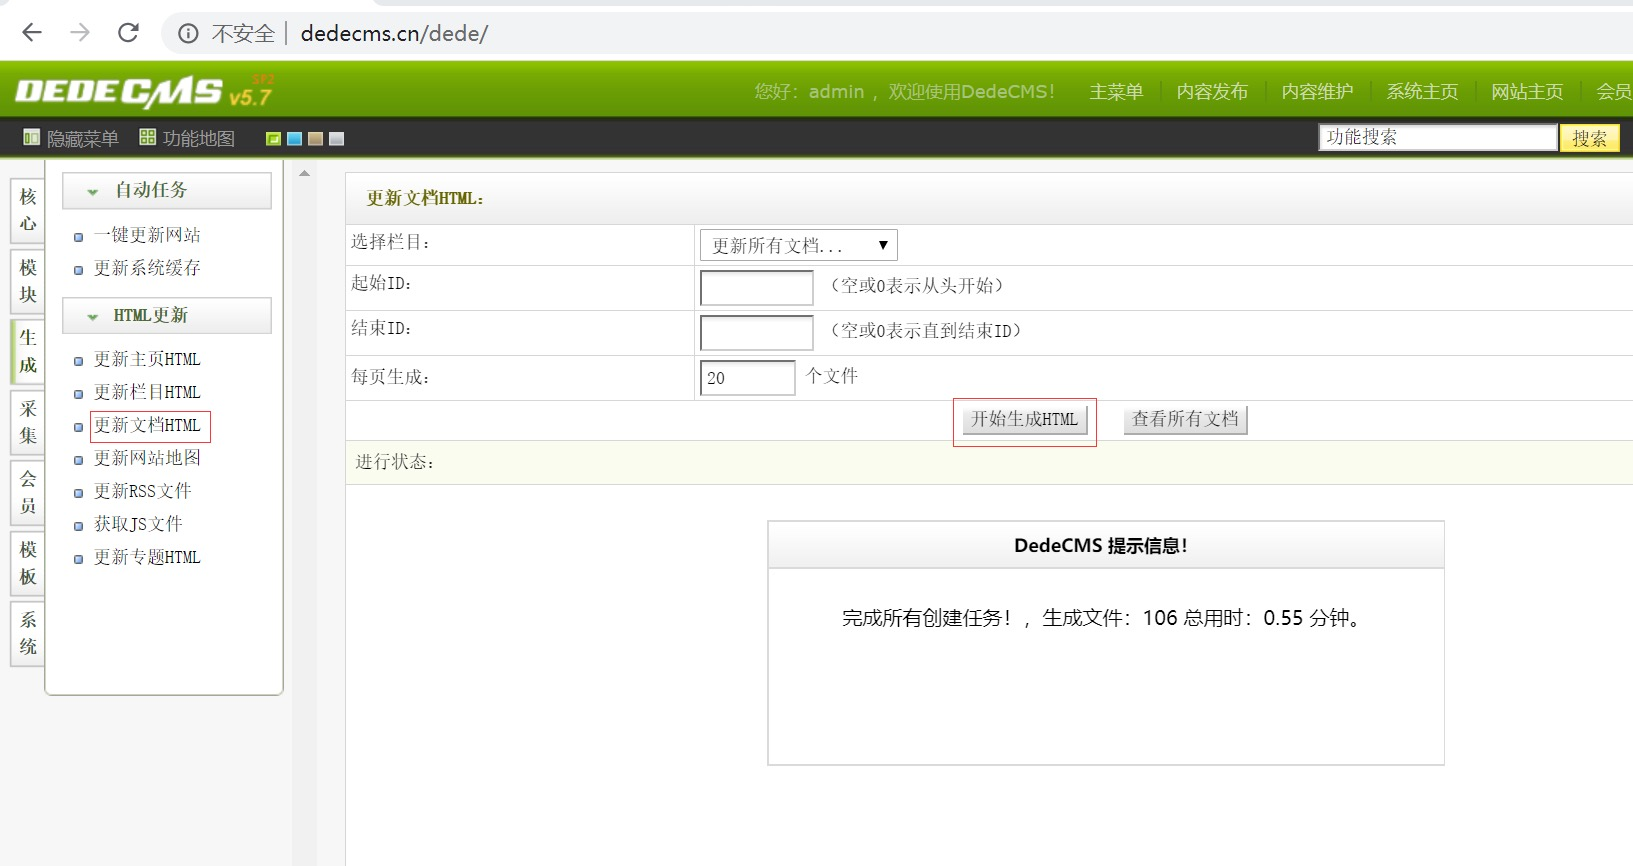
On the Update Document HTML page, we click to start generating HTML
This is when we visit http://dedecms.cn/ home page and you can see the generated static HTML page
Deploy to cloud development static site hosting
Create a cloud development environment
Visit Tencent Cloud Development Console, create a new "Billing Cloud Development Environment", remember the cloud development environment ID, we need to use cloud development website hosting services, currently only the metered environment to support static hosting.

Go to the site hosting control page to launch a static site hosting service
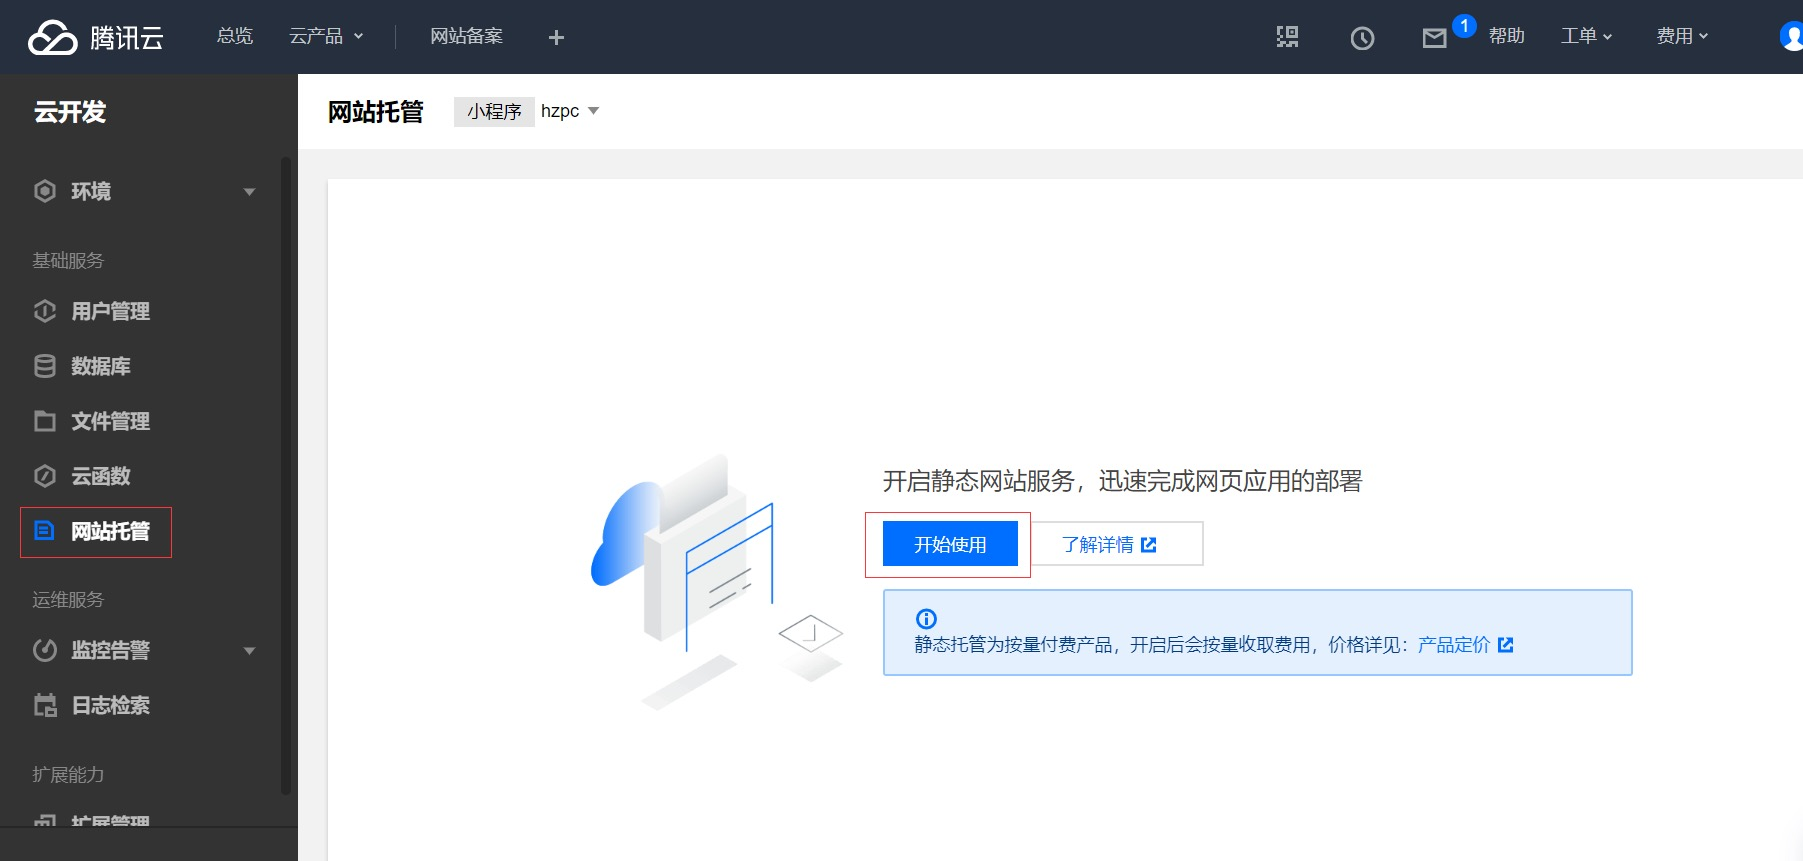
When you see an interface like this, it's already open.
Log in
tcb login
This time you will be reminded that you need to authorize on the web page and confirm the authorization on the pop-up page
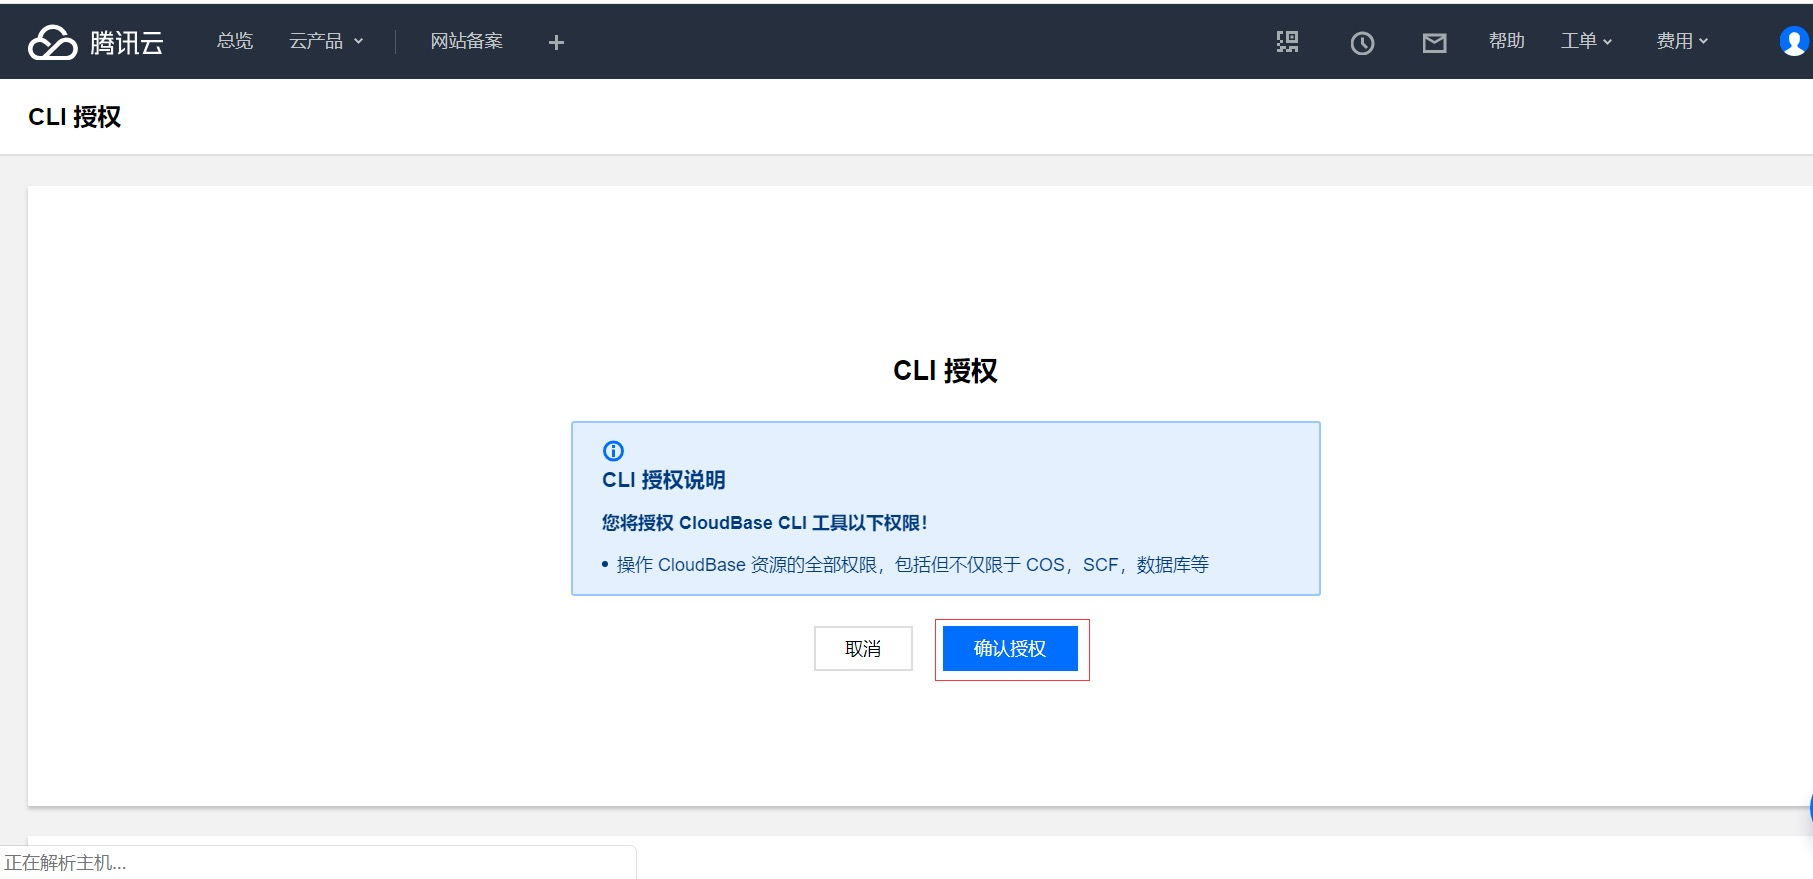
After confirming the authorization, you will see the console output the appropriate command
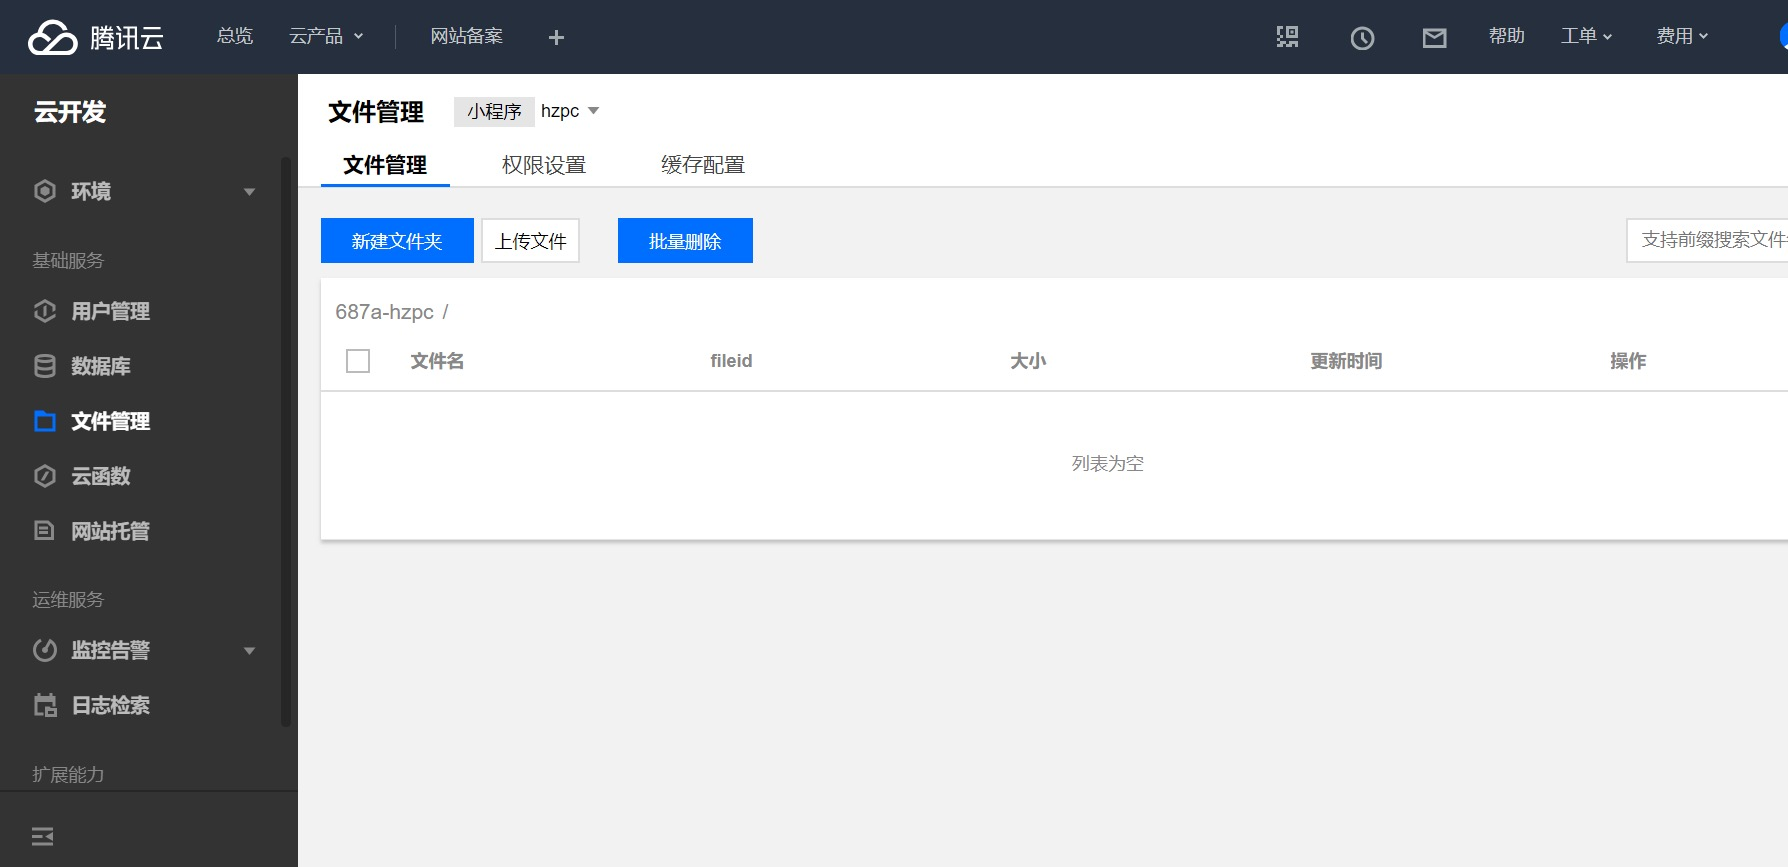
Now deploy the generated static HTML page, open the terminal, and go to the uploads directory
Execute the command to upload the file and remember to replace the EnvID here with the environment ID of your own environment
tcb hosting:deploy ./index.html -e EnvIDtcb hosting:deploy ./a ./a -e EnvIDtcb hosting:deploy ./templets ./templets -e EnvIDtcb hosting:deploy ./images ./images -e EnvID
The above command is to deploy the folders used in our generated HTML pages
View static site domain names and statuses
tcb hosting:detail -e envId

This time we open the browser to visit the static website domain name, you can see the following effect map
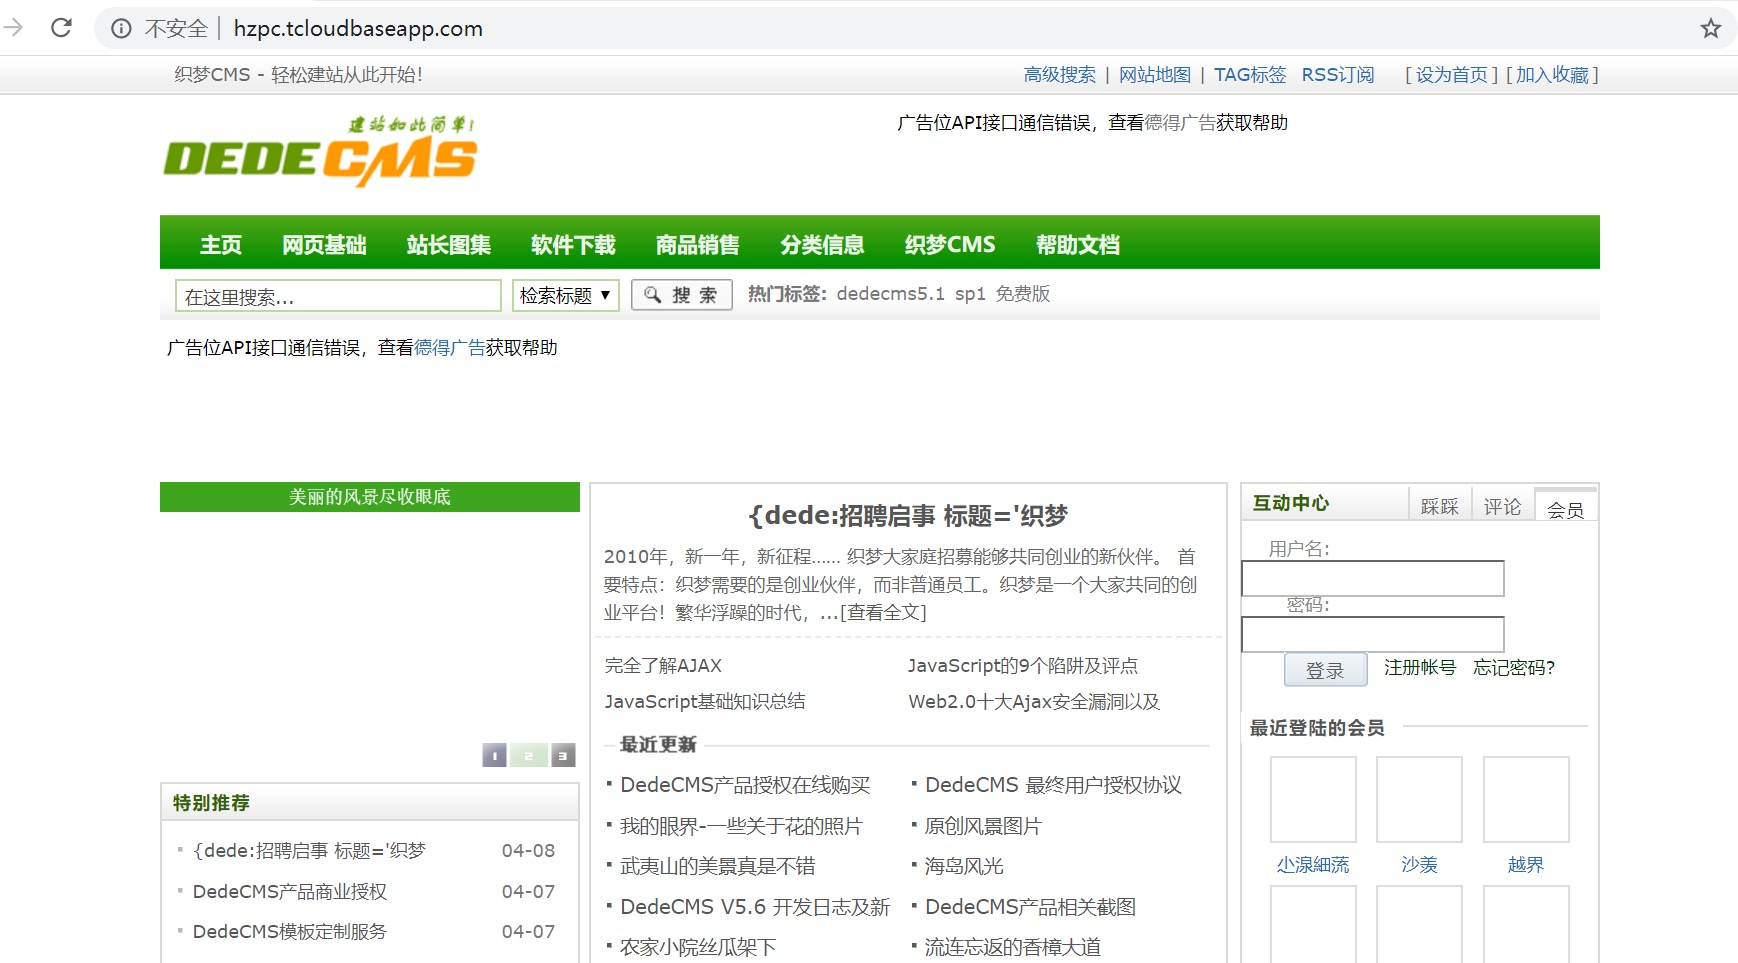
This article to this end, weaving dream CMS basic operation advice to their official website to see.