Struts2 database access
May 15, 2021 Struts2
Table of contents
This chapter will show you how to access the database using the simple steps of Struts2. S
truts is an MVC framework, not a database framework, but it provides excellent support for JPA/Hibernate integration.
We'll discuss hibernate integration in a later section, but in this chapter we'll use the old JDBC to access the database.
The first step is to set up and initialize the database, in this case we use MySQL as the database. I
f MySQL is installed on the machine, create a new database called struts_tutorial". T
hen create a table called login and fill it with some values.
The following is the script used to create and populate the table.
The MYSQL database has the default usernames "root" and "root123" passwords
CREATE TABLE `struts_tutorial`.`login` (
   `user` VARCHAR( 10 ) NOT NULL ,
   `password` VARCHAR( 10 ) NOT NULL ,
   `name` VARCHAR( 20 ) NOT NULL ,
   PRIMARY KEY ( `user` )
) ENGINE = InnoDB;

INSERT INTO `struts_tutorial`.`login` (`user`, `password`, `name`)
 VALUES ('scott', 'navy', 'Scott Burgemott');
The next step is to download mySQL Connector's jar file and place it in the project's WEB-INF-lib folder. O nce we're done with this, let's get ready to create an action class.
Create Action
The Action class has properties that correspond to the columns in the database table. W e have user, password, and name as String properties. I n the action method, we use the user and password parameters to check that the user exists and, if so, display the user name in the next interface. I f the user enters the wrong information, it is sent again to the login screen. tion files are:
package cn.w3cschool.struts2;

import java.sql.Connection;
import java.sql.DriverManager;
import java.sql.PreparedStatement;
import java.sql.ResultSet;

import com.opensymphony.xwork2.ActionSupport;

public class LoginAction extends ActionSupport {

   private String user;
   private String password;
   private String name;

   public String execute() {
      String ret = ERROR;
      Connection conn = null;

      try {
         String URL = "jdbc:mysql://localhost/struts_tutorial";
         Class.forName("com.mysql.jdbc.Driver");
         conn = DriverManager.getConnection(URL, "root", "root123");
         String sql = "SELECT name FROM login WHERE";
         sql+=" user = ? AND password = ?";
         PreparedStatement ps = conn.prepareStatement(sql);
         ps.setString(1, user);
         ps.setString(2, password);
         ResultSet rs = ps.executeQuery();

         while (rs.next()) {
            name = rs.getString(1);
            ret = SUCCESS;
         }
      } catch (Exception e) {
         ret = ERROR;
      } finally {
         if (conn != null) {
            try {
               conn.close();
            } catch (Exception e) {
            }
         }
      }
      return ret;
   }

   public String getUser() {
      return user;
   }

   public void setUser(String user) {
      this.user = user;
   }

   public String getPassword() {
      return password;
   }

   public void setPassword(String password) {
      this.password = password;
   }

   public String getName() {
      return name;
   }

   public void setName(String name) {
      this.name = name;
   }
}
Create a home page
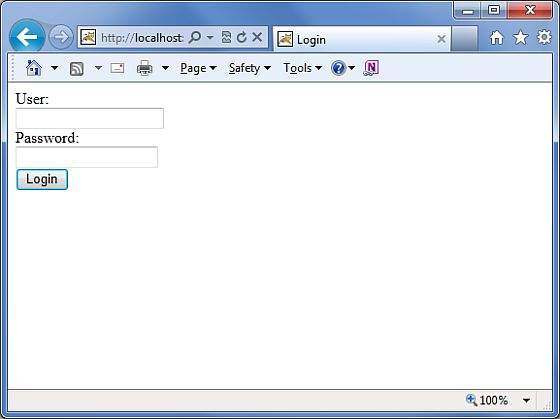
Now, let's create a JSP file .jsp to collect usernames and passwords that will be checked against the database.
<%@ page language="java" contentType="text/html; charset=ISO-8859-1"
pageEncoding="ISO-8859-1"%>
<%@ taglib prefix="s" uri="/struts-tags"%>
<!DOCTYPE html PUBLIC "-//W3C//DTD HTML 4.01 Transitional//EN"
"http://www.w3.org/TR/html4/loose.dtd">
<html>
<head>
<title>Login</title>
</head>
<body>
   <form action="loginaction" method="post">
      User:<br/><input type="text" name="user"/><br/>
      Password:<br/><input type="password" name="password"/><br/>
      <input type="submit" value="Login"/>
   </form>
</body>
</html>
Create a view:
Now create a .jsp file, which will be called if action returns SUCCESS results, but if we return ERROR results from action, we'll use another view file.
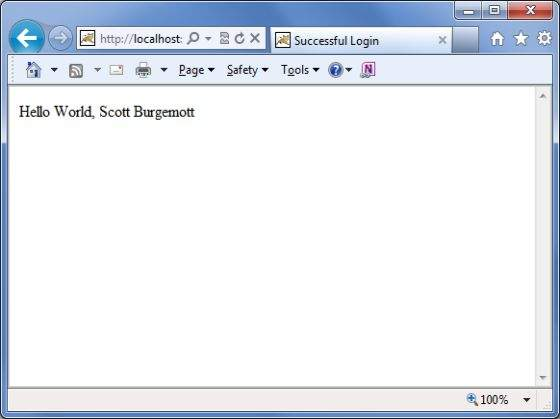
<%@ page contentType="text/html; charset=UTF-8" %>
<%@ taglib prefix="s" uri="/struts-tags" %>
<html>
<head>
<title>Successful Login</title>
</head>
<body>
   Hello World, <s:property value="name"/>
</body>
</html>
The following will be the view file error called when action returns ERROR.jsp.
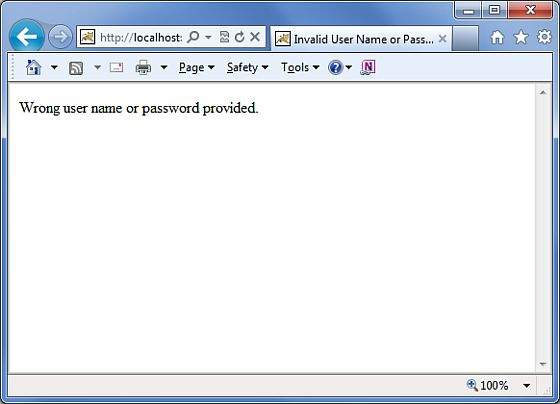
<%@ page contentType="text/html; charset=UTF-8" %>
<%@ taglib prefix="s" uri="/struts-tags" %>
<html>
<head>
<title>Invalid User Name or Password</title>
</head>
<body>
   Wrong user name or password provided.
</body>
</html>
Profile
Finally, let's use .xml to put everything together using the struts configuration file, as follows:
<?xml version="1.0" encoding="UTF-8"?>
<!DOCTYPE struts PUBLIC
"-//Apache Software Foundation//DTD Struts Configuration 2.0//EN"
"http://struts.apache.org/dtds/struts-2.0.dtd">

<struts>
   <constant name="struts.devMode" value="true" />
   <package name="helloworld" extends="struts-default">

      <action name="loginaction"
         class="cn.w3cschool.struts2.LoginAction"
         method="execute">
         <result name="success">/success.jsp</result>
         <result name="error">/error.jsp</result>
      </action>

   </package>

</struts>
Here's .xml the web file:
<?xml version="1.0" encoding="UTF-8"?>
<web-app xmlns:xsi="http://www.w3.org/2001/XMLSchema-instance"
   xmlns="http://java.sun.com/xml/ns/javaee"
   xmlns:web="http://java.sun.com/xml/ns/javaee/web-app_2_5.xsd"
   xsi:schemaLocation="http://java.sun.com/xml/ns/javaee
   http://java.sun.com/xml/ns/javaee/web-app_3_0.xsd"
   id="WebApp_ID" version="3.0">

   <display-name>Struts 2</display-name>
   <welcome-file-list>
      <welcome-file>index.jsp</welcome-file>
   </welcome-file-list>
   <filter>
      <filter-name>struts2</filter-name>
      <filter-class>
         org.apache.struts2.dispatcher.FilterDispatcher
      </filter-class>
   </filter>

   <filter-mapping>
      <filter-name>struts2</filter-name>
      <url-pattern>/*</url-pattern>
   </filter-mapping>
</web-app>
Now, right-click on the project name, and then click "Export" and "WAR File" to create a WAR file. T he WAR file is then deployed in Tomcat's webapps directory. F inally, starting the Tomcat server and attempting to access the URL http://localhost:8080/HelloWorldStruts2/index.jsp display the following interface:
Enter the wrong username and password and you'll see the following page:
Now enter scott as username, navy as password, and you should see the following page: