Use Python to send holiday greetings to teachers
May 31, 2021 Article blog
Table of contents
This article comes from the public number: Python Technology Author: Pieson Sauce
When it comes to teachers, the first thing that comes to mind may be the people who teach us culture classes in school, in addition, those who give us guidance and help in life or work can also be called teachers, today is Teacher's Day, this article we use Python to send holiday greetings to all teachers.
sunflower
Sunflower flower language includes: faith, glory, loyalty, etc. , very suitable for teachers, we first draw a simple sunflower.
The drawing effect is as follows:
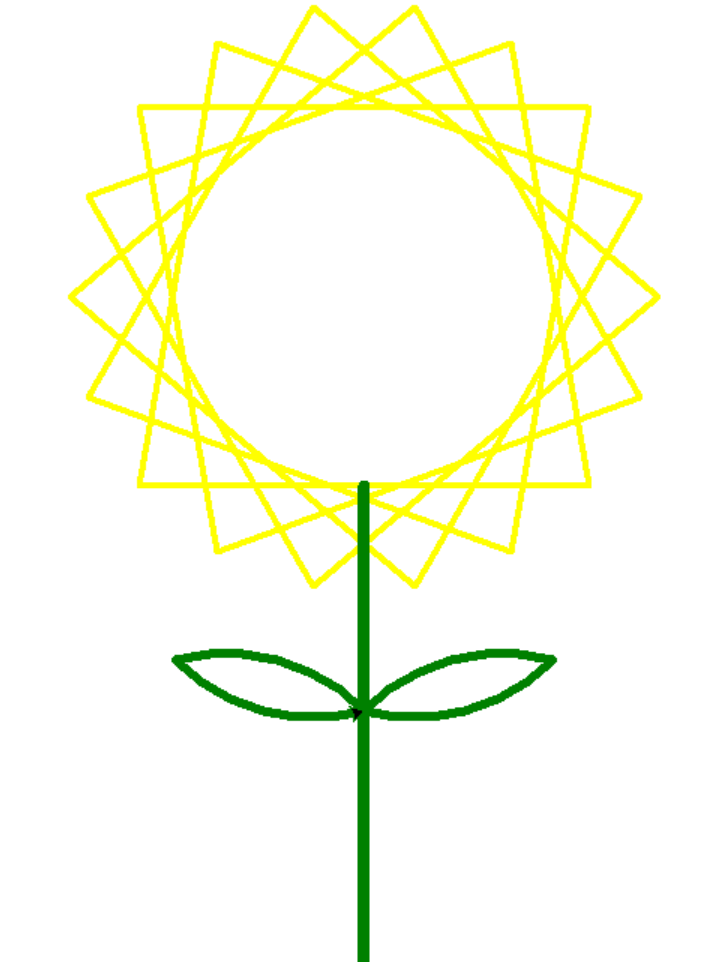
The implementation code is as follows:
turtle.setup(600, 600, 80, 80)
turtle.pencolor("yellow")
turtle.pensize(4)
turtle.penup()
turtle.fd(-150)
turtle.pendown()
for i in range(18):
    turtle.fd(300)
    turtle.left(100)
turtle.fd(150)
turtle.right(90)
turtle.pensize(8)
turtle.pencolor("green")
turtle.fd(400)
turtle.penup()
turtle.pensize(6)
turtle.pendown()
# 绘制叶子
turtle.fd(-250)
turtle.seth(45)
turtle.circle(-130, 60)
turtle.seth(-135)
turtle.circle(-130, 60)
turtle.seth(135)
turtle.circle(130, 60)
turtle.seth(-45)
turtle.circle(130, 60)
turtle.done()
greeting card
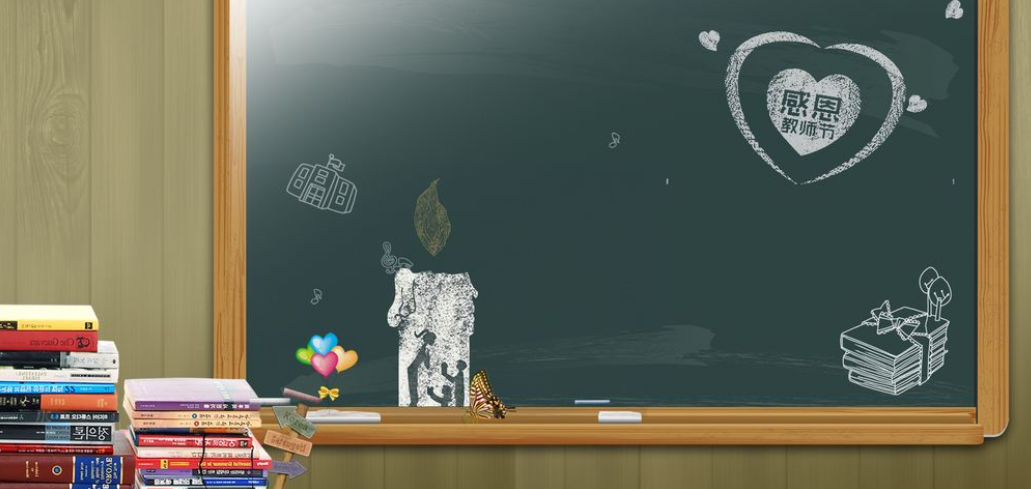
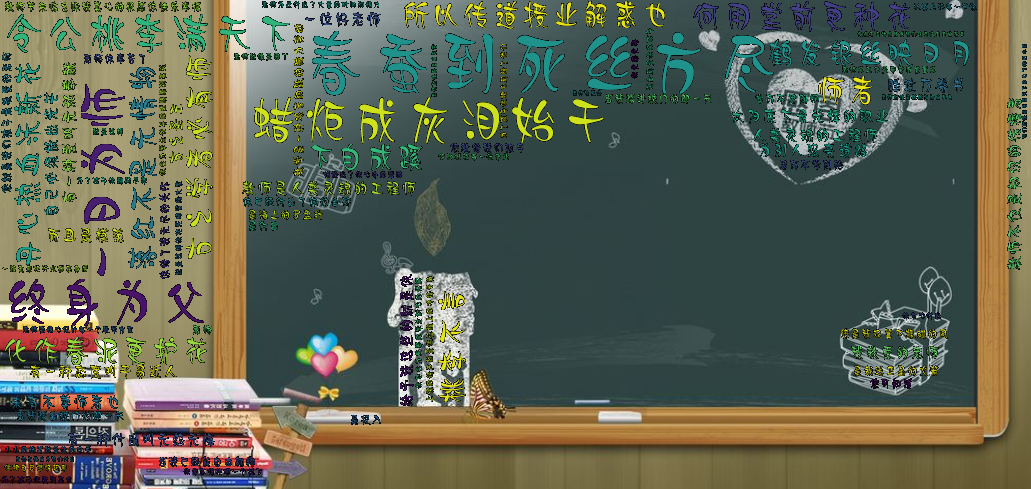
We can also use Python to add some text to our photos to make greeting cards.
Original:
Effect map:
The main implementation code:
img = cv2.imread('test.png')
mask = np.zeros(img.shape[:2], np.uint8)
size = (1, 65)
bgd = np.zeros(size, np.float64)
fgd = np.zeros(size, np.float64)
rect = (1, 1, img.shape[1], img.shape[0])
cv2.grabCut(img, mask, rect, bgd, fgd, 10, cv2.GC_INIT_WITH_RECT)
mask2 = np.where((mask == 2) | (mask == 0), 1, 255)
img = img.astype(np.int32)
img *= mask2[:, :, np.newaxis]
img[img>255] = 255
img =img.astype(np.uint8)
img = cv2.cvtColor(img, cv2.COLOR_BGR2RGB)
img = Image.fromarray(img, 'RGB')
img.save('test1.jpg')
fp = open(r"word.txt", "r", encoding="utf-8")
text = fp.read()
mask_pic=np.array(Image.open(r"test1.jpg"))
wordcloud = WordCloud(font_path='hyr3gjm.ttf',mask=mask_pic,max_words=200).generate(text)
image=wordcloud.to_image()
image.save("wordcloud2.png")
cloud_data = np.array(image)
alpha = np.copy(cloud_data[:,:,0])
alpha[alpha>0] = 255
new_image = Image.fromarray(np.dstack((cloud_data, alpha)))
card = Image.open("test.png")
card = card.convert("RGBA")
card.paste(new_image, (0,0), mask=new_image)
card.save("card.png")
Photo Wall
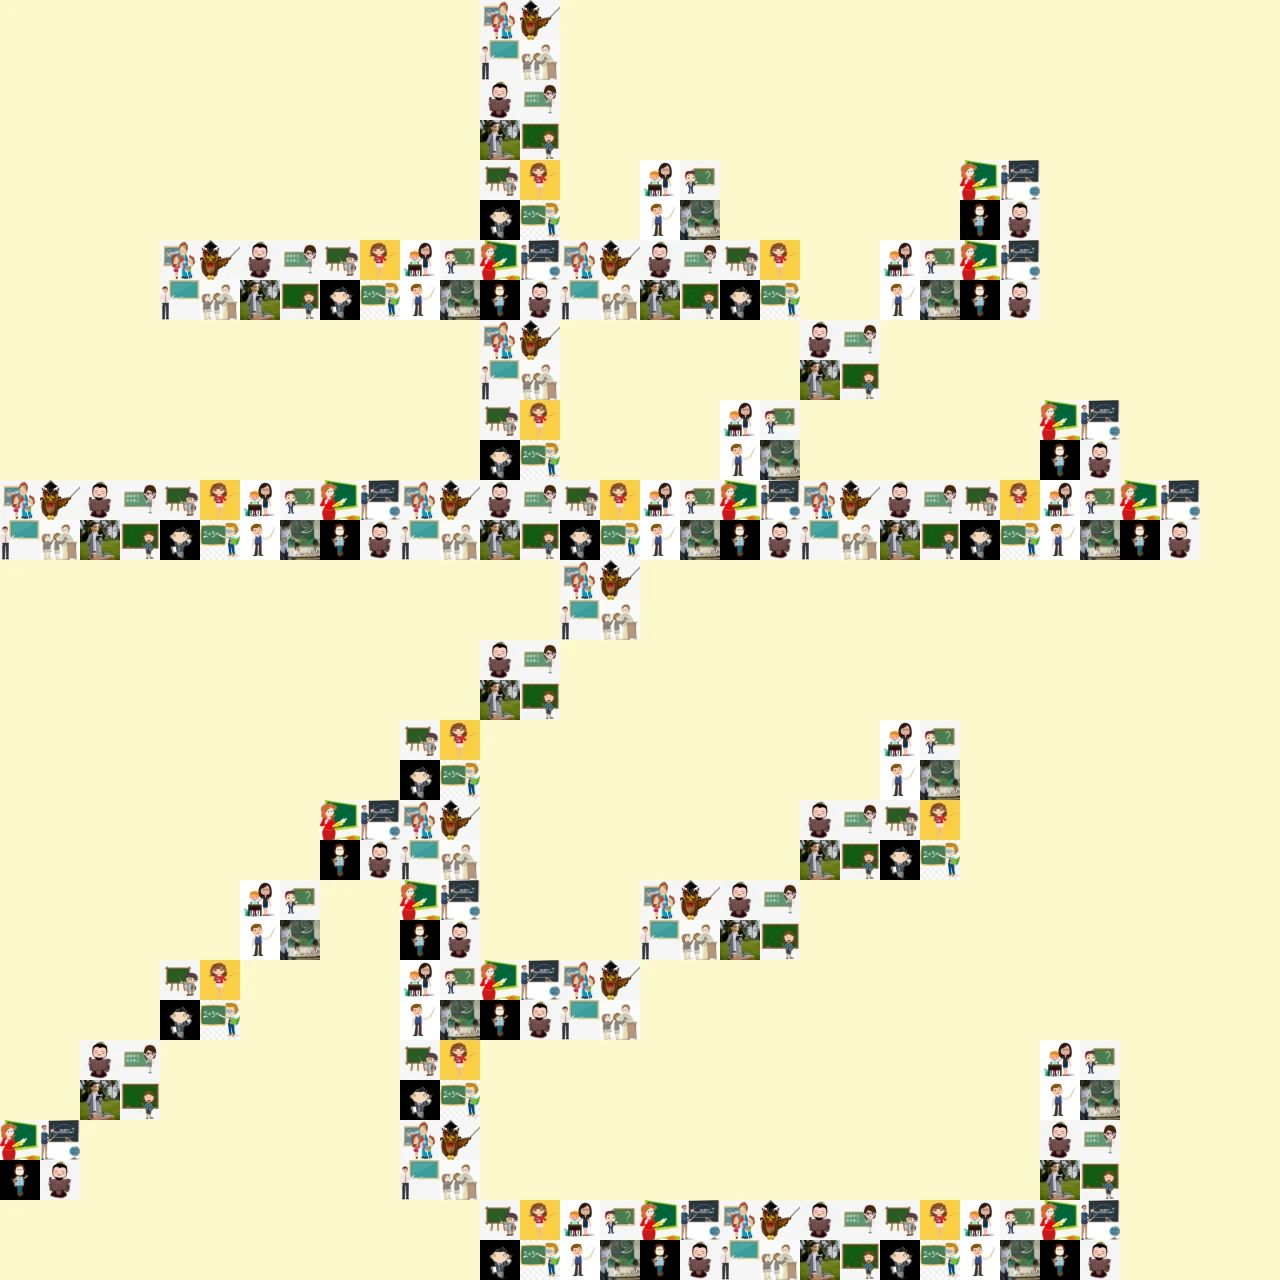
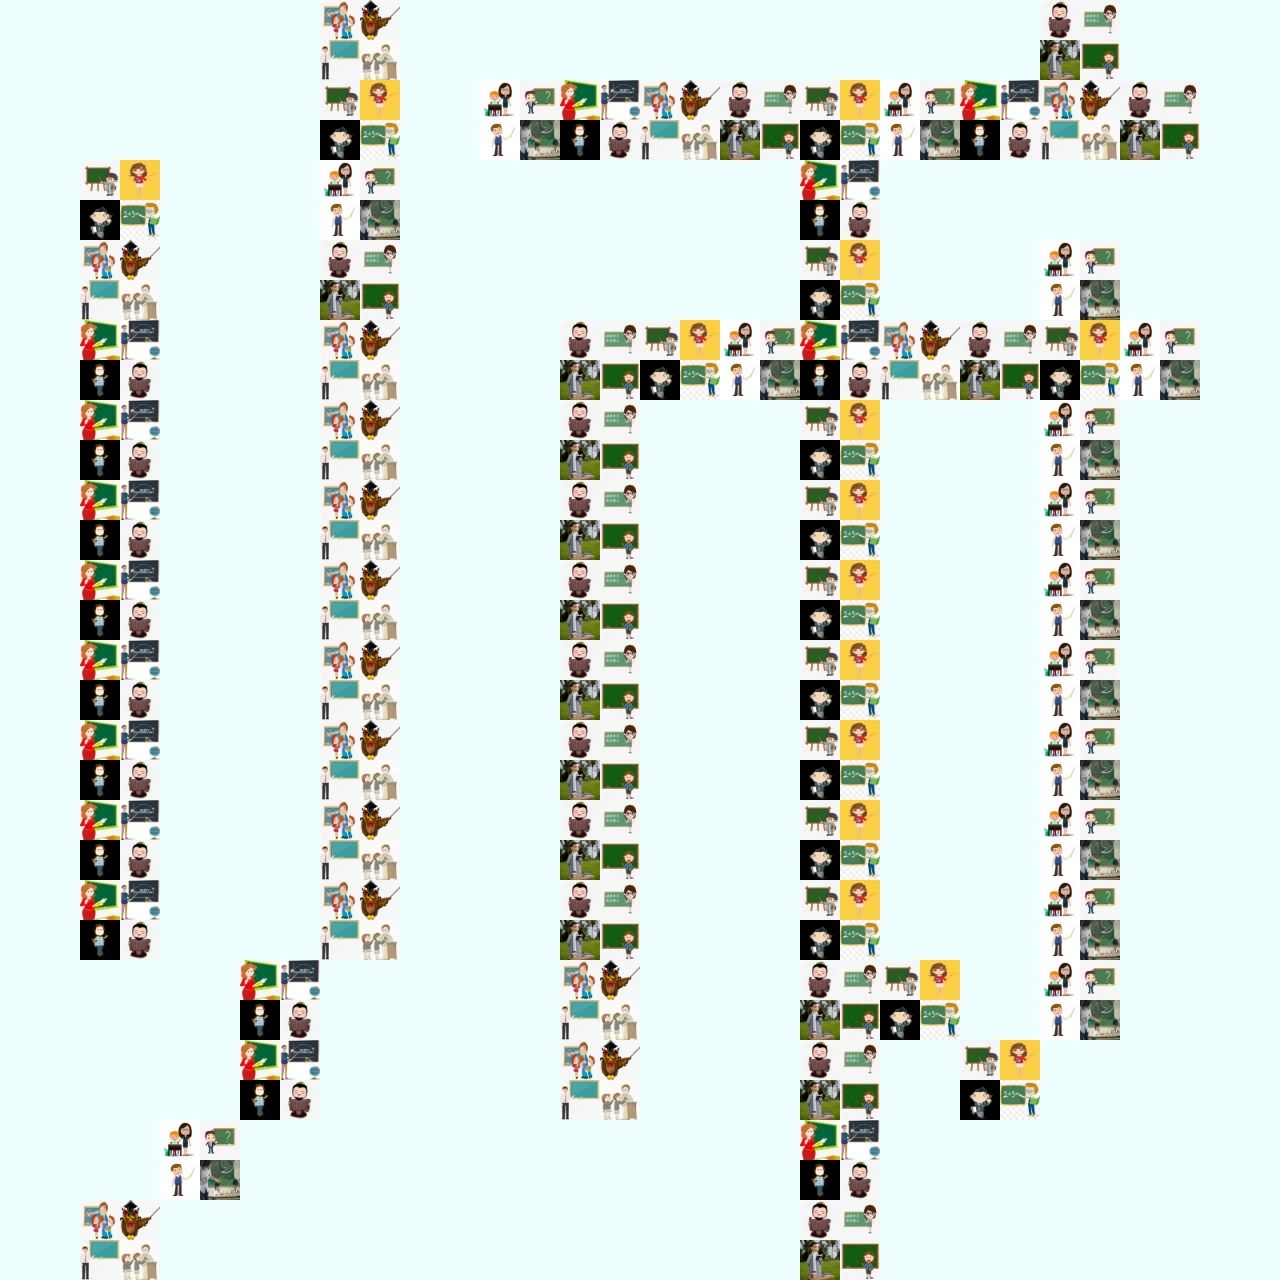
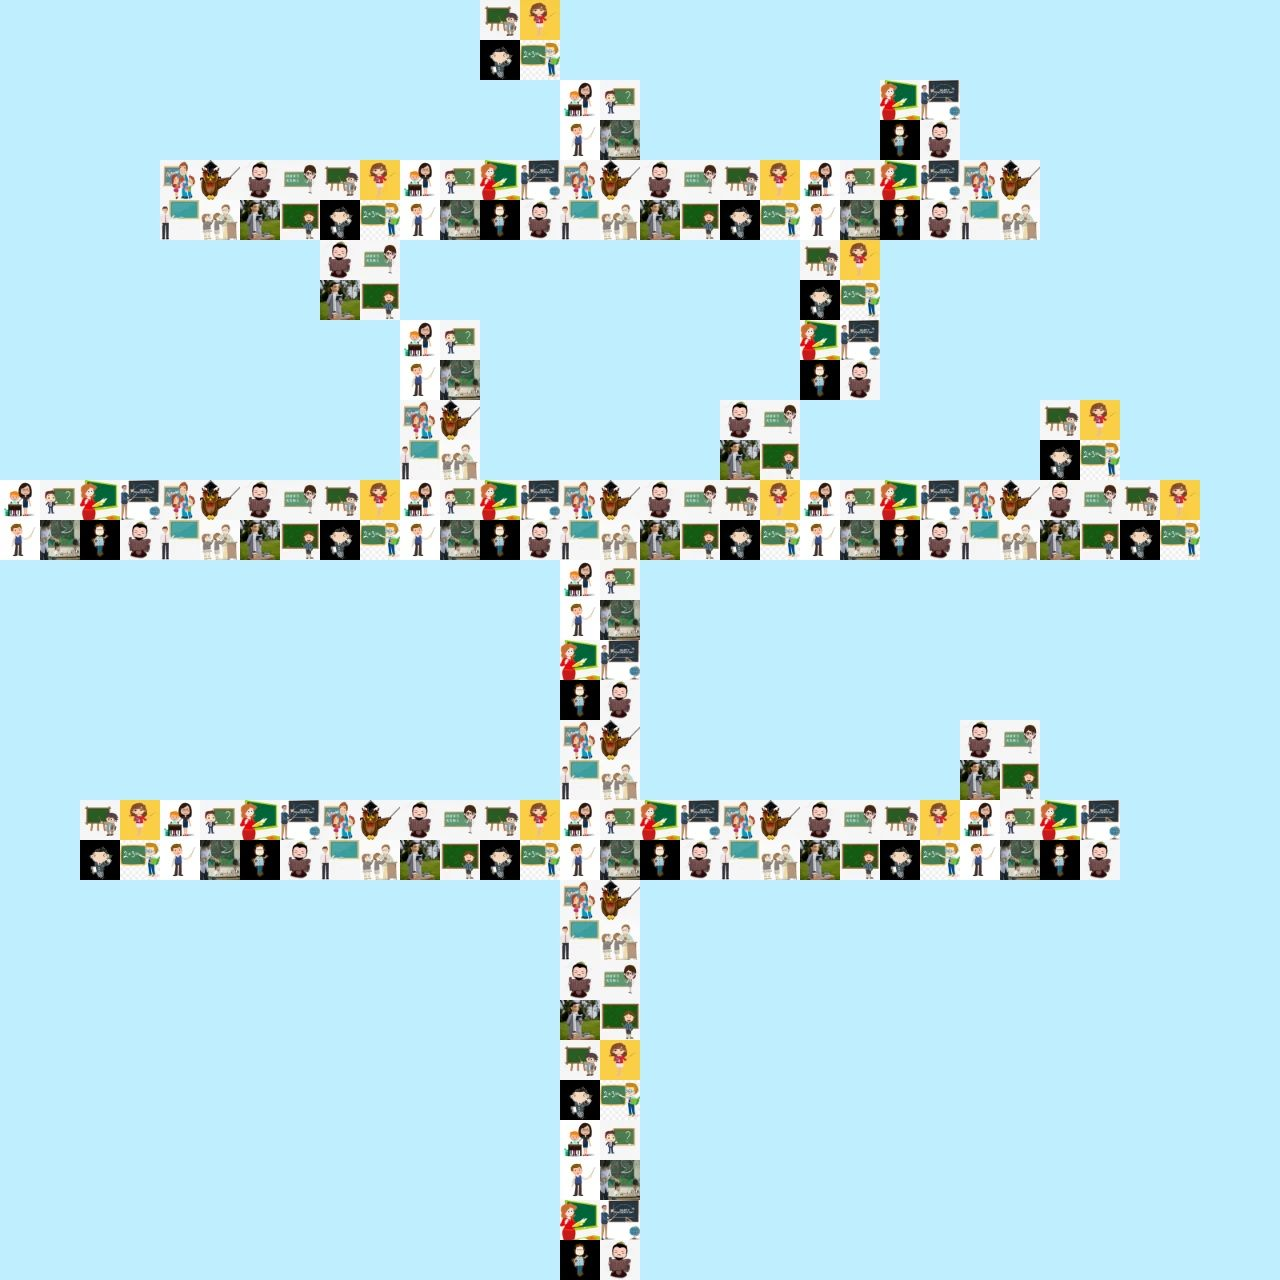
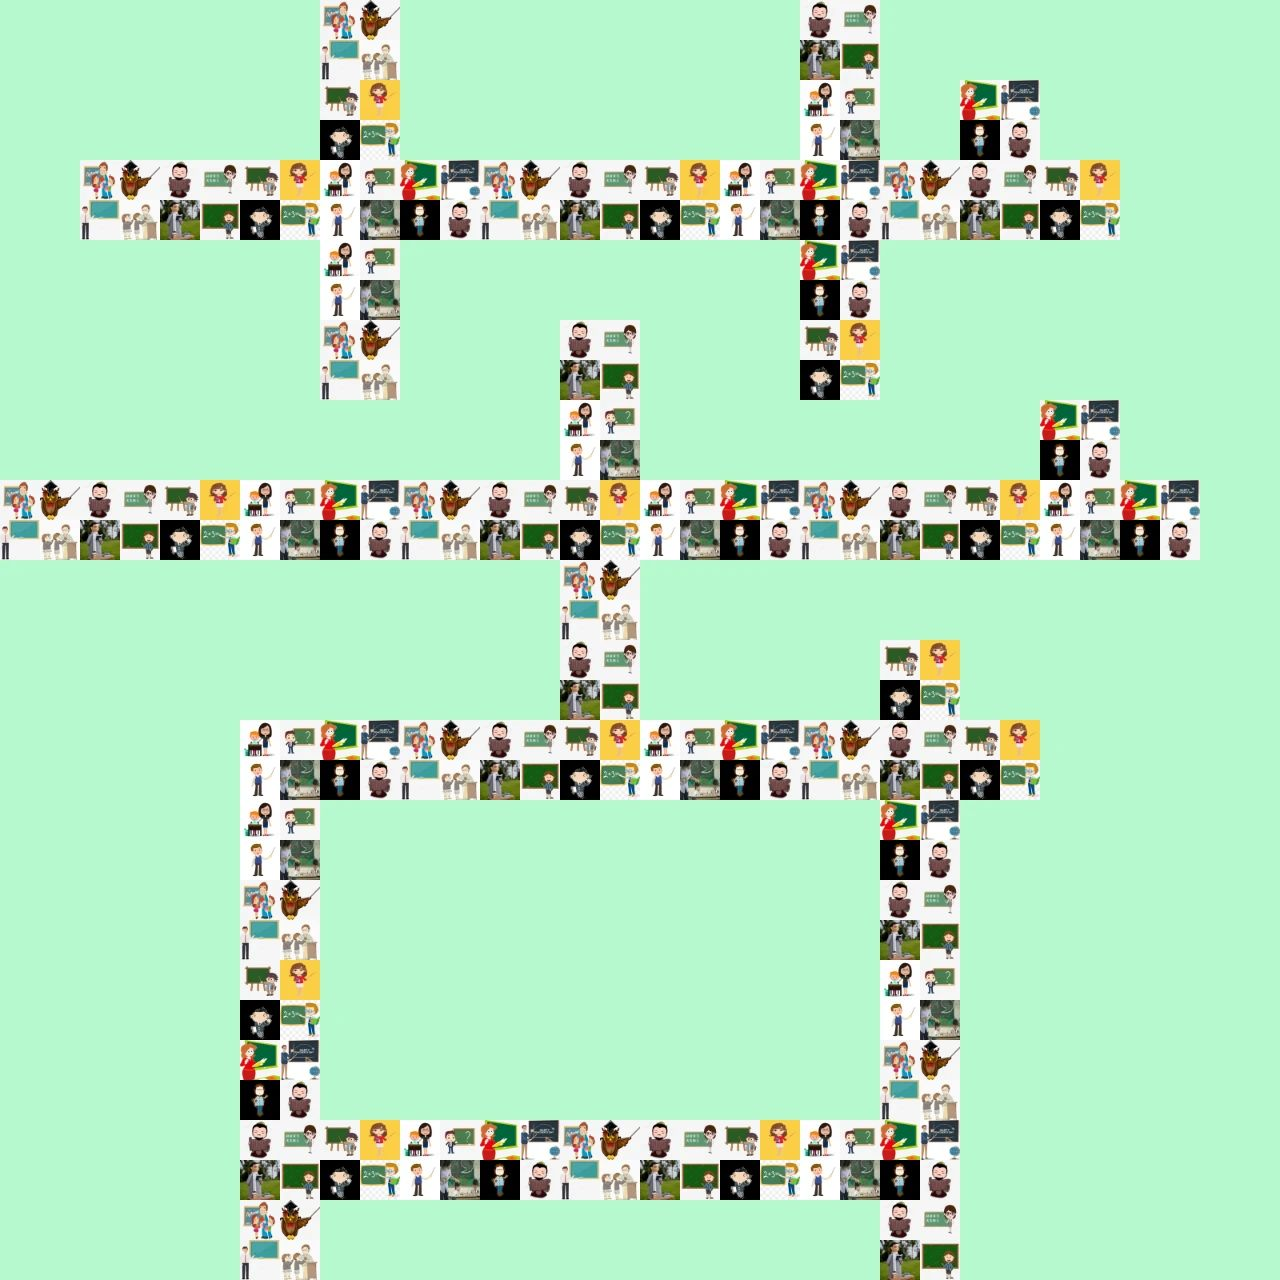
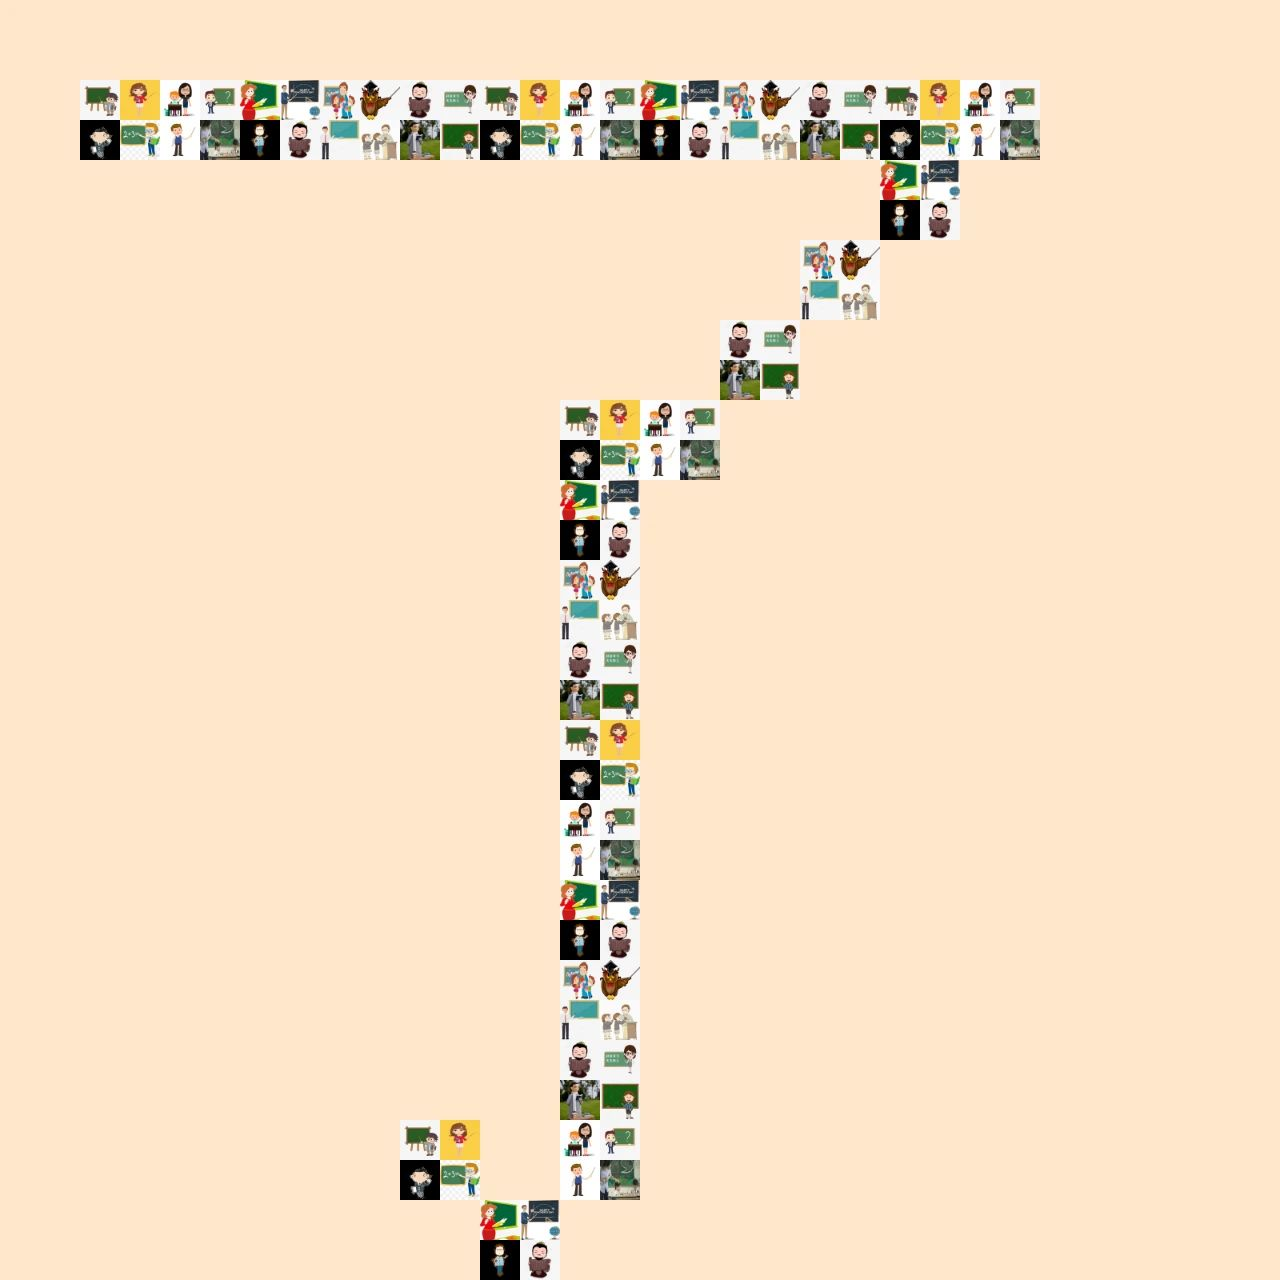
We can also use Python to make some photos into text-effect photo walls.
To achieve the effect:
The main implementation code:
# 将字转化为汉字库的点阵数据
def char2bit(textStr):
    KEYS = [0x80, 0x40, 0x20, 0x10, 0x08, 0x04, 0x02, 0x01]
    target = []
    global count
    count = 0
    for x in range(len(textStr)):
        text = textStr[x]
        rect_list = [] * 16
        for i in range(16):
            rect_list.append([] * 16)
        gb2312 = text.encode('gb2312')
        hex_str = binascii.b2a_hex(gb2312)
        result = str(hex_str, encoding='utf-8')
        area = eval('0x' + result[:2]) - 0xA0
        index = eval('0x' + result[2:]) - 0xA0
        offset = (94 * (area-1) + (index-1)) * 32
        font_rect = None
        with open("HZK16", "rb") as f:
            f.seek(offset)
            font_rect = f.read(32)
        for k in range(len(font_rect) // 2):
            row_list = rect_list[k]
            for j in range(2):
                for i in range(8):
                    asc = font_rect[k * 2 + j]
                    flag = asc & KEYS[i]
                    row_list.append(flag)
        output = []
        for row in rect_list:
            for i in row:
                if i:
                    output.append('1')
                    count+=1
                else:
                    output.append('0')
        target.append(''.join(output))
    return target


# 生成图片文字
def head2char(workspace,folder,self,outlist):
    # 将工作路径转移至头像文件夹
    os.chdir(folder)
    # 获取文件夹内头像列表
    imgList = os.listdir(folder)
    # 获取头像图片个数
    numImages = len(imgList)
    # 设置头像裁剪后尺寸
    eachSize = 100
    # 变量 n 用于循环遍历头像图片
    n=0
    # 变量 count 用于为最终生成的单字图片编号
    count = 0
    # 初始化颜色列表,用于背景着色
    colorlist = ['#FFFACD','#F0FFFF','#BFEFFF','#b7facd','#ffe7cc','#fbccff','#d1ffb8','#febec0','#E0EEE0']
    # index 用来改变不同字的背景颜色
    index = 0
    # 每个 item 对应不同字的点阵信息
    for item in outlist:
        # 将工作路径转到头像所在文件夹
        os.chdir(folder)
        # 新建一个带有背景色的画布,16 * 16点阵,每个点处填充 2 * 2 张头像图片,故长为 16 * 2 * 100
        canvas = Image.new('RGB', (3200, 3200), colorlist[index])  # 新建一块画布
        # index 变换,用于变换背景颜色
        index = (index+1)%9
        count += 1
        # 每个 16 * 16 点阵中的点,用四张 100 * 100 的头像来填充
        for i in range(16*16):
            # 点阵信息为 1,即代表此处要显示头像来组字
            if item[i] == "1":
                # 循环读取连续的四张头像图片
                x1 = n % len(imgList)
                x2 = (n+1) % len(imgList)
                x3 = (n+2) % len(imgList)
                x4 = (n+3) % len(imgList)
                # 以下四组 try,将读取到的四张头像填充到画板上对应的一个点位置
                # 点阵处左上角图片 1/4
                try:
                    # 打开图片
                    img = Image.open(imgList[x1])
                except IOError:
                    print("有1张图片读取失败,已使用备用图像替代")
                    img = Image.open(self)
                finally:
                    # 缩小图片
                    img = img.resize((eachSize, eachSize), Image.ANTIALIAS)
                    # 拼接图片
                    canvas.paste(img, ((i % 16) * 2 * eachSize, (i // 16) * 2 * eachSize))
                # 点阵处右上角图片 2/4
                try:
                    img = Image.open(imgList[x2])
                except IOError:
                    print("有1张图片读取失败,已使用备用图像替代")
                    img = Image.open(self)
                finally:
                    img = img.resize((eachSize, eachSize), Image.ANTIALIAS)
                    canvas.paste(img, (((i % 16) * 2 + 1) * eachSize, (i // 16) * 2 * eachSize))
                # 点阵处左下角图片 3/4
                try:
                    img = Image.open(imgList[x3])
                except IOError:
                    print("有1张图片读取失败,已使用备用图像替代")
                    img = Image.open(self)
                finally:
                    img = img.resize((eachSize, eachSize), Image.ANTIALIAS)
                    canvas.paste(img, ((i % 16) * 2 * eachSize, ((i // 16) * 2 + 1 ) * eachSize))
                # 点阵处右下角图片 4/4
                try:
                    img = Image.open(imgList[x4])
                except IOError:
                    print("有1张图片读取失败,已使用备用图像替代")
                    img = Image.open(self)
                finally:
                    img = img.resize((eachSize, eachSize), Image.ANTIALIAS)
                    canvas.paste(img, (((i % 16) * 2 + 1) * eachSize, ((i // 16) * 2 + 1) * eachSize))
                #调整 n 以读取后续图片
                n= (n+4) % len(imgList)
        os.chdir(workspace)
        # 创建文件夹用于存储输出结果
        if not os.path.exists('output'):
            os.mkdir('output')
        os.chdir('output')
        # 存储将拼接后的图片,quality 为图片质量,1 - 100,100 最高
        canvas.save('result%d.jpg'% count, quality=100)
summary
In this article, we used Python to implement 3 ways to send blessings, and what are your better or interesting ways to do it?
The above is
W3Cschool编程狮
about
the use of Python for teachers to send holiday greetings
related to the introduction, I hope to help you.