ASP.NET deployment
May 13, 2021 ASP.NET
Table of contents
Deployment
There are currently two types ASP.NET deployments:
- Local deployment: In this case, the entire application is contained in a virtual directory, with all content and assemblies included and can be used by the application.
- Global deployment: In this case, components can be used by every application running on the application server.
However, there are many different technologies that we can leverage in a deployment, and here's how to deploy the most common and simplest:
- XCOPY deployment
- Copy a Web site
- Create a setup project
XCOPY deployment
XCOPY deployment is the recursive copy of all files to the target folder on the target computer. Y ou can use any of the following common techniques:
- FTP transport
- Use server management tools that provide replication to remote sites
- MSI installer app
XCOPY deploys simply copy program files to the production server and set up a virtual directory there. You need to use the Internet Information Microsoft Management Console (MMC Snap-in) to set up the virtual directory.
Copy a Web site
Copying a Web site in Visual Studio is an option available. I t can be implemented in the Website-Copy Web Site menu options. T his menu item allows you to copy the current site to another local or remote location. It is an integrated FTP tool.
Use the following options to connect to your destination to select the replication mode you want:
- Covered
- From the source to the target file
- Synchronize the source and target items
The file is then physically copied. U nlike XCOPY deployments, this process is deployed from a Visual Studio environment. H owever, the following two or more deployment methods have the following issues:
- You passed your source code.
- There are no precompiled and error-checked files.
- The initial page load will be slow.
Create a setup project
In this approach, you use Windows Installer and package the web application so that it can be deployed on a production server. V isual Studio allows you to create deployment packages. S o let's test one of our existing project, data binding scenarios.
To open the project, take the following steps:
Step (1): Select File - Add - New Project, using the root of the website that appears in Solution Explorer.
Step (2): Select Setup and Deployment under Other Project Types, and then Setup Wizard.
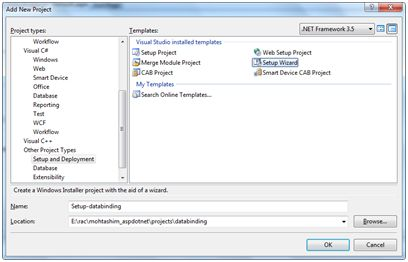
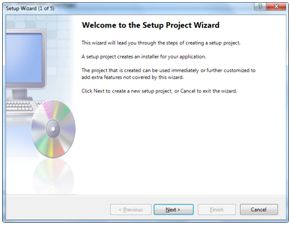
Step (3): Select the default location to ensure that the project will be established under your own folder site at the root. P oint Okay and we get the first screen of the wizard.
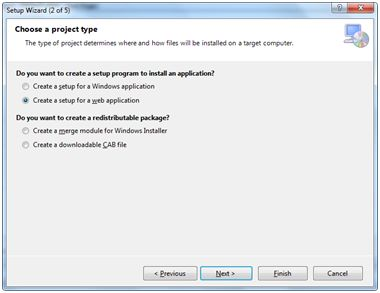
Step (4): Select the project type. S elect 'Create a setup for a web application'.
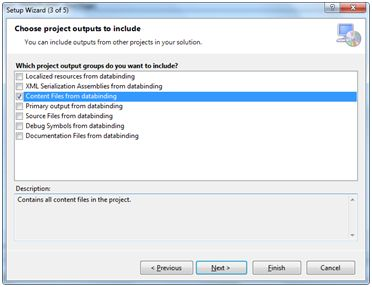
Step (5): Next, the third screen selects the project output from all the items in the solution. C heck the 'Content Files from...' next to the check box
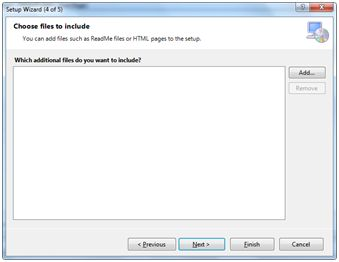
Step (6): The fourth screen allows for the including of other files such as the Self-Report. H owever, in our case there is no such document. C lick to end.
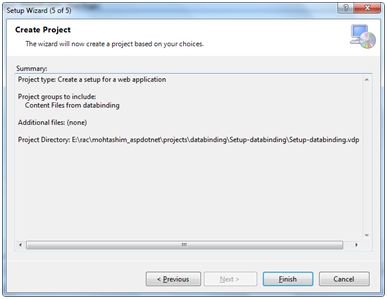
Step (7): The final screen display sets up the project summary.
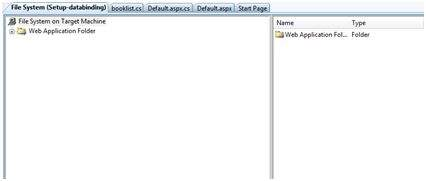
Step (8): Set up the project to be added to Solution Explorer, and a file system editor appears in the main design window.
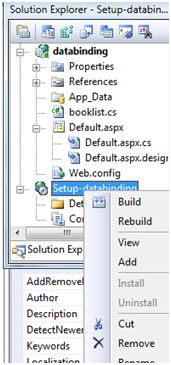
Step (9): The next step is to create an installation project. R ight-click the project name in Solution Explorer to select Build.
Step (10): When the establishment is complete, you will get the following information in the output window:

Two files are created during the build process:
- Setup.exe
- Setup-databinding.msi
You need to copy these files to the server. Double-click the installation file on the local machine to install the contents of the MSI file.