The Meteor collection
May 09, 2021 Meteor
Table of contents
5. Console, Console and Console
6. A collection on the server side
7. Meteor.com mongo on the page
10.. Client-server communication
12.. Extract data from the database
Collection
In the first chapter we mentioned the core feature of Meteor, which is automatic data synchronization between the server side and the client.
In this chapter we take a closer look at how it works, and examine the key technology that makes it work: the Meteor Collection.
A collection is a special data structure that stores your data in a persistent, server-side MongoDB database and syncs it in real time with each connected user browser.
We wanted our post to be saved permanently and shared among users, so we started by creating a
Posts
called Posts to save them.
We're doing a social news app now, so the first thing we do is make a list of people's posts. We call it 'post'.
Naturally, we need to save them. Meteor bundles MongoDB running on the server as persistent storage.
So while a user has various states on the browser (such as which page they're reading, or entering that comment), the server, especially Mongo, holds consistent data that's permanently retained. When it comes to consistent, we mean the same data for all users: each user may be looking at a different page, but the main list of posts post is always the same for all users.
This data is stored in the Collection in Meteor. A collection is a special data structure that synchronizes data in real time through publishing and subscription mechanisms to the browser or Mongo database of each connected user. Let's see how it's done.
We wanted our posts posted to be stored and shared with users over time, so we started by
Posts
called Posts to store them.
If you haven't set up a folder
collections/
the root folder and put a
posts.js
in it, add it now.
Posts = new Mongo.Collection('posts');
The directory where the code is located is
server/
Posts
will co-exist running on both the server and the client.
client/
However, the use of this collection is very different in both environments.
Do you want Var or not?
In Meteor, the keyword
var
the scope of an object to a file.
We want
Posts
to work across the app, so we don't want Var as a keyword here.
Store data
Web applications have three basic ways to store data, with different roles:
- Browser memory: This data from JavaScript variables is stored in browser memory, meaning they are not permanent: they exist in the current browser label and disappear when the label is closed.
- Browser storage: Browsers can also store more permanent data, using cookies or local storage local Storage. Although the data is maintained between sessions, it is only for the current user (including between tags) but cannot be easily shared with other users.
- Server-side databases: The best way you want to permanently save data and make it available to multiple users is a database (MongoDB is the default scenario for Meteor applications).
Meteor uses all three ways, sometimes syncing data from one place to another (we'll see right away). Having said that, the database is still a "normalized" data source that contains the primary copy of the data.
Client and server
Code
client/
in the
server/
runs
on the client and server
side. S
o
Posts
collection is
available both on the client and
server side.
However, the role played in their respective environments is very different.
On the server, the collection has a task of contacting the Mongo database to read any data changes. In this case, it can be compared to the standard database.
On the client side, the collection is a secure copy from a subset of data that is consistent in real time. The client's collection always (usually) transparently updates a subset of the data in real time.
Console, Console and Console
In this chapter, we're starting to use the browser console, but don't get confused with terminals, Meteor shells, or Mongo shells. Now make a pair of them.
The terminal command line
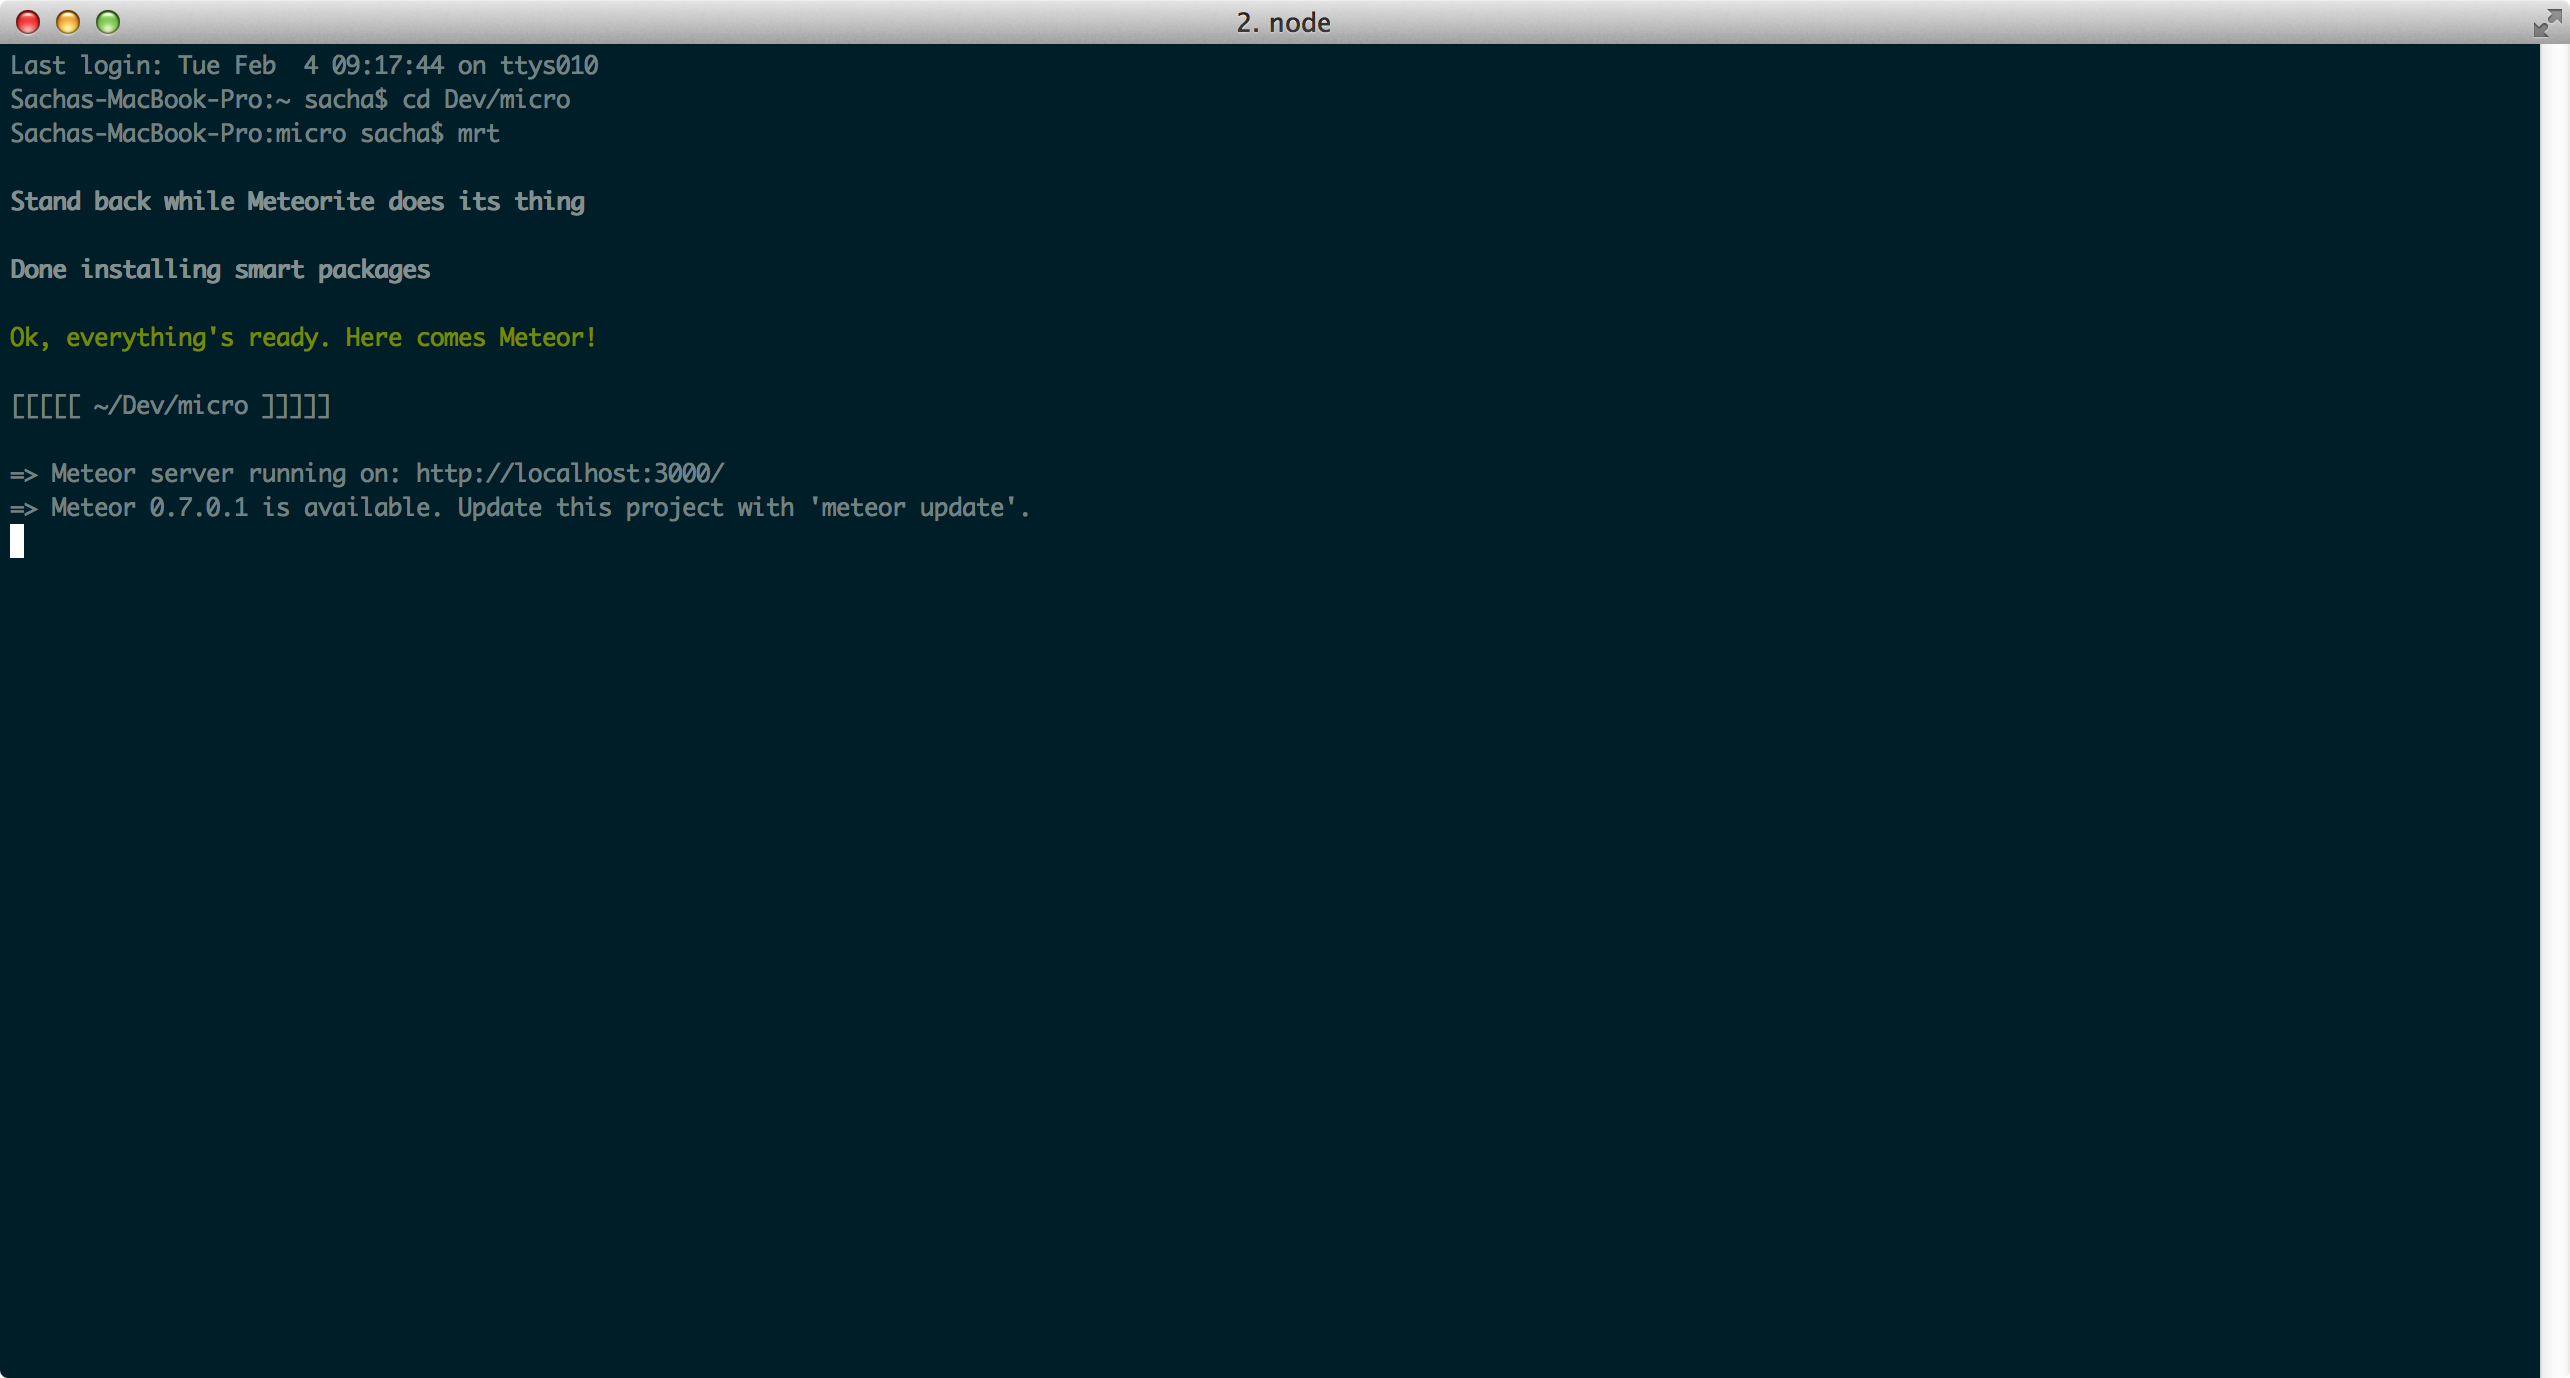
- Started by the operating system
-
The server-side
console.log()output here -
There
$$ prompt - Often also become shell, Bash
The browser console
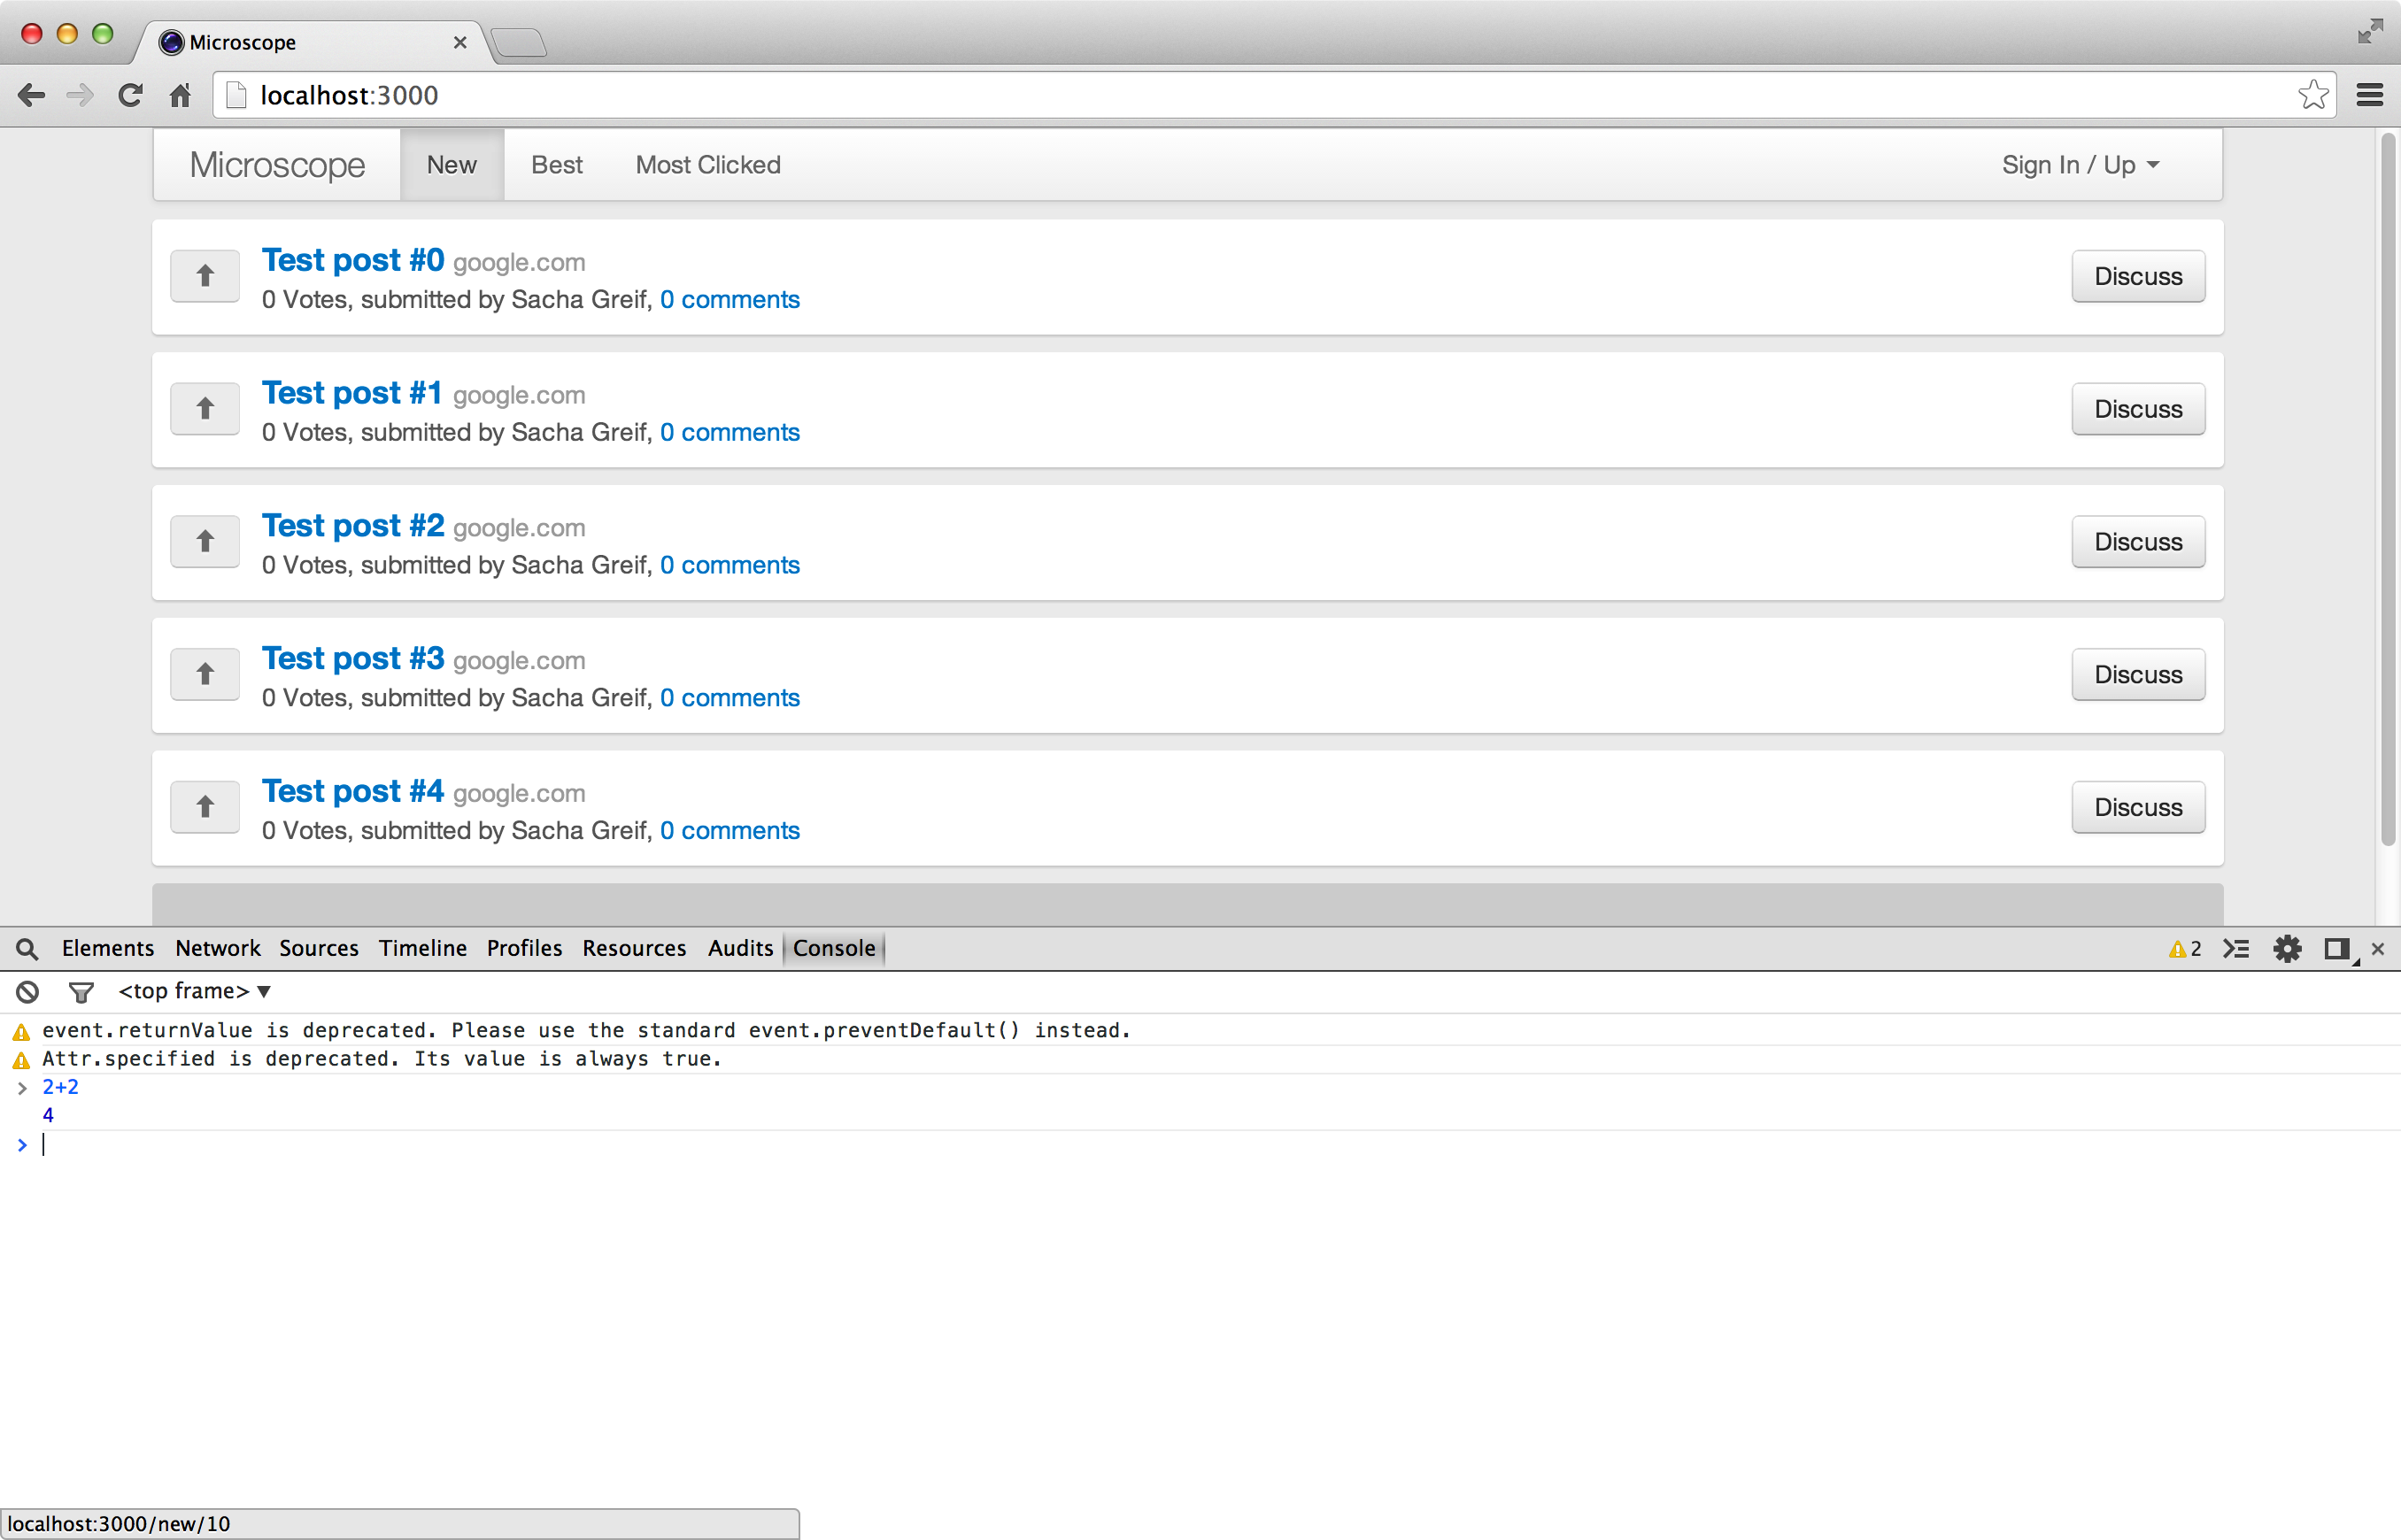
- Start in the browser and execute Javascript code
-
The
console.log()output here -
The prompt is
❯ - Also commonly known as the Javascript console or the Development Tool Console (DevTools Console)
Meteor Shell

-
Called in
meteor shell - Gives you direct access to your app's server-side code.
-
Prompt:
>
Mongo Shell
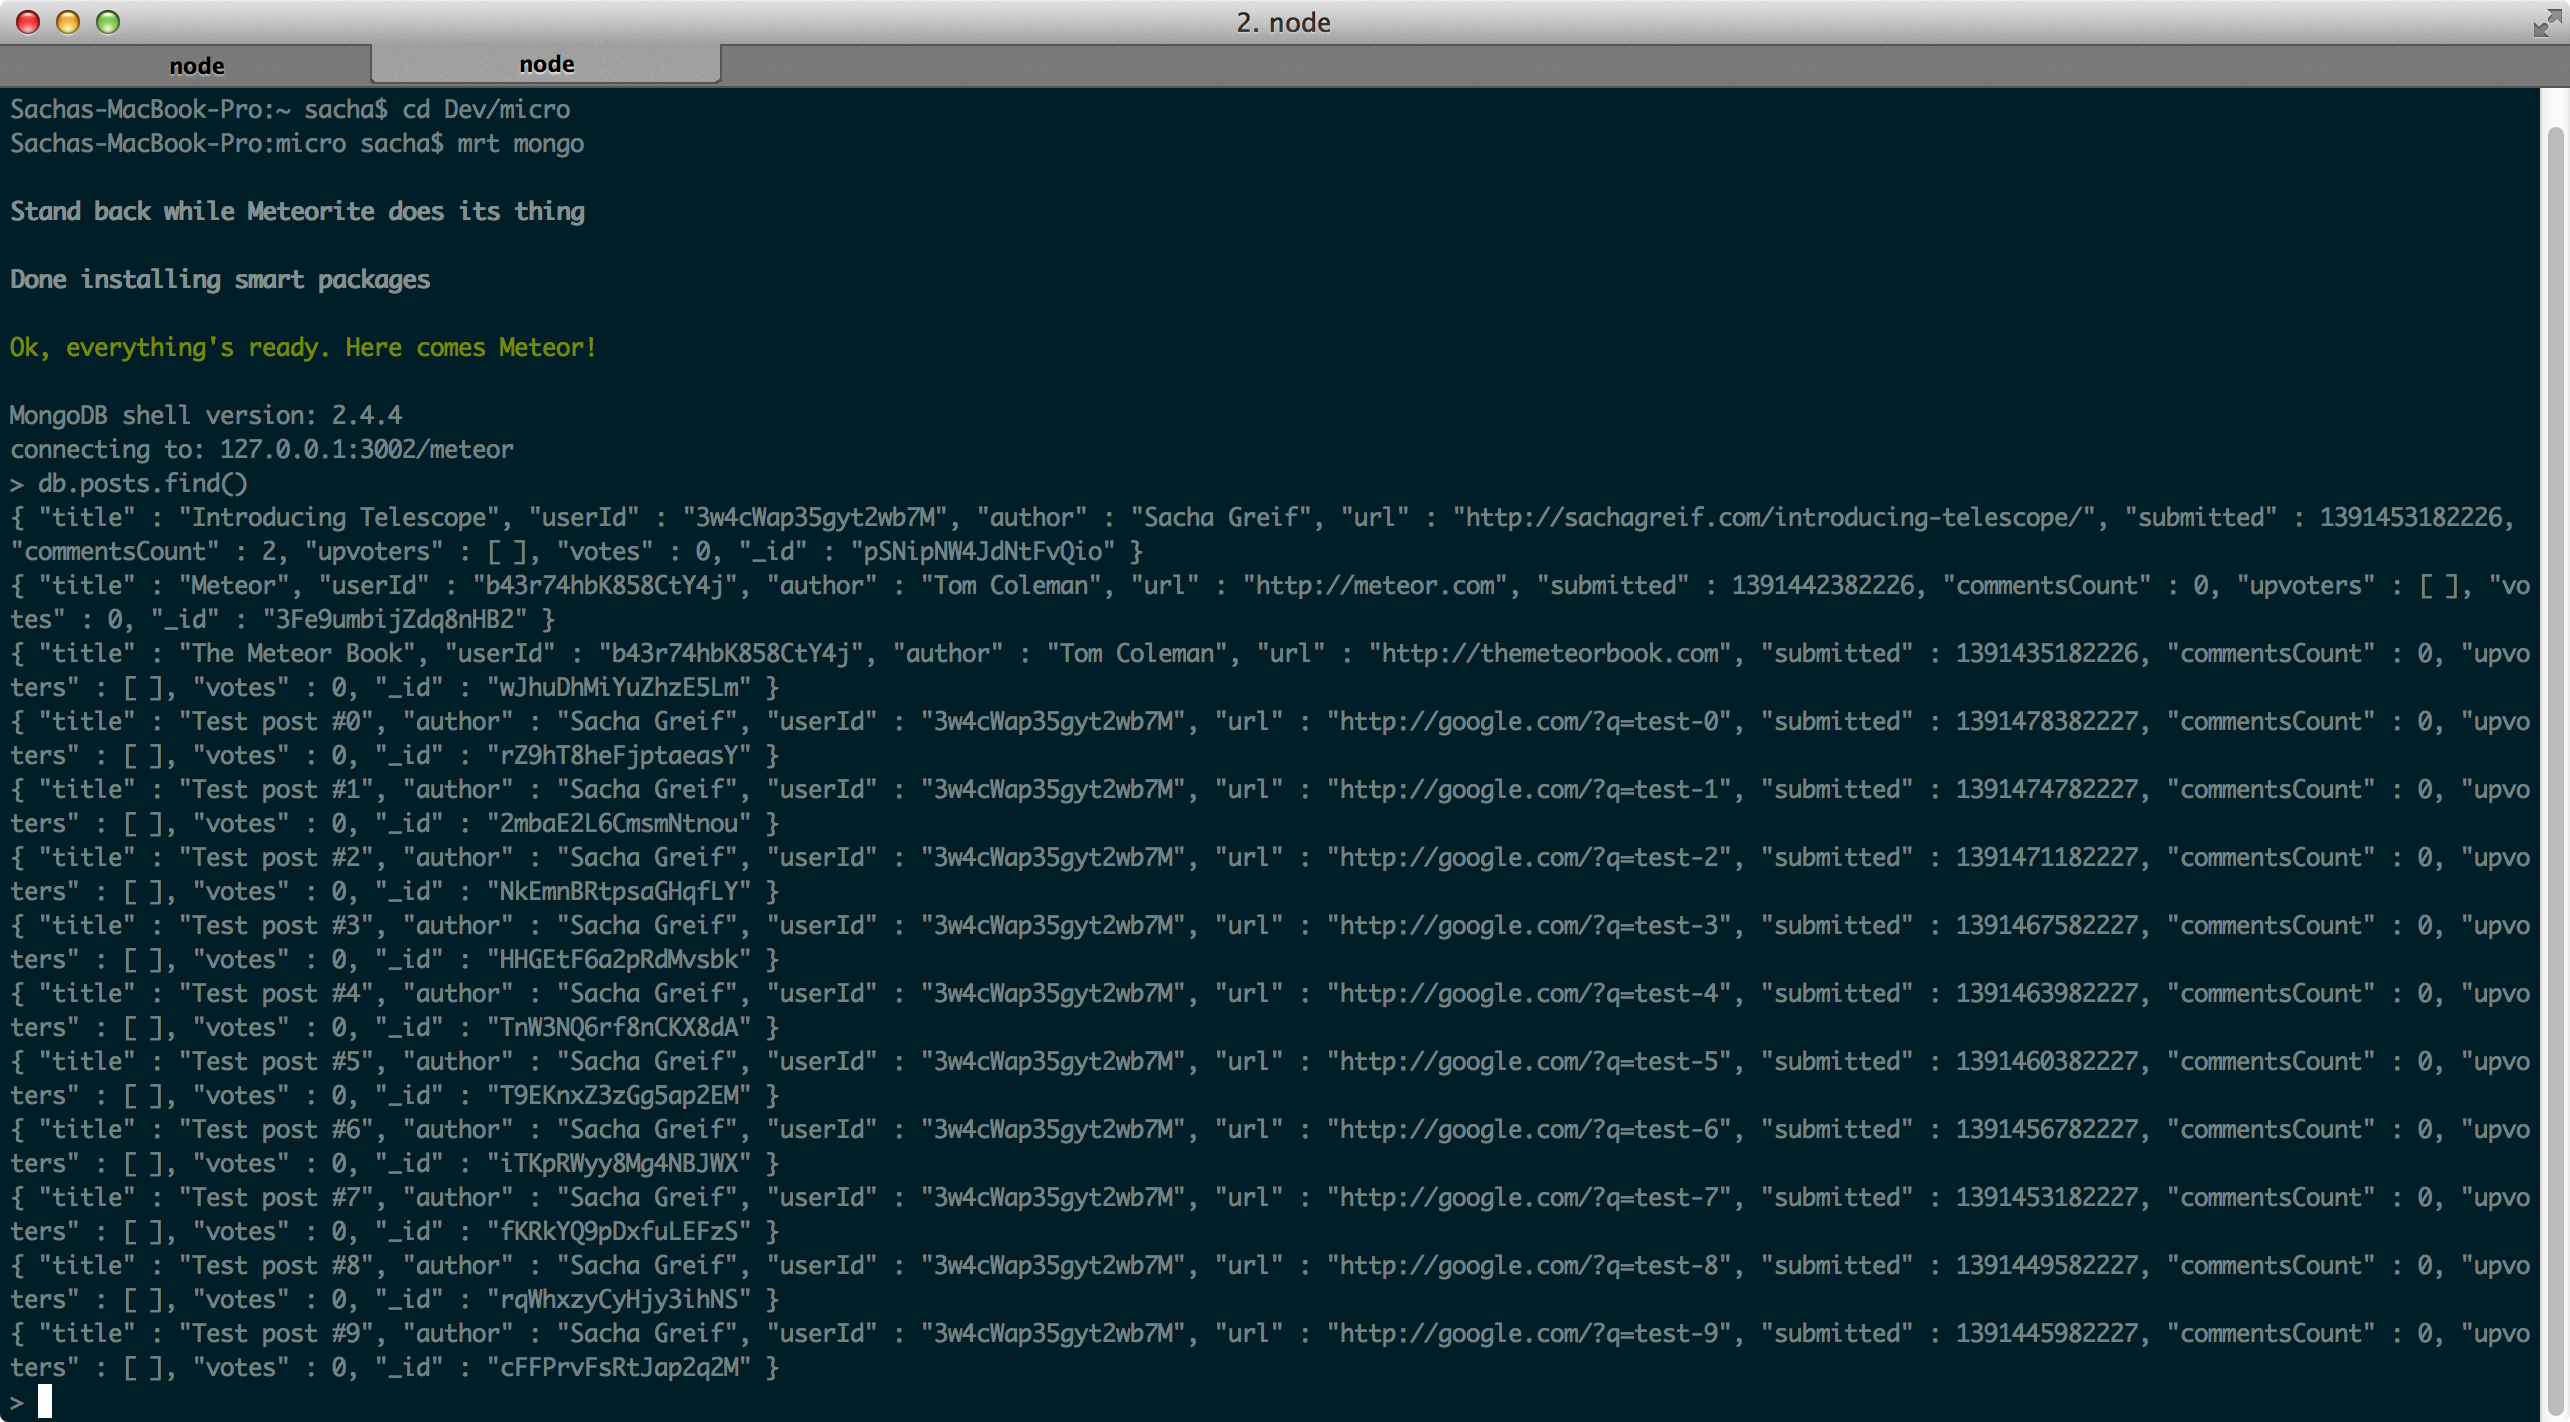
-
Start from the
meteor mongomrt mongo - Here you can work directly on the app's database
-
Prompt
> - Also known as Mongo Console
Note that in all cases you
$
do not need to tap
❯
( $ ,
>
in front of the command.
And you can assume that any line that doesn't start with a prompt is the output of the previous command.
A collection on the server side
On the server side, collections can manipulate the Mongo database like an API.
In server-side code, you can write Mongo commands like
Posts.insert()
or
Posts.update()
to manipulate the
posts
database.
If you want to take a direct look at the MongoDB database, you can open a second terminal window (which is when Meteor continues to run in the first terminal window), and in your app's
meteor mongo
start the Mongo Shell shell. N
ow you can enter the standard Mongo command (as in the past, you can
ctrl+c
shortcut to exit).
For example, let's insert a new post:
meteor mongo

> db.posts.insert({title: "A new post"});

> db.posts.find();
{ "_id": ObjectId(".."), "title" : "A new post"};
Meteor.com mongo on the page
Note If you deploy your app on the .meteor.com, you can also access your app's Mongo shell via
meteor mongo myApp
myApp.
And you can enter
meteor logs myApp
get your app's log log.
Mongo's syntax is familiar because it draws on Javascript's syntax. We don't do much data operations in the Mongo shell right now, but we can always come here and check the data to make sure they're there.
The client collection
The collection of clients is more interesting. W
hen you state on the client
Posts = new Mongo.Collection('posts');
You actually created a local, real Mongo collection in the browser cache.
When we say that a client collection is "cached" it means that it
holds
a subset of your data and provides very fast access
to that
data.
One thing we have to understand is that this is a foundation of Meteor's work: in general, the data from the client's collection is a subset of all the data in your Mongo database (after all, we don't want to pass the entire database's data to the client).
Second, the data is
stored in browser memory, which means that it takes almost no time to access the data, unlike going to the server
Posts.find()
the data is actually loaded.
Introducing MiniMongo
Meteor's client Mongo's technical implementation is available as MiniMongo. I t's not a perfect implementation yet, and you'll find that the occasional Mongo feature doesn't work here. However, the features involved in this book can be implemented in Mongo and MiniMongo.
Client-server communication
The key to all this is how to synchronize the client's collection data with the server-side collection data of the same name (in our current
posts
Instead of explaining the details now, let's see what happens first.
Now let's open two browser windows and open their browser consoles separately. Then open the Mongo shell on the terminal command line.
You can now see the document we built earlier in these three places. ( Note that our app's user interface still shows our previous three demo post, ignore them.) )
> db.posts.find();
{title: "A new post", _id: ObjectId("..")};
❯ Posts.findOne();
{title: "A new post", _id: LocalCollection._ObjectID};Let's create a post. Run this insert command in one of the browser windows:
❯ Posts.find().count();
1
❯ Posts.insert({title: "A second post"});
'xxx'
❯ Posts.find().count();
2
There is no doubt that this post was added to the local collection. Now let's take a look at Mongo:
❯ db.posts.find();
{title: "A new post", _id: ObjectId("..")};
{title: "A second post", _id: 'yyy'};
As you can see, this post liness all the way to the Mongo database, and we didn't write any lines of code for the process of connecting clients and servers. (
Strictly speaking, we did write a line of code:
new Mongo.Collection('posts')
But it doesn't matter!
Now enter this command into the console of the second browser window:
❯ Posts.find().count();
2
This post is here too! E ven we didn't even do refreshes in the second browser, let alone write any code to push updates. It's all about magic - and it's instant, even though it all looks obvious later.
The reality is that the server-side collection is notified by the client's collection that there is a new post, and then a task is performed to put the post into the Mongo database, which in turn sends it
post
It's no use taking out all the posts in the browser's console. We'll learn how to display this data in a template later and turn this simple HTML prototype into a useful real-time web app.
Stay in real time
Seeing collections from the browser console is one thing, and we should be more concerned with being able to display data and changes in data on the screen.
To do this, we need to transform our app from a single page that displays static data
页面
an app that can dynamically data in real
应用
Let's see how we do it.
Extract data from the database
First of all, let's put some data in the database.
What we're going to do is have the server read the data structure from a data file at the first initial startup in
Posts
collection.
First, we want to make sure that there is no data in the database. W
e use
meteor reset
command to empty the database to initialize our project.
Of course, be very careful if you're on a real, running official project.
Stop the Meteor service (by
ctrl-c
and enter it on the command line:
meteor resetThis reset command completely emptys the Mongo database. This command is useful when developing, especially when our database is in data clutter.
Restart our Meteor app now:
meteor
Now that the database is empty, we can add the following code to check the
Posts
collection when the server starts, and load three posts if it is empty.
if (Posts.find().count() === 0) {
  Posts.insert({
    title: 'Introducing Telescope',
    url: 'http://sachagreif.com/introducing-telescope/'
  });

  Posts.insert({
    title: 'Meteor',
    url: 'http://meteor.com'
  });

  Posts.insert({
    title: 'The Meteor Book',
    url: 'http://themeteorbook.com'
  });
}
Add data to the posts collection
We put this file in the
server/
so it will never be loaded into any user's browser. T
his code runs immediately when the server starts, and then calls
插入
feature to insert three simple posts into the
posts
collection of the database.
Since we haven't added any data security features, running this file on both the server and the client is virtually indesoly different.
Now that we start the service with the
meteor
command, the three posts are loaded into the database.
Dynamic data
Now if we open the console of a browser, we can see that all three posts have been reprinted to MiniMongo:
❯ Posts.find().fetch();To render these posts into HTML, we need to use the template helper.
In Chapter 3, we see that Meteor allows
us
to bundle the data context into our Spacebars template to display these simple data structures in HTML views. W
e can also bundle our collection data.
We immediately replace the
postsData
Javascript object as a dynamic collection.
Now please delete the
postsData
will.
posts_list.js
modified look:
Template.postsList.helpers({
  posts: function() {
    return Posts.find();
  }
});
Connect the collection
postsList
template
Find and extract
In Meteor,
find()
return value is a
cursor.
A
cursor is a
100-ed data source.
If you want to output content, you can use
fetch()
to convert cursors into arrays.
Meteor intelligently keeps cursors in the app and turns them into arrays without moving.
This causes you not to see
fetch()
the same reason, we didn't use fetch in the example above).
Now, instead of turning posts into static arrays, assign cursors directly to
posts
help methods. B
ut how can it be done?
If we go back to the browser, we can see:
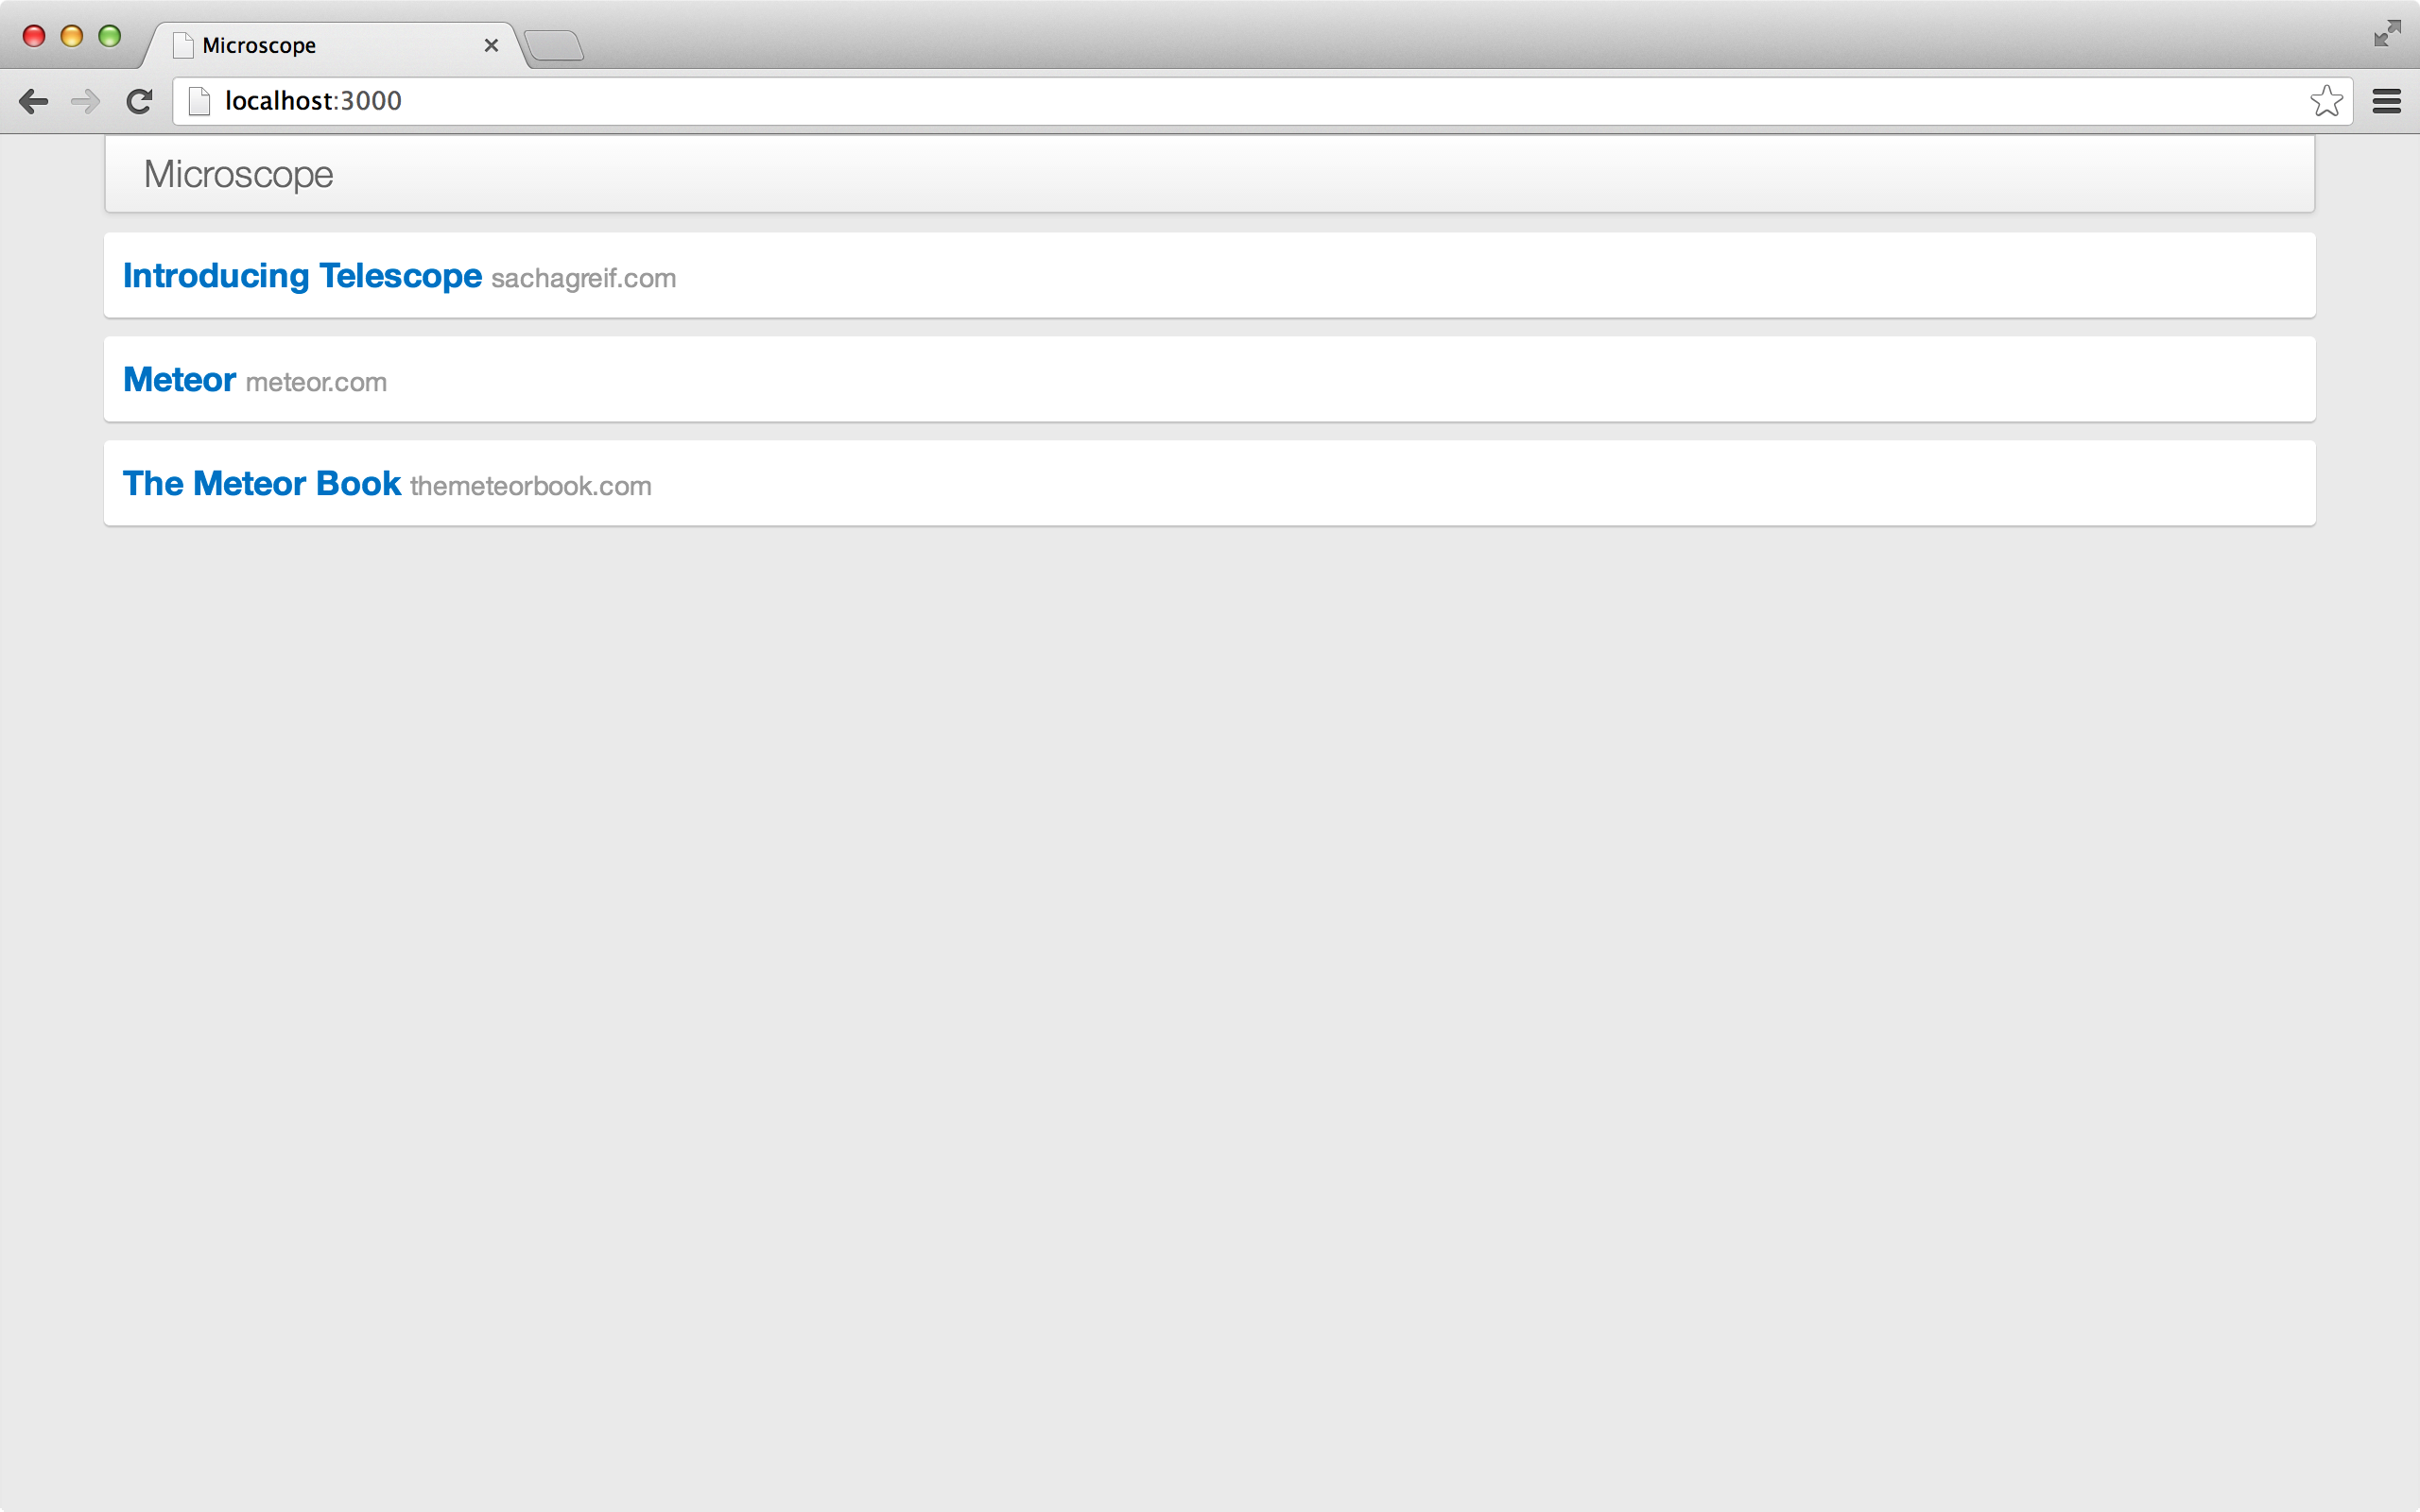
We can clearly see
{{#each}}
Posts have been enumerated and displayed on the screen.
Posts
The server-side collection takes the post data out of the Mongo database and passes it over the network to the client's collection, which in turn loads the data into the template with the help of the handlers.
Now we just need to go one step further; let's add another post through the console:
Posts.insert({
  title: 'Meteor Docs',
  author: 'Tom Coleman',
  url: 'http://docs.meteor.com'
});
Look again at the browser - you'll see these:
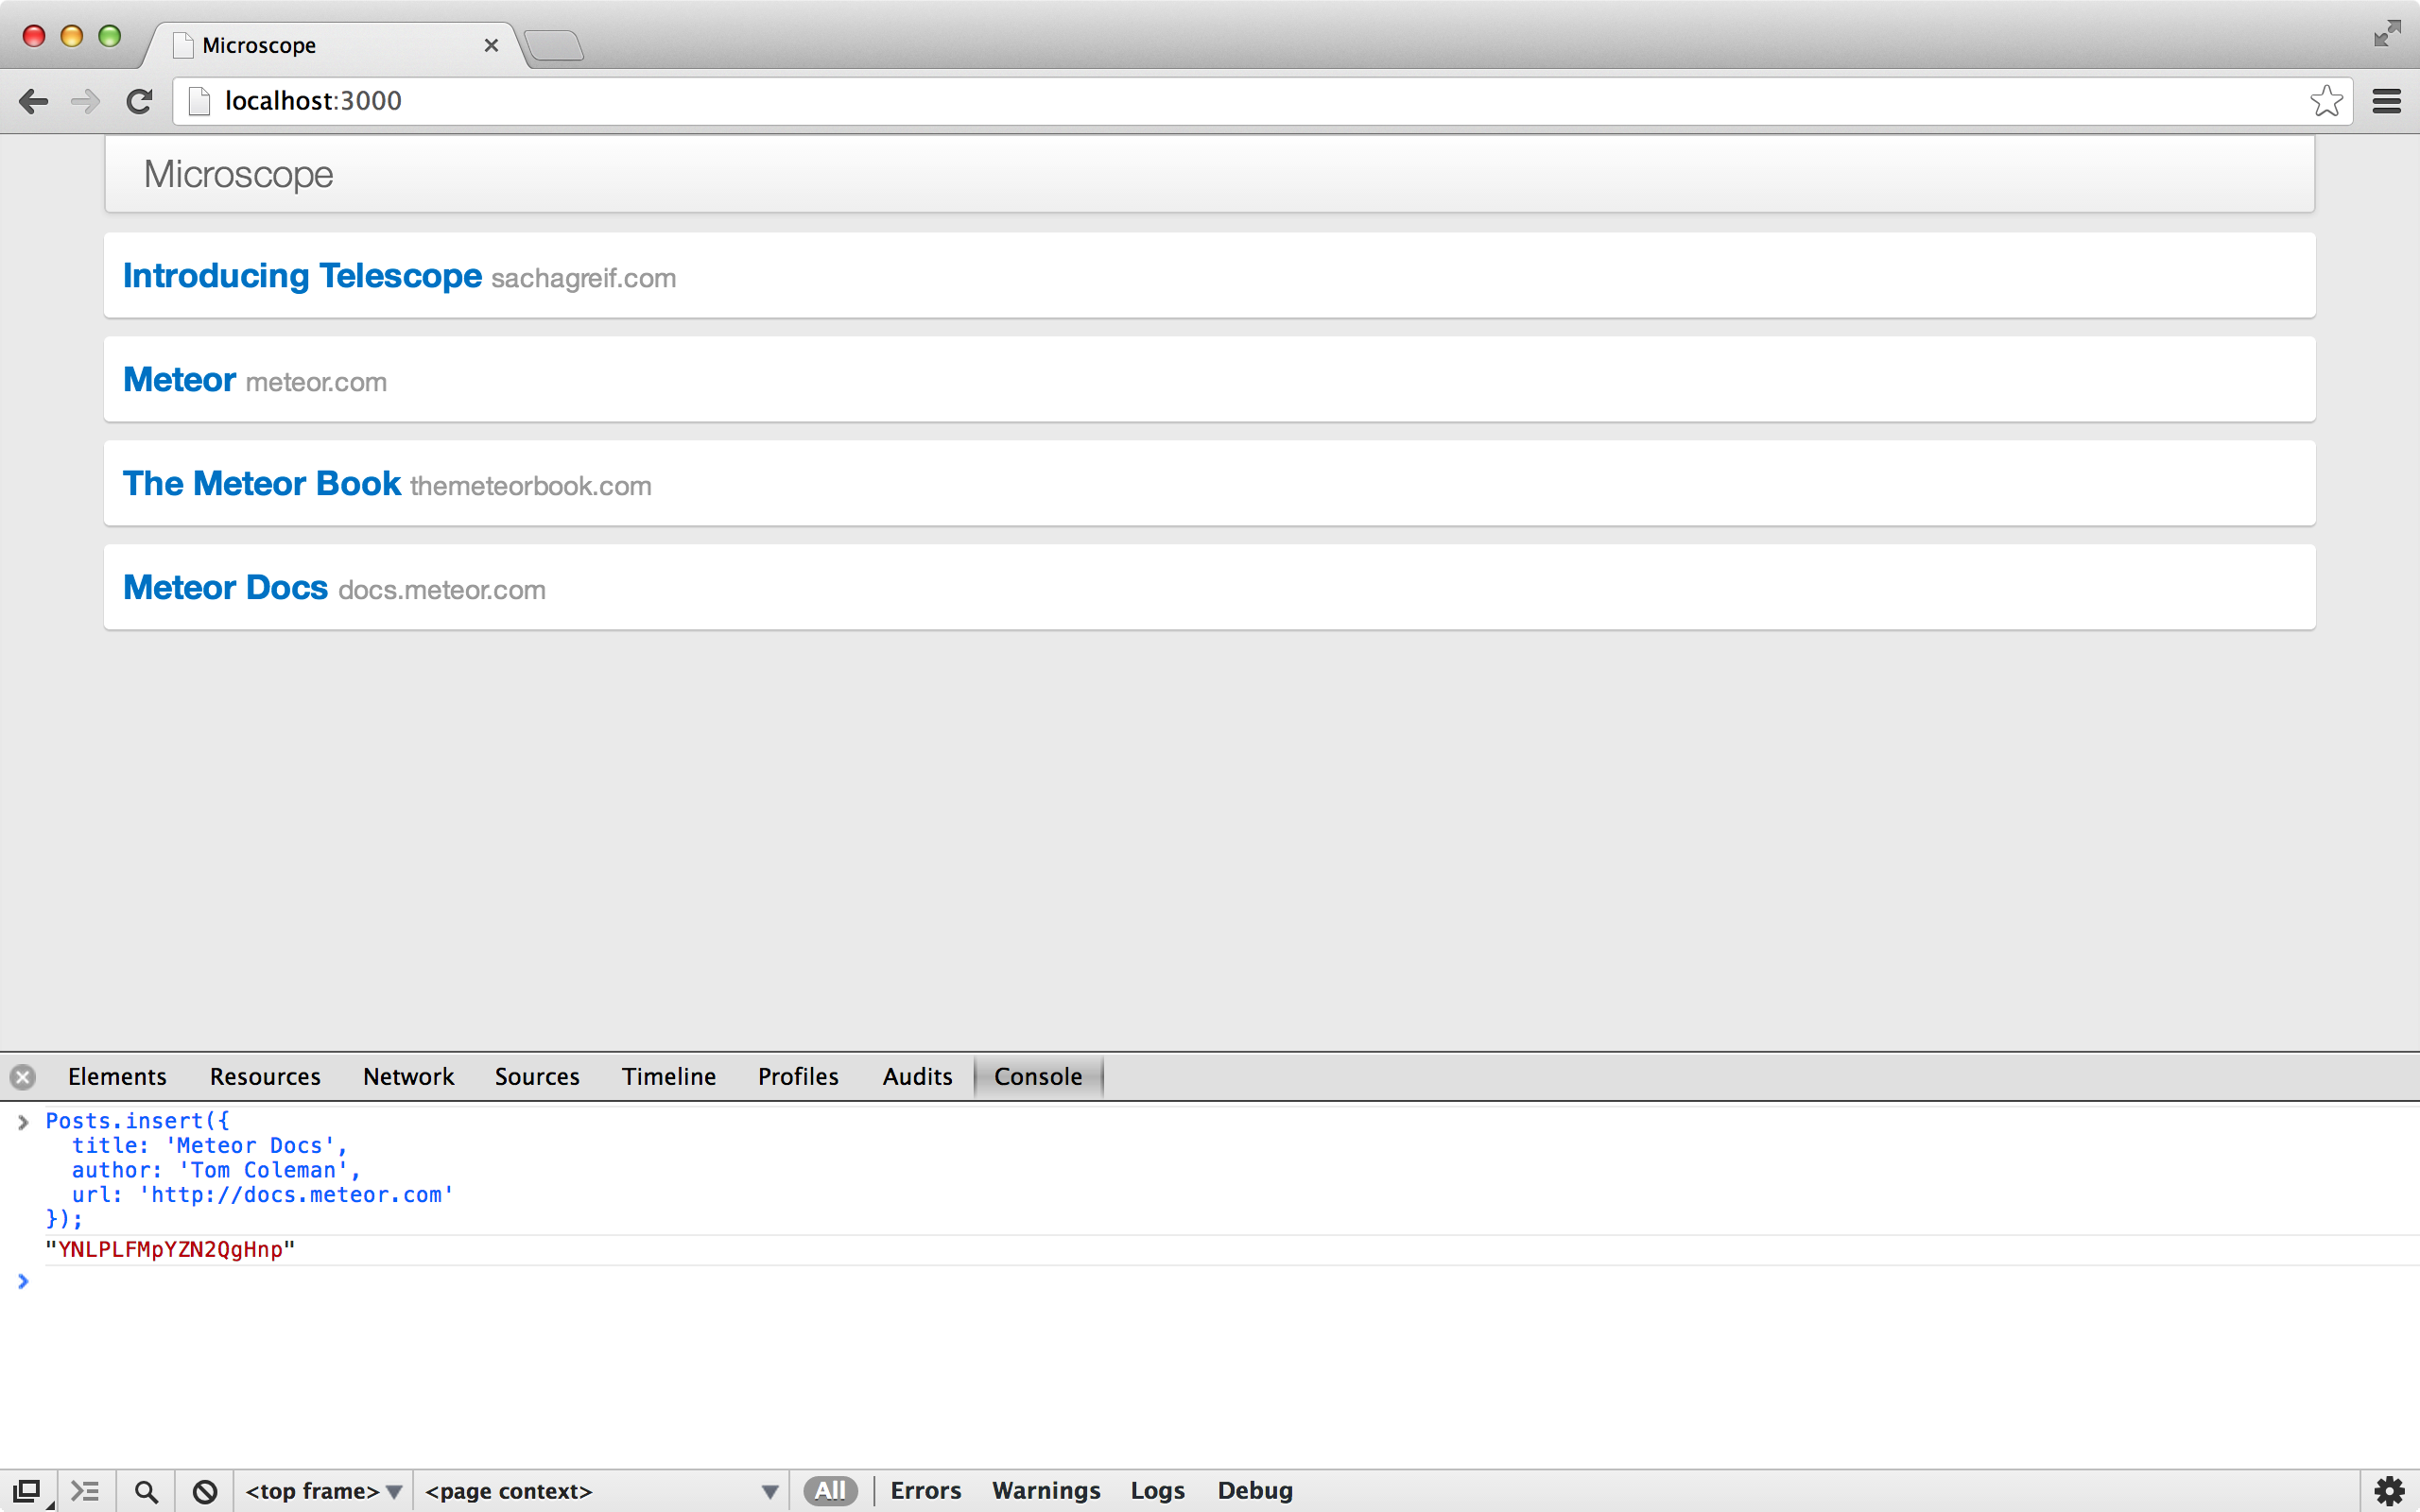
You just saw for the first time that the edration function is in effect.
When we tell handlebars to enumerated
Posts.find()
it knows how to spot changes in the cursor itself, so that the correct display of the change is displayed on the screen in the simplest way possible.
Check for DOM changes
In the present situation, the simplest change should be to add a
<div class="post">...</div>
。
If you want to see if that's the case, you can open the DOM Inspector and
<div>
Now in the Javascript console, insert another post. W
hen you go back to the inspector, you'll find a new
<div>
corresponding to the new one. A
t the same time,
the old
one that
<div>
This is an effective way to determine whether an element has been re-rendered.
Connection collection: Publish and subscribe
Until now, we've still
autopublish
package, which is not intended for formally productized applications. A
s its name states, it simply shares the entire collection with all connected clients.
This is not what we expected, so let's get rid of it.
Open a terminal window and enter:
meteor remove autopublish
There was an immediate reaction to this operation. W
hen you open your browser, you'll find that all your posts are gone!
This is because we have been
autopublish
to allow our clients to mirror all posts in the database.
Ultimately we need to do something that we just transfer the posts that our clients need to see (we need to consider picing).
But for the time being, we can
Posts
to post all posts first.
To do this, we set up a simple
Publish()
function that returns only one cursor that reflects all posts.
Meteor.publish('posts', function() {
  return Posts.find();
});
On the client we need
to subscribe
to this publication.
We just need to add such a line to
main.js
file:
Meteor.subscribe('posts');
Remove
autopublish
establish basic publishing features
If you take a look at your browser now, you'll find that the posts are back. W ow! It's dangerous!
Summarize
What have we done? A lthough we don't have a user interface yet, at least we already have a useful application. We can deploy this app to the web, post (using the browser's console) and see the post appear on another user's browser.