React installation
This section explains how react installations work.
React is available for direct download, and many examples of learning are available in the download package.
This tutorial uses React's version 15.4.2, and you can download the latest version http://facebook.github.io/react/ the website.
You can also use the React CDN library of the W3Cschool tutorial directly at the following address:
<script src="//www.w3cschool.cn/statics/assets/react/react.min.js"></script>
<script src="//www.w3cschool.cn/statics/assets/react/react-dom.min.js"></script>
<script src="//www.w3cschool.cn/statics/assets/react/babel.min.js"></script>
Use an instance
The following example outputs Hello, world!
<!DOCTYPE html>
<html>
  <head>
    <meta charset="UTF-8" />
    <title>Hello React!</title>
    <script src="//www.w3cschool.cn/statics/assets/react/react.min.js"></script>
    <script src="//www.w3cschool.cn/statics/assets/react/react-dom.min.js"></script>
    <script src="//www.w3cschool.cn/statics/assets/react/babel.min.js"></script>
  </head>
  <body>
    <div id="example"></div>
    <script type="text/babel">
      ReactDOM.render(
        <h1>Hello, world!</h1>,
        document.getElementById('example')
      );
    </script>
  </body>
</html>
Instance resolution:
In the example, we introduced three libraries: react..js, react-dom.min.js and babel.min.js:
- react.min .js - React's core library
- react-dom..js - provides DOM-related functionality
- Babel..js - Babel can convert ES6 code to ES5 code so that we can execute React code on browsers that do not currently support ES6. B abel is embedded with support for JSX. Using Babel and babel-sublime packages together takes syntax rendering of source code to a whole new level
ReactDOM.render(
	<h1>Hello, world!</h1>,
	document.getElementById('example')
);
The above code inserts an h1 title into the id"example" node.
Attention:
If we need to use JSX, the type property of the label needs to be set to text/babel.
React is used by npm
If your system doesn't .js Node and NPM can refer to our node .js tutorial.
We recommend using a CommonJS module system in React, such as browserify or webpack, for this tutorial.
The first step is to install the global package
$ npm install babel -g
$ npm install webpack -g
$ npm install webpack-dev-server -g
The second step is to create the root
Create a root name: reactApp, and then initialize with npm init to generate a package.json file:
$ mkdir reactApp
$ cd reactApp/
$ npm init
name: (reactApp) youj-react-test
version: (1.0.0)
description: W3Cschool教程 react 测试
entry point: (index.js)
test command:
git repository:
keywords:
author:
license: (ISC)
About to write to /Users/laolan/www/reactApp/package.json:

{
  "name": "youj-react-test",
  "version": "1.0.0",
  "description": "W3Cschool教程 react 测试",
  "main": "index.js",
  "scripts": {
    "test": "echo \"Error: no test specified\" && exit 1"
  },
  "author": "",
  "license": "ISC"
}


Is this ok? (yes)
The third step is to add dependency packages and plug-ins
Because we want to use React, we need to install it ,-- save command to add the package to the package.json file.
$ npm install react --save
$ npm install react-dom --save
We also need to install some babel plug-ins
$ npm install babel-core
$ npm install babel-loader
$ npm install babel-preset-react
$ npm install babel-preset-es2015
Step four, create a file
Let's create some necessary files:
$ touch index.html
$ touch App.jsx
$ touch main.js
$ touch webpack.config.js
Step 5, set up compiler, server, loader
Open webpack.config .js the following code to the file:
 var config = {
   entry: './main.js',

   output: {
      path:'./',
      filename: 'index.js',
   },

   devServer: {
      inline: true,
      port: 7777
   },

   module: {
      loaders: [ {
         test: /\.jsx?$/,
         exclude: /node_modules/,
         loader: 'babel',

         query: {
            presets: ['es2015', 'react']
         }
      }]
   }

}

module.exports = config;
- entry: Specifies the main version of the packaged .js.
- output: Configure the packaging results, path defines the folder of the output, and filename defines the name of the packaged result file.
- devServer: Set the server port number to 7777, and you can set it yourself after the port.
- module: Defines the processing logic for the module, where a series of loaders can be defined with loaders, as well as some positives. When the file that needs to be loaded matches the rules of test, a subsequent loader is called to process the file, which is why webpack is so powerful.
Now open the package.json file and find the "test" "echo" in "scripts" "Error: no test specified" and "samp;exit 1" replaced with the following code:
"start": "webpack-dev-server --hot"
The replaced package.json file reads as follows:
$ cat package.json
{
  "name": "youj-react-test",
  "version": "1.0.0",
  "description": "W3Cschool教程 react 测试",
  "main": "index.js",
  "scripts": {
	"start": "webpack-dev-server --hot"
  },
  "author": "",
  "license": "ISC",
  "dependencies": {
    "react": "^0.14.7",
    "react-dom": "^0.14.7"
  }
}
Now we can use the npm start command to start the service. The --hot command reloads after the file changes, so we don't have to refresh the browser after the code is modified to see the changes.
Step 6, index .html
Set div id s "app" as the root element of our app and introduce index .js script file.
<!DOCTYPE html>
<html>

   <head>
      <meta charset = "UTF-8">
      <title>React App - W3Cschool教程(w3cschool.cn)</title>
   </head>

   <body>
      <div id = "app"></div>
      <script src = "index.js"></script>
   </body>

</html>
Step 7, App.jsx, and main .js
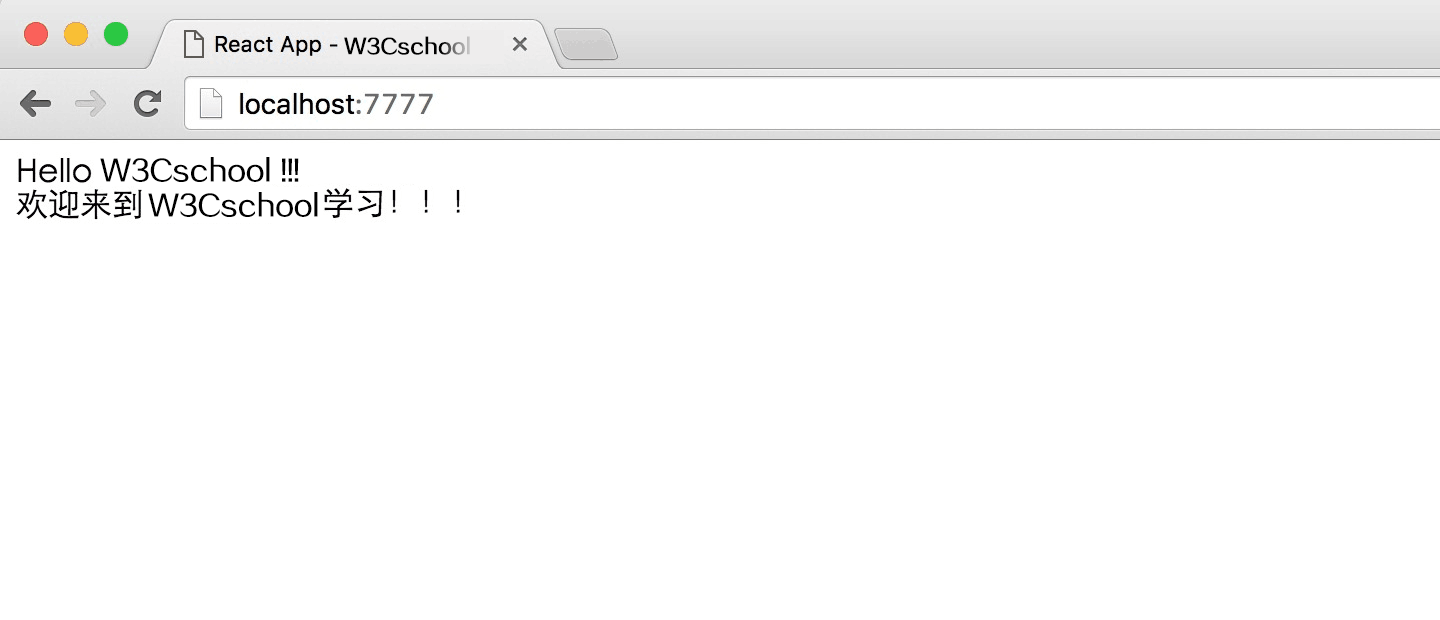
This is the first react component. T he React components are described in more detail in the following sections. This component outputs hello world !!!.
App.jsx file code
import React from 'react';

class App extends React.Component {
   render() {
      return (
         <div>
            Hello World!!!<br />
            欢迎来到W3Cschool教程学习!!!
         </div>
      );
   }
}

export default App;
We need to introduce the component and render it to the root element app so that we can see it on the browser.
Main .js file code
import React from 'react';
import ReactDOM from 'react-dom';

import App from './App.jsx';

ReactDOM.render(<App />, document.getElementById('app'))
Attention:
If you want the component to be available in any app, you need to export it using export after creation and import it in a file that uses the component.
Step 8, Run the service
Once the above configuration is complete, we can run the service:
$ npm start
The browser accesses the http://localhost:7777/ and the output is as follows:
Full instance download
The file code download address for each of the above test instances: reactApp .zip.