MS Access creates queries
May 16, 2021 MS Access
Table of contents
Let's learn how to create a query in this chapter.
Create an update query
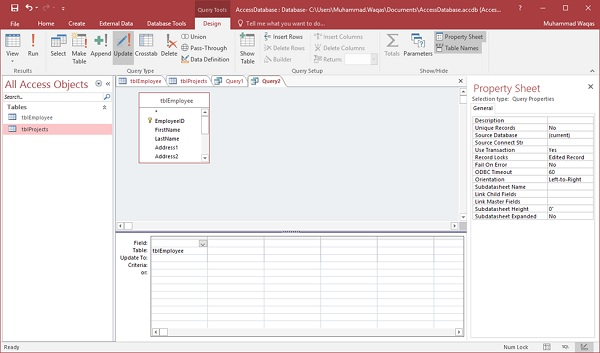
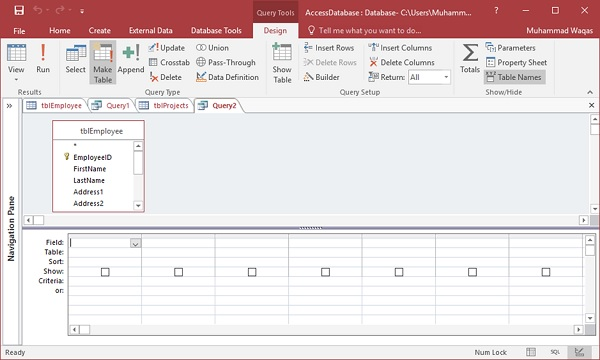
You can use update queries to change the data in the table, and you can use update queries to enter criteria to specify which rows should be updated. gn. et's go to the Create tab again, and then click Query Design.

In the Display Table dialog box in the Table tab, double-click the tblEmployees table, and then close the dialog box.
In the Query Type group on the Design tab, click Update, and then double-click the field where you want to update the value. For example, we're going to update FirstName for Rex to Max.
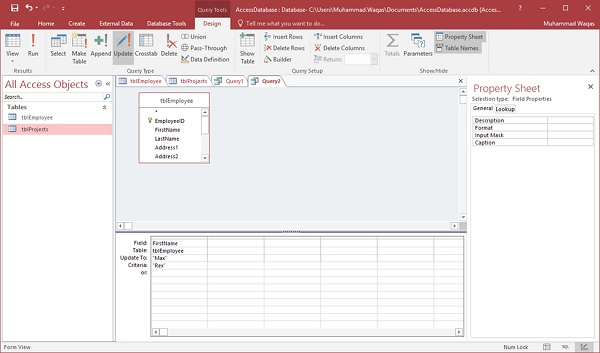
In the Update row of the Design grid, enter the value of the update, then add the original value to update in the Condition row and run the query. This displays a confirmation message.
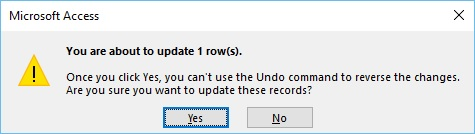
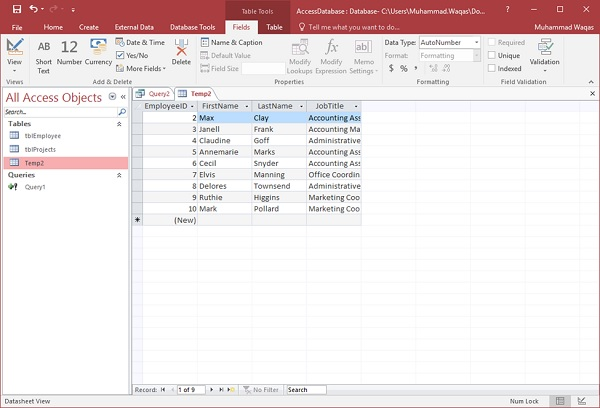
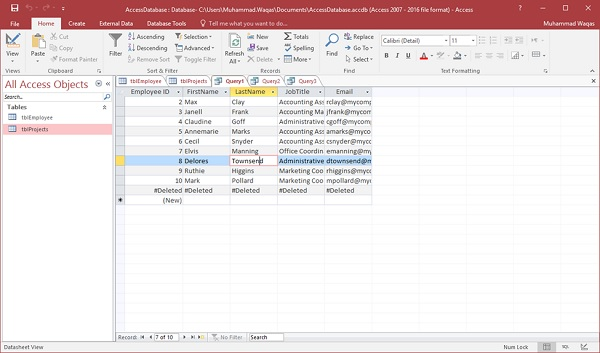
Click Yes and go to the data sheet view and you'll see the first record - FirstName is now updated to Max.

Create a delete query
You can use delete queries to remove data from a table, and you can use delete queries to enter criteria to specify which rows should be deleted. gn. et's go to the Create tab again, and then click Query Design.

In the Table tab of the Display Table dialog box, double-click the tblEmployees table, and then close the dialog box.
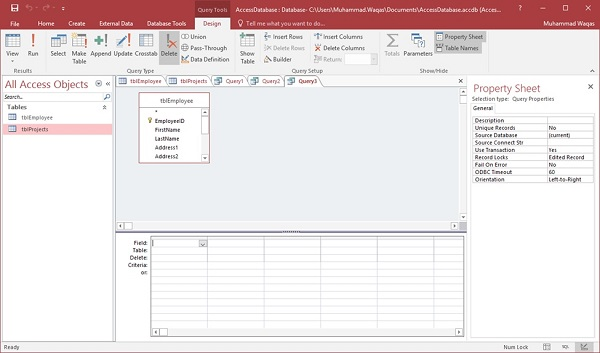
In the Query Type group on the Design tab, click Delete, and then double-click EmployeeID.
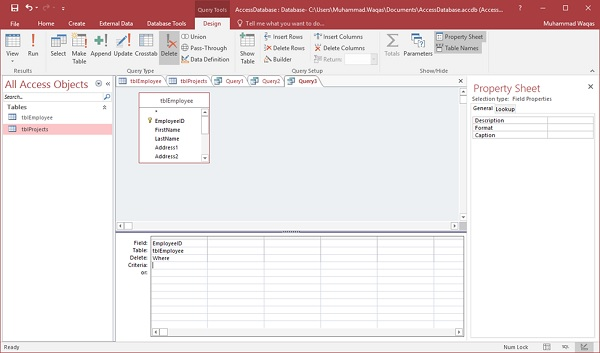
In the Conditional line of the design grid, type 11. Here, we want to remove the employee with the Employee ID of 11.
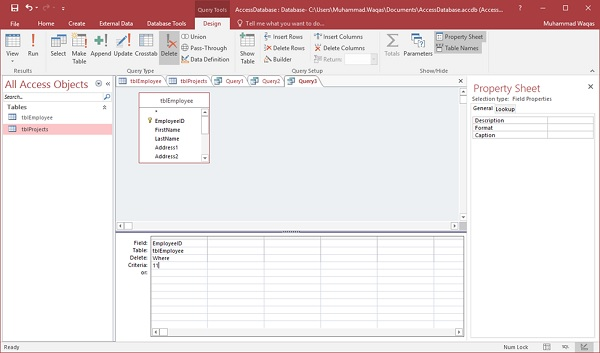
Now let's run the query. ge.
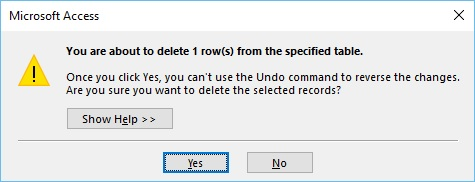
Click Yes and go to your data sheet view and you'll see that the specified employee record has now been deleted.
Create a build table query
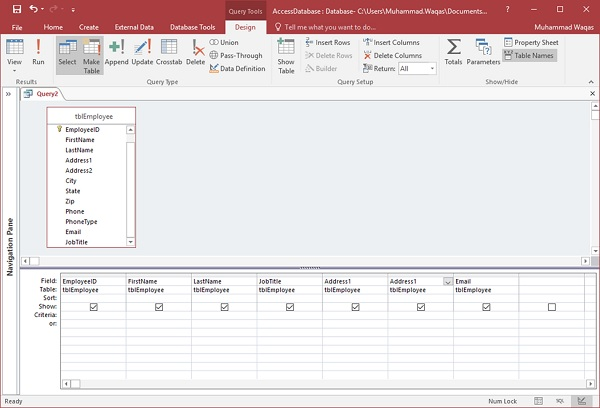
You can use build table queries to create new tables from data stored in other tables. Let's go to the Create tab again, and then click Query Design.
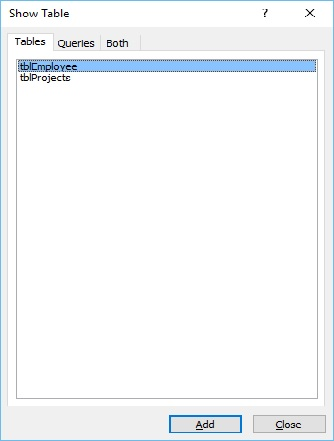
In the Display Table dialog box in the Table tab, double-click the tblEmployees table, and then close the dialog box.
Select all the fields you want to copy to another table.
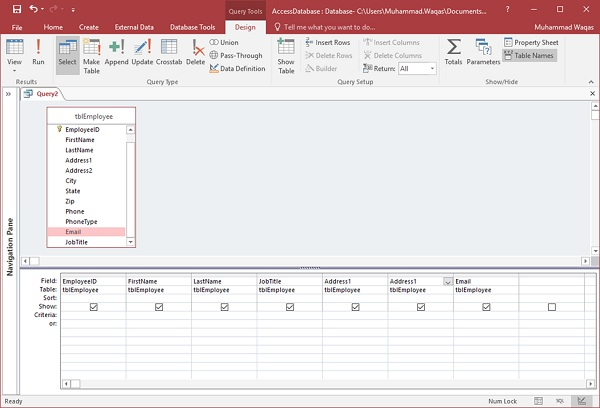
In Query Type, select the Build Table option button.
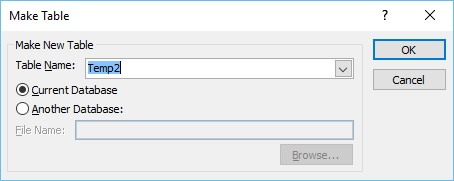
You will see the following dialog box. Enter the name of the new table you want to create, and then click Yes.
Now run the query.

You will now see the following message.
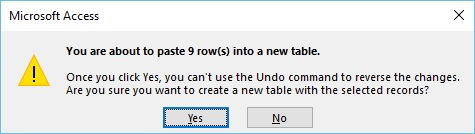
Click Yes and you'll see a new table created in the navigation pane.