MS Access creates forms
May 17, 2021 MS Access
Table of contents
Forms in Access are similar to display cabinets in a store, making it easier to view or get the items you want.
Because forms are objects that you or other users can add, edit, or display data stored in the Access desktop database, form design is an important aspect.
There are many forms you can do to design wisely with Microsoft Access.
You can create two basic types of forms -
- The binding form
- The form is not bound
The binding form
Now let's
Learn
what is
a bound
form
-
- The binding form connects to some underlying data source, such as tables, queries, or SQL statements.
- Binding forms is what people usually think of when they think about the purpose of a form.
- The form will be filled in or used to enter or edit data in the database.
- An example of a bound form is typically used by a user to enter, view, or edit data in a database.
The form is not bound
Let's look at the unbound form -
- These forms are not connected to the underlying record or data source.
- Unbound forms can be dialog boxes, swap boards, or navigation forms.
- In other words, unbound forms are typically used to navigate or interact with the database, not the data itself.
The type of binding form
You can create many types of binding forms in Access.
Let's see what types -
A single form
This is the most popular one, and this is where records are displayed -- records at a time.
Multi-item form
This displays more than one record at a time from the bound data source.
Split the form
The form is divided into two halves, vertical or horizontal. Half displays a single item or record, the other half displays a list or provides a view of the data table from multiple records from the underlying data source.
Create a form
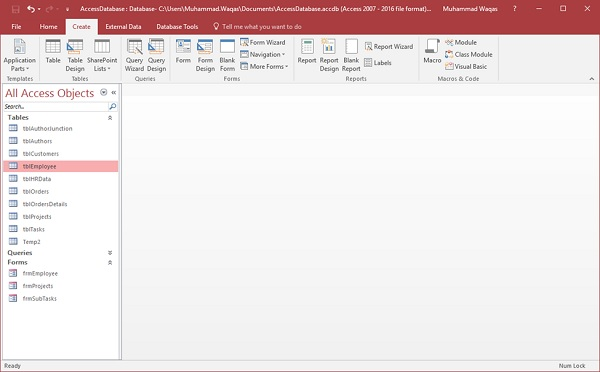
There are several ways you can create a form in Access. T o do this, open the database and go to the Create tab. In the form group, the form wizard button appears in the upper right corner.
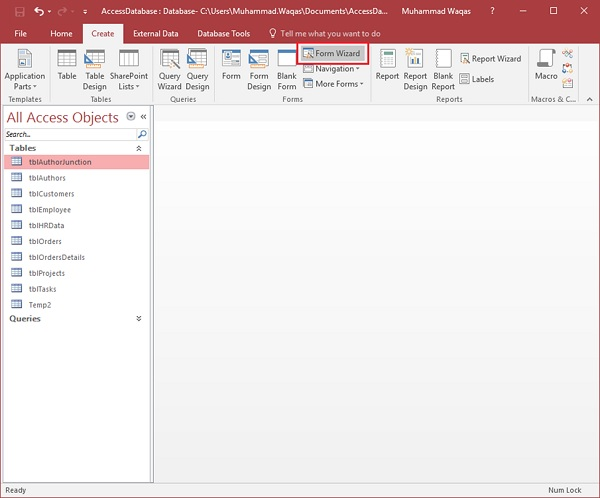
Click the button to start the form wizard.
On the first screen of the wizard, you can select the fields to display on the form, and you can select fields from multiple tables or queries.
Let's assume that we only need a quick form that we will use for data entry of our employee information.
From the table/query drop-down list, select the tblEmployees table. C lick the double arrow to move all the fields at once.
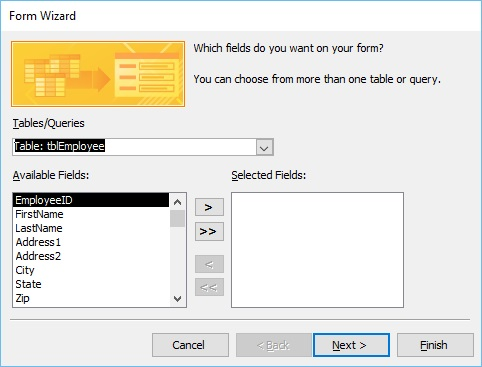
Let's just leave a table and click Next.

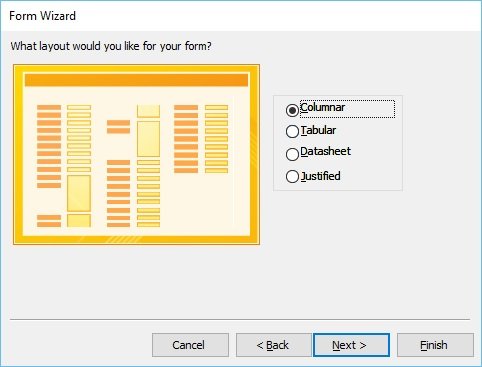
The following screen in the Form Wizard will ask us to want the layout of our form. W e have bars, tables, data sheets and aligned layouts. We'll select the column layout here and click Next.
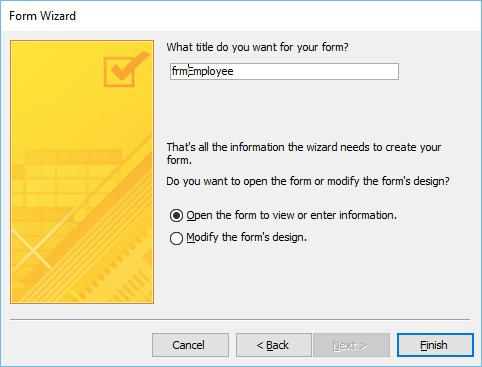
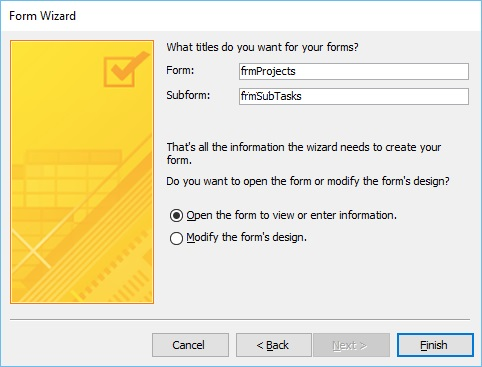
In the screen below, we need to provide a title for our form. Let's call it frmEmployees.
Once you have provided a title for the form, you can open the form to see how it will look, or start typing information into the table. /b10> Alternatively, you can choose the option to modify the form design. L et's select the first option to open the form to view or enter information, and then click Done.
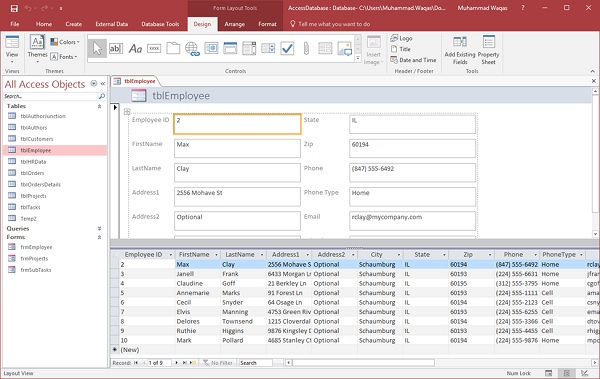
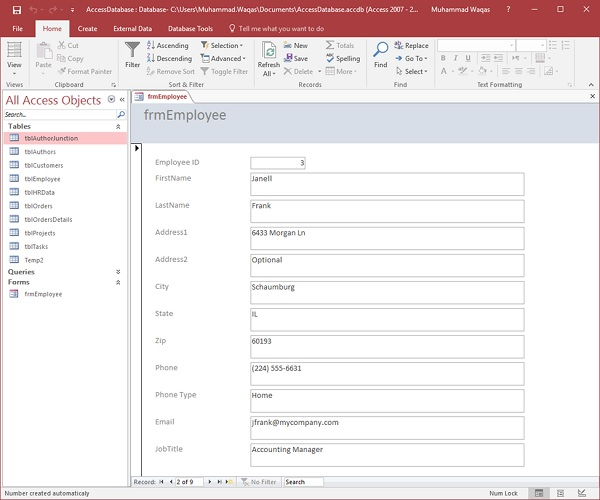
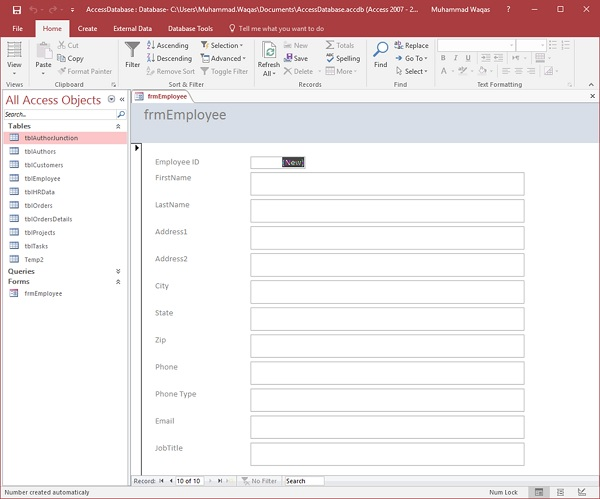
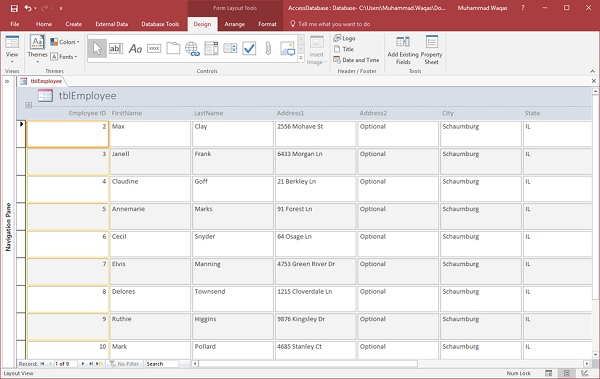
Now, take a look at the screenshot below. T his is what your form looks like. T his is a single item form, which means that one record is displayed at a time, further down, and you can see the navigation button, which tells us that this is the 9 of the record shown 1. rd.

If you want to jump to the last record in that table or table, you can use the arrow to the right of the right arrow, one with a row of arrows behind it, which is the last record button. ee.
This is an example of how to create a form using the Form Wizard. L et's close this form now and go to the Create tab. es. lick the Form wizard, and this time we'll select fields from several different tables.
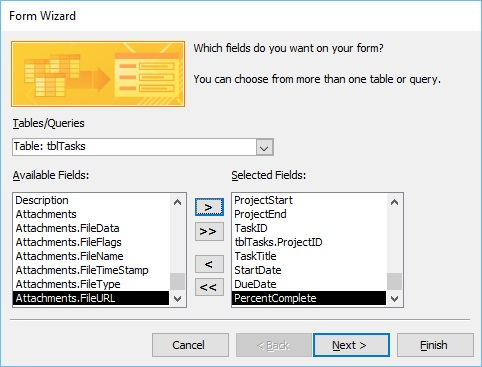
In this form wizard, we select tblProjects for tables/queries and select some available fields such as ProjectID, ProjectName, ProjectStart, and ProjectEnd. These fields will now be moved to the selected field.
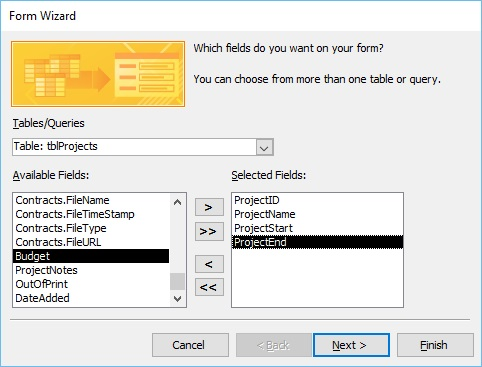
Now select tblTasks for tables/queries and send them via TaskID, ProjectID, TaskTitle, StartDate, DueDate, and PercentComplete. Click next.
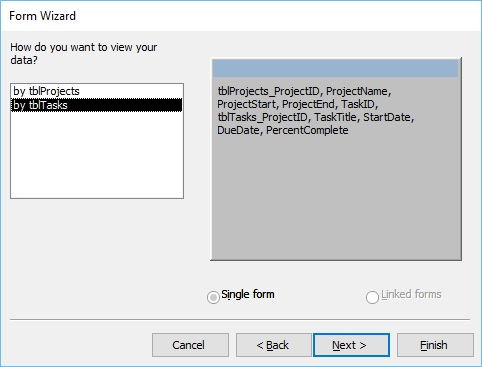
Here, we're going to retrieve data from several different objects. W e can also choose how to arrange our form options. ew.
However, if we want to create a hierarchy based on a one-to-many relationship, we can choose to arrange our data through tblProjects.
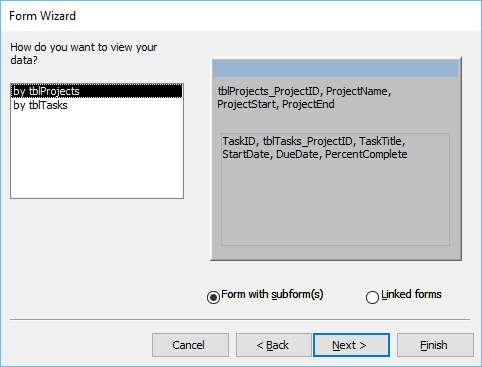
In the window above, we can choose to include the tblTasks sub-form, or we can use the link form. b20> xt.
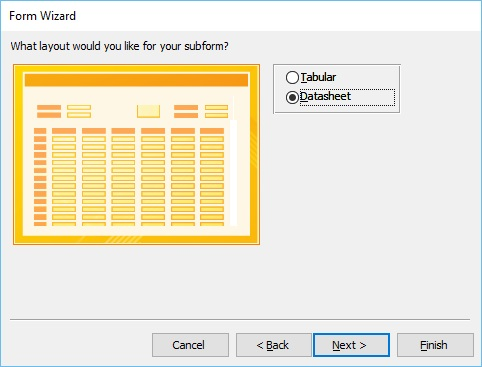
On the following screen, you can select a layout for the sub-form. T he data table view is selected by default. A data table view is similar to a table view. Now, click Next.
In the following screen, you need to provide the name of the form. Enter the name you want, and then click Done.
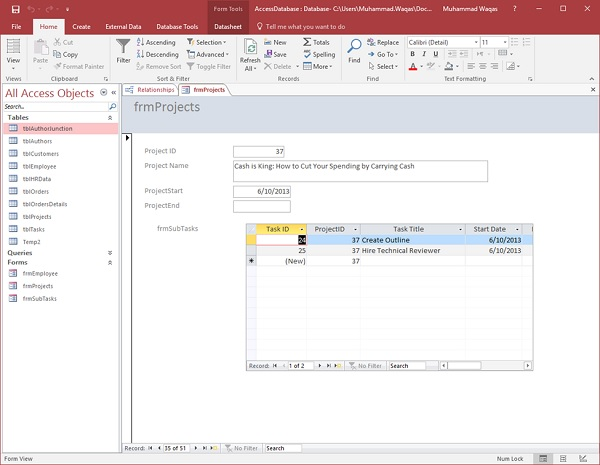
Access will give you a preview of how your form will look. rm. hen you go down, you will see a sub-form. I t's like a form in a form.
Multi-item form
You may also want to create a specific type of form. To do this, you can click more forms to pull down the form.

From the menu, you can create multi-item forms, data table forms, split forms, and even modal dialog forms. ms. elect the objects to bind to the form. T his does not apply to modal dialog forms.
To create a form of this type, you first need to select an object in the navigation pane. Let's select tblEmployees here.
Click more forms and multiple items.
These steps further create a multi-project form that lists all employees.
Split the form
This type of form is divided vertically or horizontally into equal halves. Half displays a single item or record, and the other half displays a list or table view of multiple records from the underlying data source.
Now let's select tblEmployees in the navigation pane and create a tab. Select the Split Forms option from the More Forms menu and you'll see the forms that are split vertically below.