MS Access controls and properties
May 17, 2021 MS Access
Table of contents
In this chapter, we'll cover the controls and properties provided in Access. on. ontrol is a part of a form or report that is used to enter, edit, or display data. C ontrol allows you to view and use data in a database application.
-
The most commonly used controls are text boxes, but other controls include command buttons, labels, check boxes, and sub-form/sub-report controls.
-
You can create controls of different types and types, but all of them will fall into one of two categories - bound or unbound.
The binding control
Now let's understand what a bound control is -
- A binding control is a control that is bound to a specific data source in a database, such as fields and tables or queries.
- Values can be text, dates, numbers, check boxes, pictures, and even graphics.
- You can use binding controls to display values from fields in the database.
The control is not bound
Now let's
understand what an unbound control is
-
- On the other hand, unbound controls are not bound to the data source, they exist only as the form itself.
- These can be text, pictures, or shapes, such as lines or rectangles.
The type of control
You can create different types of controls in Access. Here we will discuss some common ones, such as text boxes, labels, button tab controls, and so on.
The text box
-
Typically, anything in a text box is bound, but not always.
-
You can use these controls to interact with the data stored in the database, but you can also have unbound text boxes.
-
The calculation control performs some kind of calculation based on the expression you write, and the data is not stored anywhere in the database.
-
According to calculations dynamics and life is only a form.
Label
- Labels will always be text and unbound.
- Typically, labels are not connected to any source in the database.
- Labels are used to mark other controls on the form, such as text boxes.
Button
- This is another popular control; These command buttons typically execute macros or modules.
- Buttons are typically used to interact with data or objects in a database.
Label control
- Label controls give you a label view of controls or other controls in a form.
- Adding tabs to a form can make it more organized and easy to use, especially if the form contains many controls.
- You can reduce clutter and simplify data work by placing related controls on separate pages of tab controls.
Hyperlink
-
A hyperlink creates a hyperlink on the form. It can be a Web page, or even another object or place in your database.
Some other controls
Now let's look at some other controls -
-
You can also create web browser controls and navigation controls, groups, page breaks, combo boxes.
-
You can create charts, lines, toggle buttons, list boxes, rectangles, check boxes, unbound object frames, attachments, option buttons, sub-forms and sub-reports on forms, bound object frames, and even place images
Example
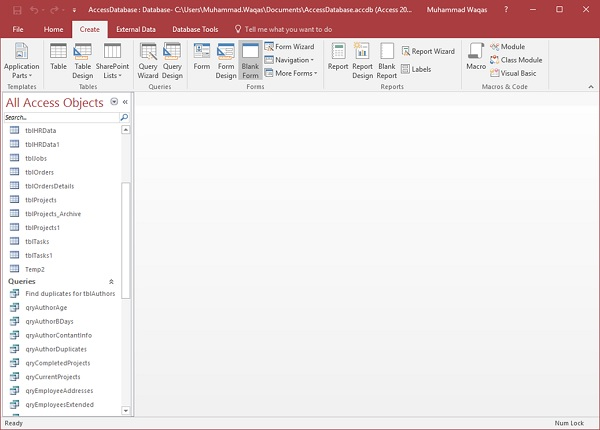
Let's look at some simple examples by creating a new blank form. Go to the Create tab in the form group, and then click the blank form.
The above steps open an unbound form that is not attached to any items in our database.
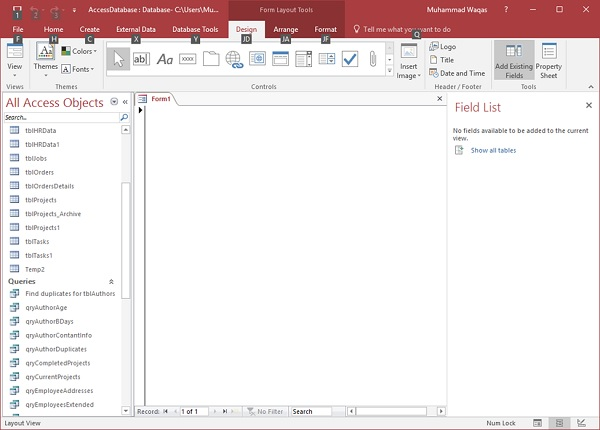
By default, it opens in layout view, as shown in the screenshot above.
Now let's go to the design view to add fields.
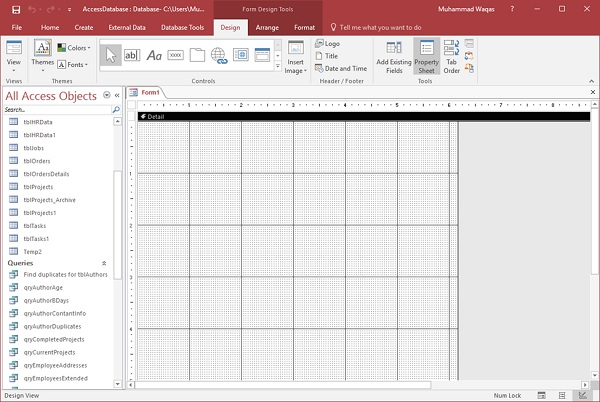
On the design tab, click the property sheet.

On the property sheet, click the down arrow to make sure you select the form, and then go to the Data tab.
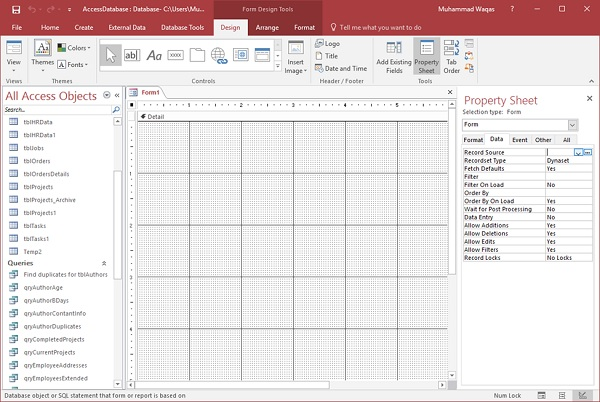
On the Data tab, you'll see that the record source remains empty. L et's assume that we're going to create a form that will bind to two different tables in our database. N ow click on... B utton. It will further open its own query builder.
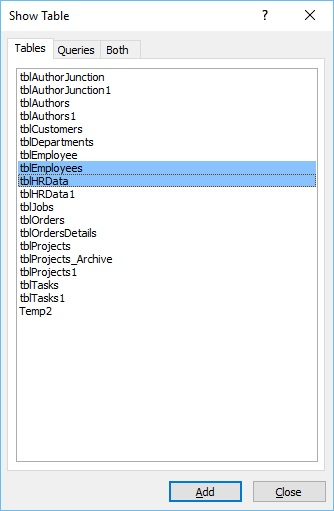
Select a table that contains the data to display; Click the Add button, and then close the dialog box.
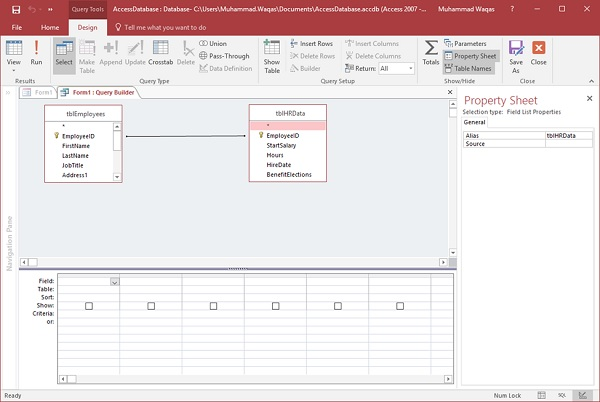
Let's now select all the fields from tblEmployees and drag them to the query grid, and similarly add all the fields from tblHRData.
Now click Save as and name this query.
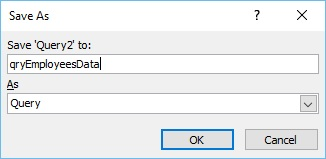
Let's call it qryEmployeesData, click OK, and then close the query builder.
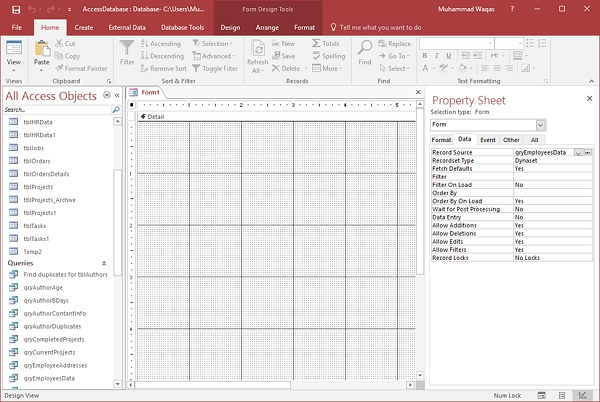
You can now think of a query as the source of its records. W e have now bound this form to an object in the database, in this case qryEmployeesData. em.
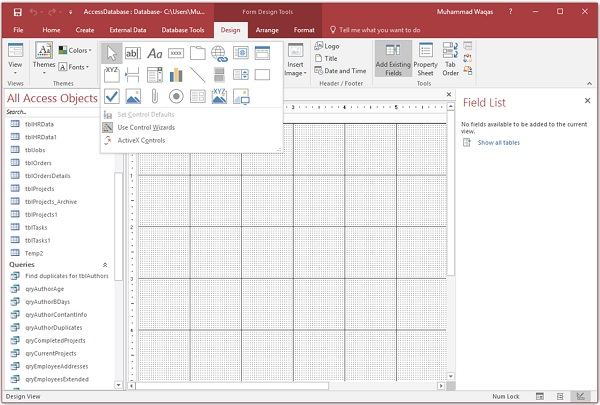
From the control menu, you'll see a highlight using the control wizard, as shown in the screenshot above. rd. his means that the control wizard is open. I t's like a switch. W hen you click the toggle switch, the wizard closes. C licking it again will open the wizard.
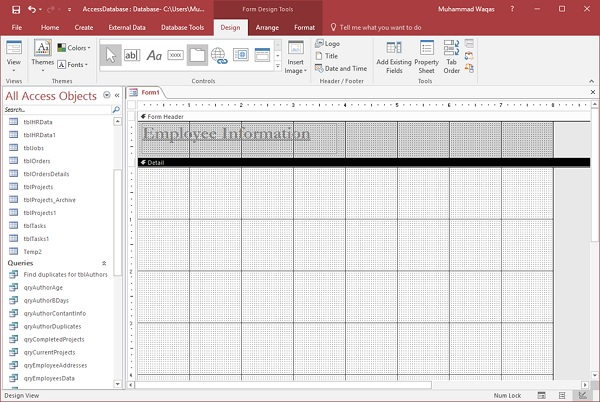
Let's click on the label now and drag it and enter Employee Information, then go to the Format tab and format it as follows.
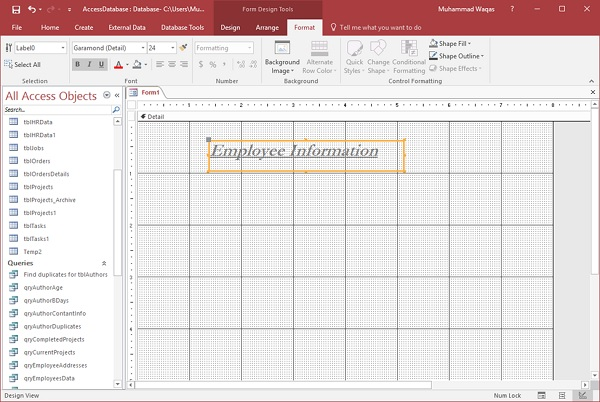
You can choose to apply a bold style, or you can change the font size of the text within the label. le. t makes more sense to place this label in the title section of the form, which is not visible.
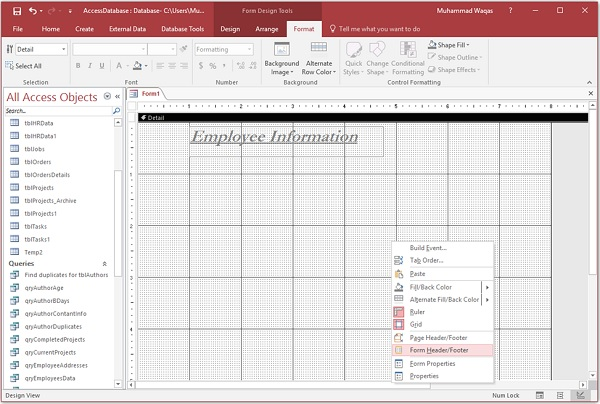
Right-click anywhere in the form background, and then select Form Header, as shown in the screenshot above.
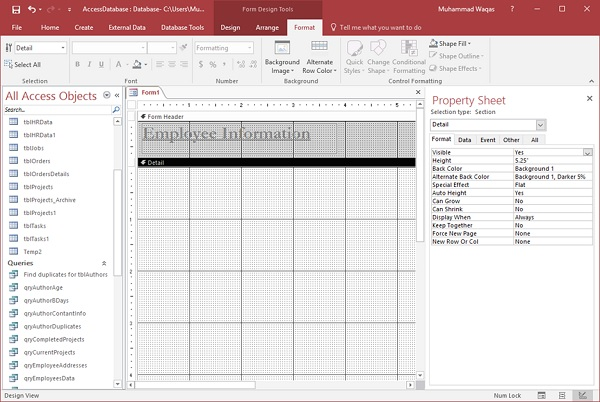
Move this control to the form title area. N ow let's create some additional controls from the Design tab. At this point, let's say that we want to assign all the fields to two different tabs.
From the control menu, you can see the tab control, which creates a tab on your form. Click the tab control and draw on the form in the details section, as shown in the screenshot above.
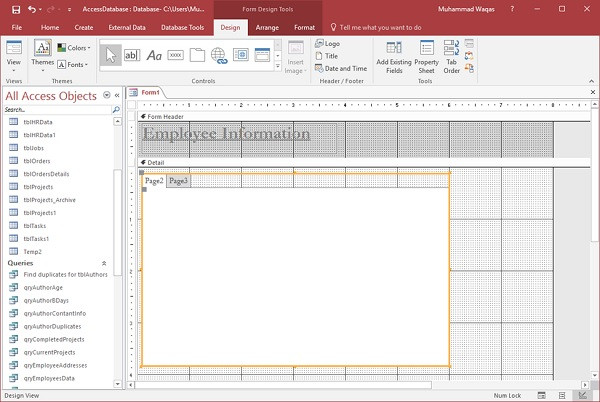
It creates two tabs - pages 2 and 3, such as the screenshot above.
Now let's start adding some controls to this label control.
If we want to see some information stored in the underlying query, click the Add existing field option in the area in the tool group to see all the available fields in the underlying query.
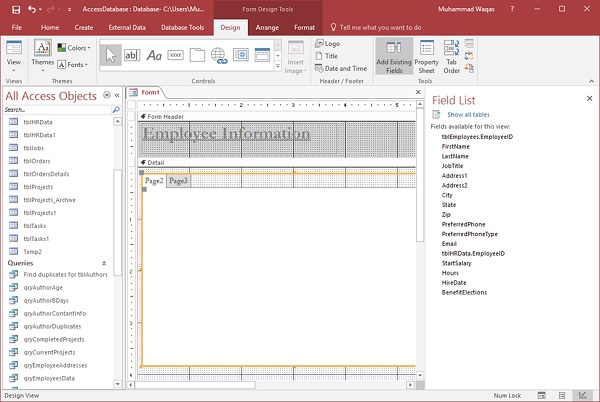
To bring an existing field to the page, select all available fields in the field list, as shown in the following screenshot.
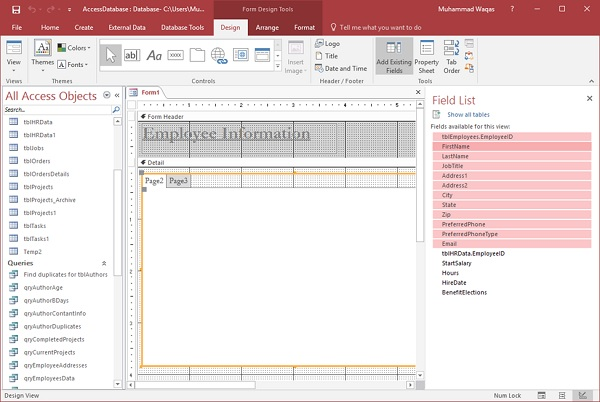
Now drag the field to page 2 of the tab control, as shown in the following screenshot.
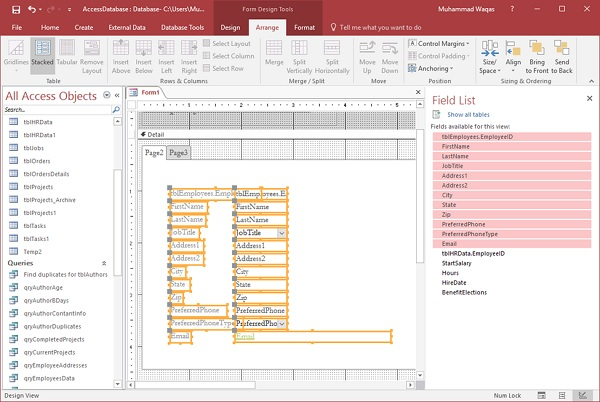
Now go to the Arrange tab and select the stack layout.
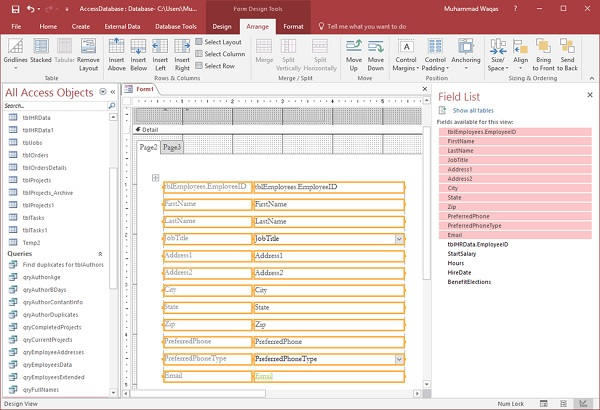
On page 2, let's add the rest of the fields for this query now.
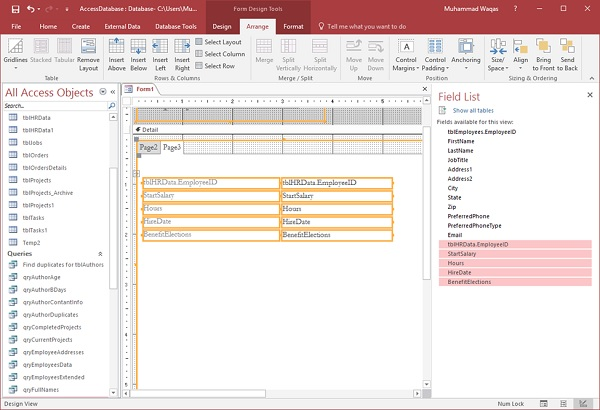
You can pass and make any adjustments to the size and width of these controls to make it look the way you like.
When you're done formatting, click Save as an icon to save the form with the name you want.
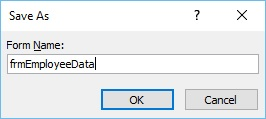
Click OK and go to the form view to see all the information in the form.
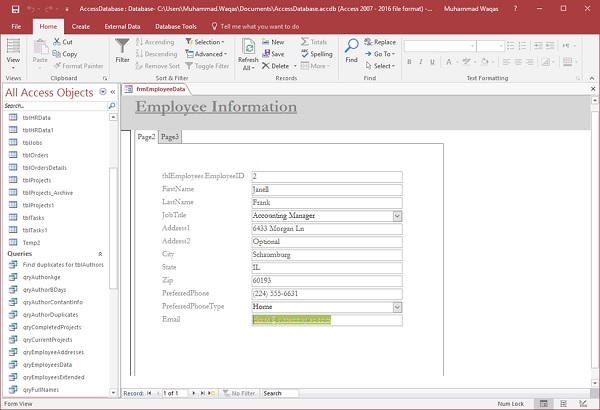
Tab controls divide our controls or fields into two screens to make it easier to view and add information.
