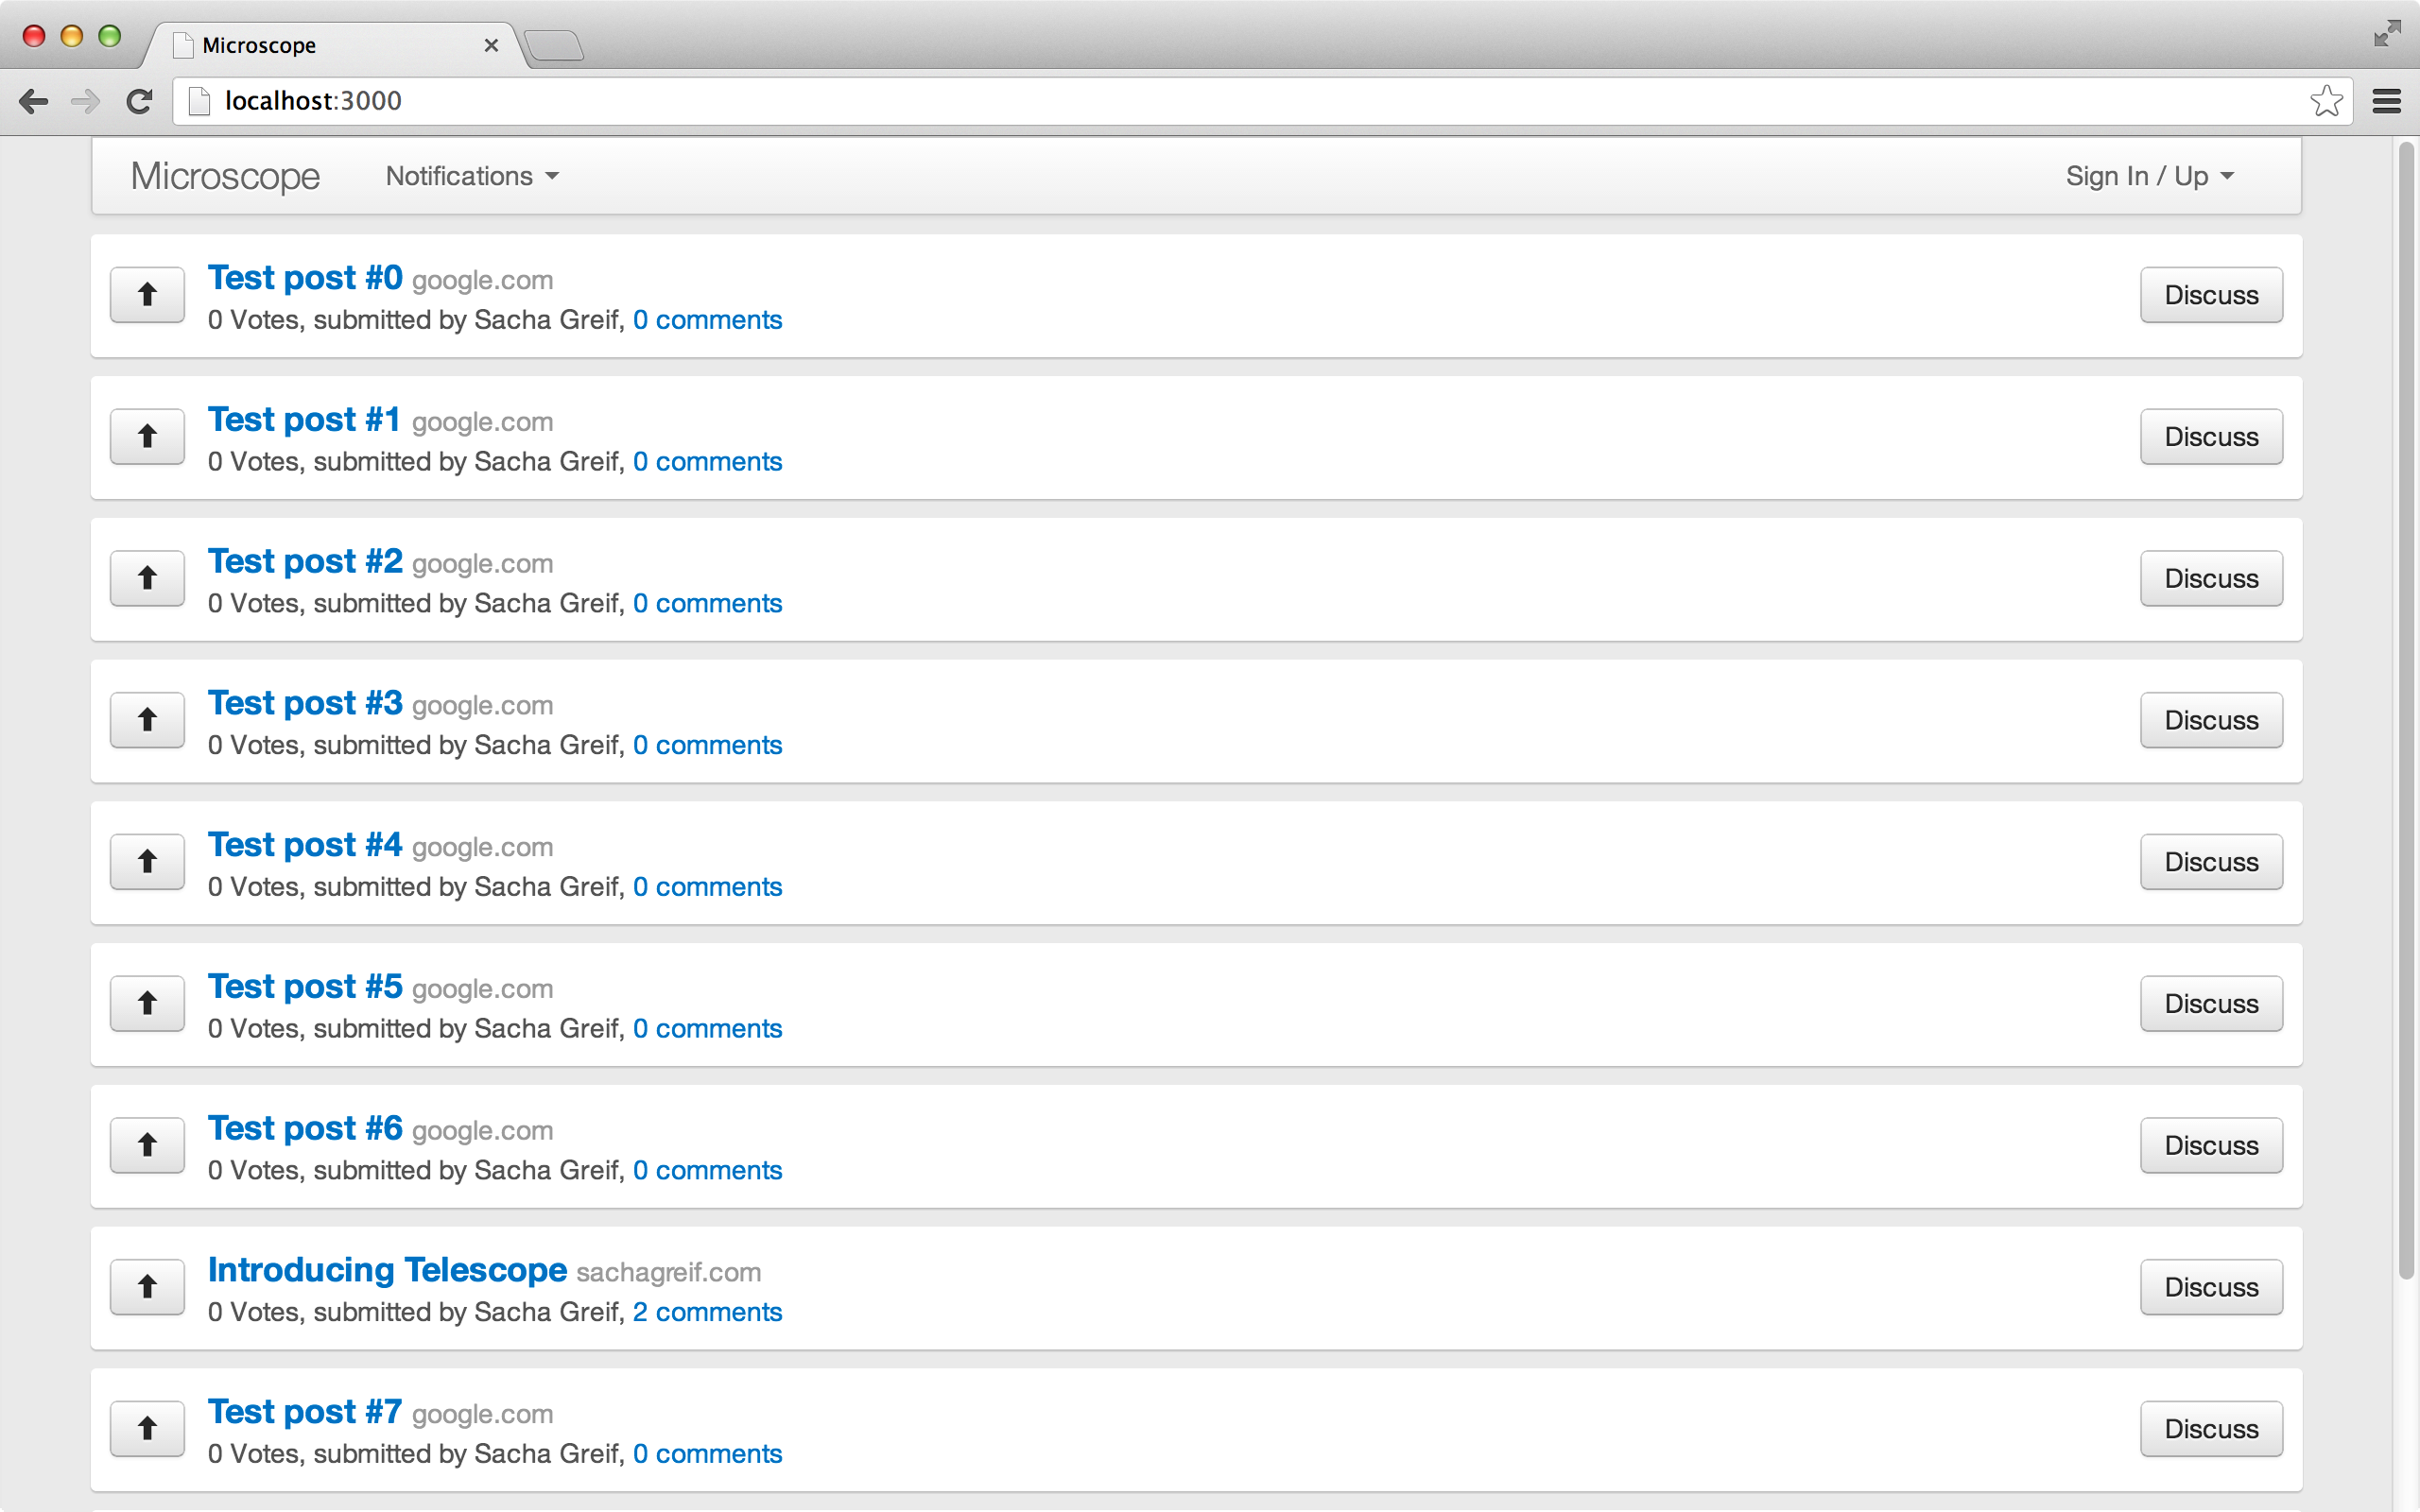
Meteor votes
May 10, 2021 Meteor
Table of contents
3. Data privacy and publishing
5. The user interface is fine-tuned
Vote
Now our system is better, but it's a little hard to find the most popular posts. We need a ranking system to sequence our posts.
We can build a complex karma-based ranking system where weights decay over time, and many other factors (many of these features are implemented in Telescope, which is Microscope's big brother). But for our example apps, we try to keep them simple, and we sort them only by the number of votes we receive for posts.
Let's implement a way to give users a vote for a post.
The data model
We'll save the voter list information in the post so we can determine if the voting button is displayed to the user and prevent the user from voting twice for a post.
Data privacy and publishing
We'll publish a list of voters to all users, which will also automatically make the data accessible through the browser console.
This is a class of data privacy issues caused by how collections work. F or example, do we want users to see who voted for his post? In our case, it doesn't matter if this information is made public, but it's important to at least know that this is a problem.
We also need to denormalize the number of voters for posts to make this number easier to obtain. S
o we added two properties to the post,
upvoters
(voters) and
votes
(votes).
Let's add them in the fixtures file first:
// Fixture data
if (Posts.find().count() === 0) {
  var now = new Date().getTime();

  // create two users
  var tomId = Meteor.users.insert({
    profile: { name: 'Tom Coleman' }
  });
  var tom = Meteor.users.findOne(tomId);
  var sachaId = Meteor.users.insert({
    profile: { name: 'Sacha Greif' }
  });
  var sacha = Meteor.users.findOne(sachaId);

  var telescopeId = Posts.insert({
    title: 'Introducing Telescope',
    userId: sacha._id,
    author: sacha.profile.name,
    url: 'http://sachagreif.com/introducing-telescope/',
    submitted: new Date(now - 7 * 3600 * 1000),
    commentsCount: 2,
    upvoters: [],
    votes: 0
  });

  Comments.insert({
    postId: telescopeId,
    userId: tom._id,
    author: tom.profile.name,
    submitted: new Date(now - 5 * 3600 * 1000),
    body: 'Interesting project Sacha, can I get involved?'
  });

  Comments.insert({
    postId: telescopeId,
    userId: sacha._id,
    author: sacha.profile.name,
    submitted: new Date(now - 3 * 3600 * 1000),
    body: 'You sure can Tom!'
  });

  Posts.insert({
    title: 'Meteor',
    userId: tom._id,
    author: tom.profile.name,
    url: 'http://meteor.com',
    submitted: new Date(now - 10 * 3600 * 1000),
    commentsCount: 0,
    upvoters: [],
    votes: 0
  });

  Posts.insert({
    title: 'The Meteor Book',
    userId: tom._id,
    author: tom.profile.name,
    url: 'http://themeteorbook.com',
    submitted: new Date(now - 12 * 3600 * 1000),
    commentsCount: 0,
    upvoters: [],
    votes: 0
  });

  for (var i = 0; i < 10; i++) {
    Posts.insert({
      title: 'Test post #' + i,
      author: sacha.profile.name,
      userId: sacha._id,
      url: 'http://google.com/?q=test-' + i,
      submitted: new Date(now - i * 3600 * 1000 + 1),
      commentsCount: 0,
      upvoters: [],
      votes: 0
    });
  }
}
As before, stop your app, execute
meteor reset
restart the app, and create a new user.
Let's make sure that when the user creates the post, the two new properties are also initialized:
//...

var postWithSameLink = Posts.findOne({url: postAttributes.url});
if (postWithSameLink) {
  return {
    postExists: true,
    _id: postWithSameLink._id
  }
}

var user = Meteor.user();
var post = _.extend(postAttributes, {
  userId: user._id,
  author: user.username,
  submitted: new Date(),
  commentsCount: 0,
  upvoters: [],
  votes: 0
});

var postId = Posts.insert(post);

return {
  _id: postId
};

//...
The voting template
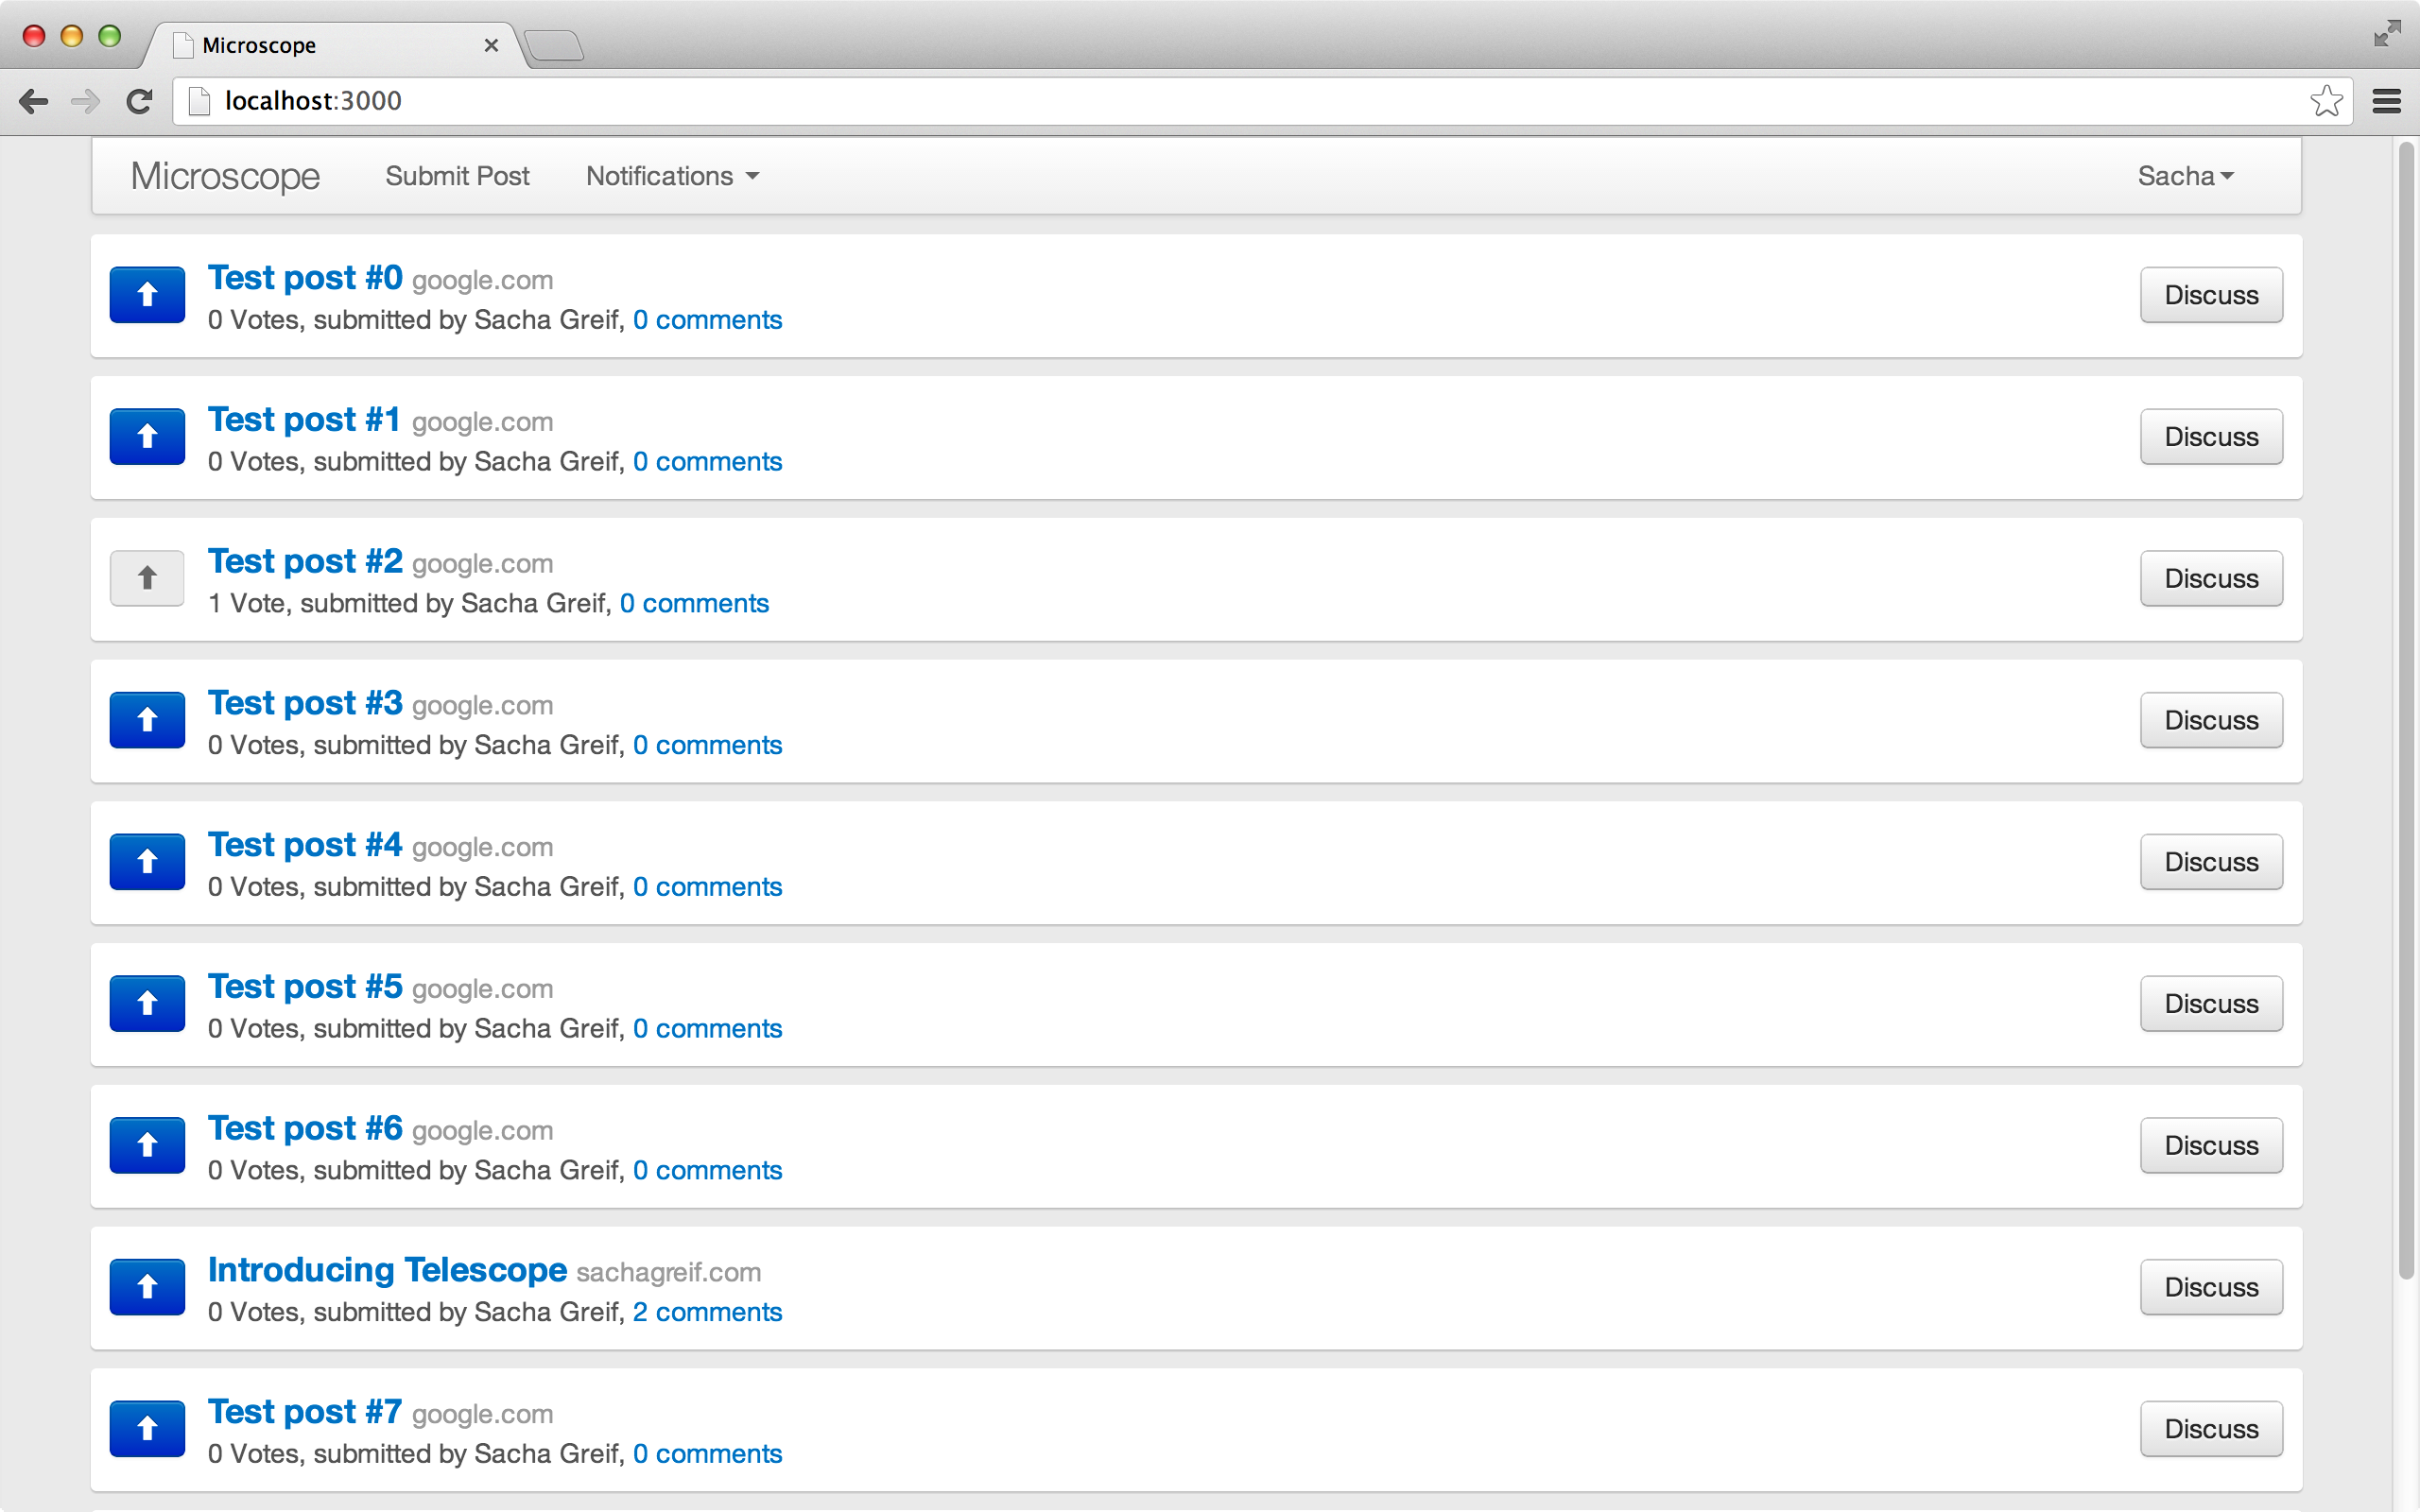
To start, we add a like button in the post section and show the number of likes in the post's metadata data:
<template name="postItem">
  <div class="post">
    <a href="#" class="upvote btn btn-default">⬆</a>
    <div class="post-content">
      <h3><a href="{{url}}">{{title}}</a><span>{{domain}}</span></h3>
      <p>
        {{votes}} Votes,
        submitted by {{author}},
        <a href="{{pathFor 'postPage'}}">{{commentsCount}} comments</a>
        {{#if ownPost}}<a href="{{pathFor 'postEdit'}}">Edit</a>{{/if}}
      </p>
    </div>
    <a href="{{pathFor 'postPage'}}" class="discuss btn btn-default">Discuss</a>
  </div>
</template>
Next, the server-side upvote method is called when the user clicks the button:
//...

Template.postItem.events({
  'click .upvote': function(e) {
    e.preventDefault();
    Meteor.call('upvote', this._id);
  }
});
Finally, let's
lib/collections/posts.js
file and add a server-side approach to the upvote post:
//...

Meteor.methods({
  post: function(postAttributes) {
    //...
  },

  upvote: function(postId) {
    check(this.userId, String);
    check(postId, String);

    var post = Posts.findOne(postId);
    if (!post)
      throw new Meteor.Error('invalid', 'Post not found');

    if (_.include(post.upvoters, this.userId))
      throw new Meteor.Error('invalid', 'Already upvoted this post');

    Posts.update(post._id, {
      $addToSet: {upvoters: this.userId},
      $inc: {votes: 1}
    });
  }
});

//...
This method is clear. W e did some checks to make sure that the current user is signed in and the post exists. Then check that the user hasn't voted for the post, check that if the user hasn't increased the post's voting score, we'll add the user to the upvoters collection.
Finally, we used some Mongo operators.
There are many operators to learn, but these two are especially
$addToSet
an item to the collection if
$inc
exist, $inc simply adds an integer property.
The user interface is fine-tuned
If a user is not logged in or has already voted, he can no longer vote.
We need to modify the UI, and we'll use a help method to add
disabled
CSS class to the upvote button based on the criteria.
<template name="postItem">
  <div class="post">
    <a href="#" class="upvote btn btn-default {{upvotedClass}}">⬆</a>
    <div class="post-content">
      //...
  </div>
</template>
Template.postItem.helpers({
ownPost: function() {
//...
},
domain: function() {
//...
},
upvotedClass: function() {
var userId = Meteor.userId();
if (userId && !_.include(this.upvoters, userId)) {
return 'btn-primary upvotable';
} else {
return 'disabled';
}
}
});
Template.postItem.events({
'click .upvotable': function(e) {
e.preventDefault();
Meteor.call('upvote', this._id);
}
});
We've changed css class
.upvote
.upvotable
forget to modify the click event handler.

Next, you'll find that the post that was voted on will show "1 vote s," so let's take a moment to work with the sing-plule format. D ealing with singrations is a complex matter, but here we'll use a very simple method. We built a universal Spacebars helper method to handle them:
UI.registerHelper('pluralize', function(n, thing) {
  // fairly stupid pluralizer
  if (n === 1) {
    return '1 ' + thing;
  } else {
    return n + ' ' + thing + 's';
  }
});
The helper method we created earlier is bound to a template.
But now that
Template.registerHelper
method
with
Template.registerHelper, we can use it in any template:
<template name="postItem">

//...

<p>
  {{pluralize votes "Vote"}},
  submitted by {{author}},
  <a href="{{pathFor 'postPage'}}">{{pluralize commentsCount "comment"}}</a>
  {{#if ownPost}}<a href="{{pathFor 'postEdit'}}">Edit</a>{{/if}}
</p>

//...

</template>
Now what we see is "1 vote".
Smarter voting mechanisms
Our voting code looks good, but we can do better. In the upvote method, we call Mongo twice: the first time we find the post, the second time we update it.
Here are two questions. F irst, the two-call database is a bit inefficient. B ut more importantly, a racing state has been introduced here. Our logic is this:
- Find the post from the database.
- Check to see if the user has voted.
- If not, users can vote.
What if the same user votes twice between steps 1 and 3? O ur code now lets users vote twice for the same post. Fortunately, Mongo allows us to synthesize step 1-3 into a Mongo command:
//...

Meteor.methods({
  post: function(postAttributes) {
    //...
  },

  upvote: function(postId) {
    check(this.userId, String);
    check(postId, String);

    var affected = Posts.update({
      _id: postId,
      upvoters: {$ne: this.userId}
    }, {
      $addToSet: {upvoters: this.userId},
      $inc: {votes: 1}
    });

    if (! affected)
      throw new Meteor.Error('invalid', "You weren't able to upvote that post");
  }
});

//...
Our code says "Find
id
and the user did not vote for the post and update them for voting." I
f the user
doesn't
vote yet, they'll
id
post.
If the
user has
already voted, no results will be returned.
Latency Compensation
Suppose you want to cheat by modifying the number of post votes to get a post to the top of the list:
> Posts.update(postId, {$set: {votes: 10000}});
(
postId
the id of one of your posts)
This shameless attempt will be captured by
deny()
callback
collections/posts.js
remember?)
And cancel immediately.
But if you look closely, you may find that the system's latency compensation. It may flash by, see that the post is now the first flash, and then back to its original position.
What happened? I
n the
Posts
collection, the
update
method is executed. T
his happens immediately, so the post comes to the top of the list. A
t the same time, the
update
method is rejected.
After a while (if you run Meteor locally at this interval of milliseconds), the server returns an error telling the
Posts
collection is back to its original state.
The end result: While waiting for the server side to return, the UI can only trust the client's local collection of data. The UI uses server-side data as soon as the server side returns a rejection modification.
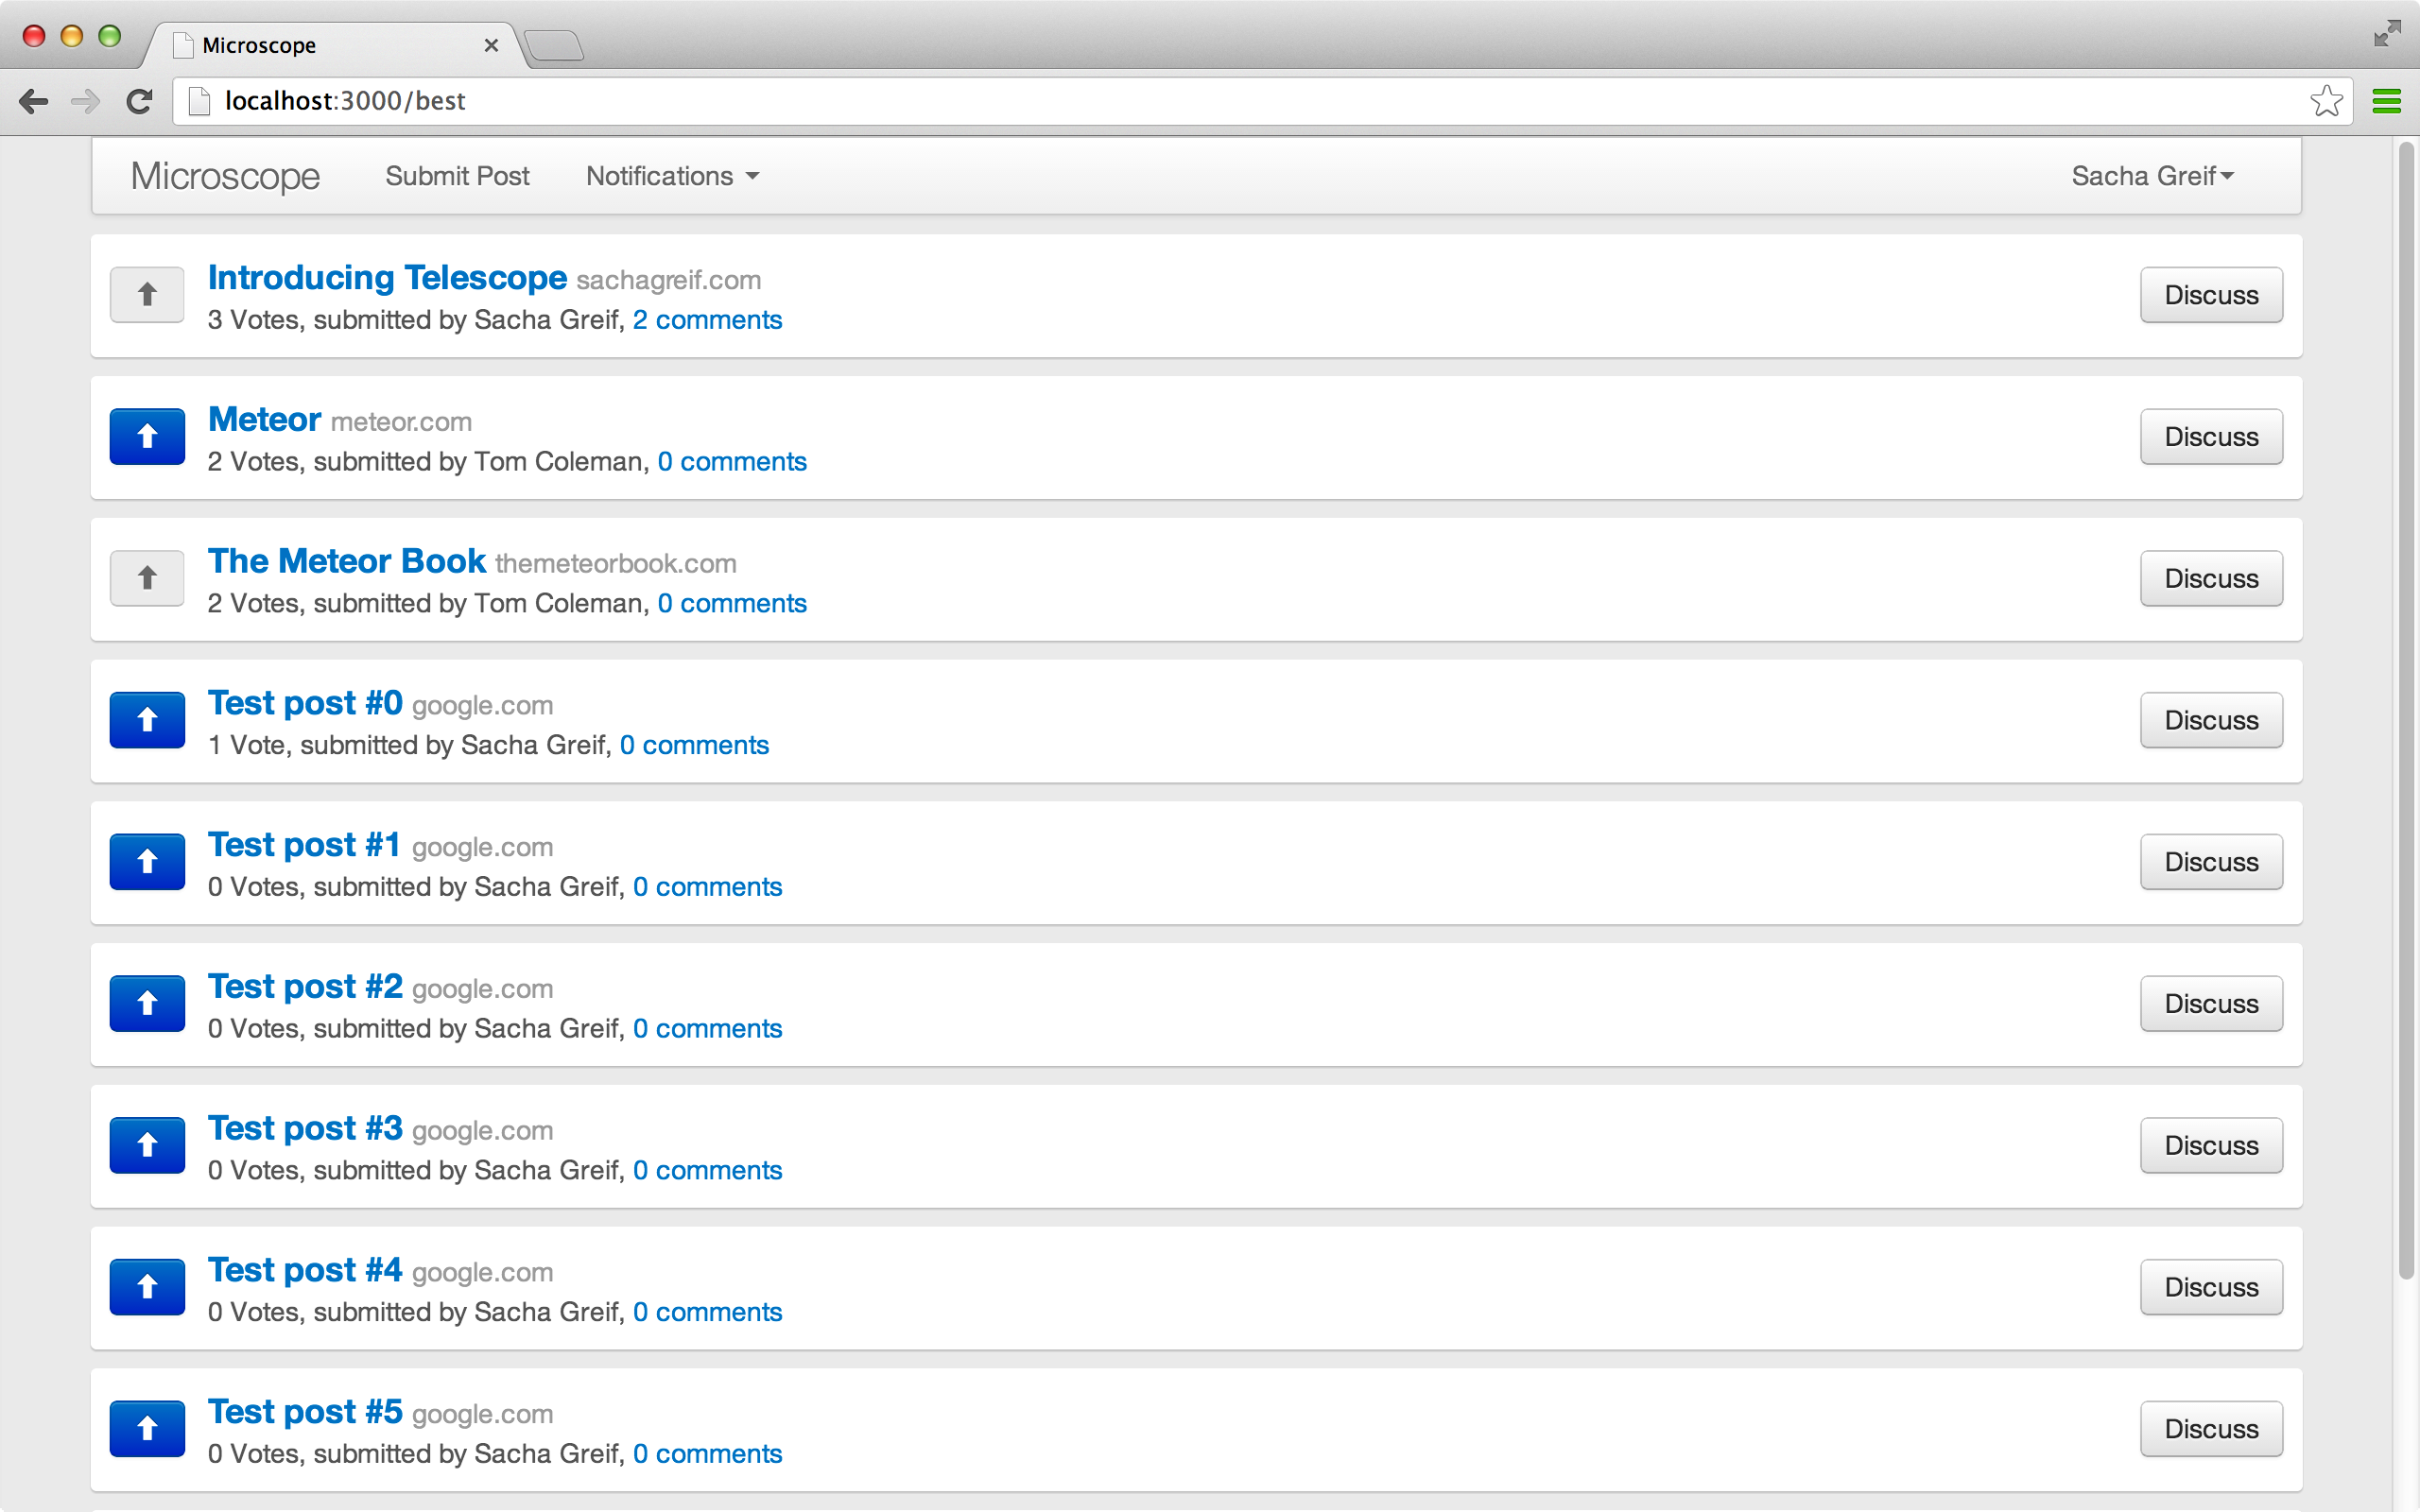
Arrange posts on the home page
Now that each post has a score based on the number of votes cast, let's show a list of the best posts.
In this way, we'll see how to manage two different subscriptions to the post
postsList
templates more generic.
First, we
need two subscriptions,
each for sorting.
The trick here is that two subscriptions subscribe to the same posts
publication at the same
posts
but with different parameters!
We also need to create two
newPosts
bestPosts
are accessed via
/new
and
/best
of course, peddles using
/new/5
and
/best/5
We will
PostsListController
to generate
NewPostsListController
and
BestPostsListController
F
or
home
and
newPosts
we can use exactly the same routing options by
NewPostsListController
controller.
In addition, this is a good example of the flexibility of Iron Router.
Let's replace postsListController's sorting
{submitted: -1}
with
this.sort
provided by
BestPostsListController
NewPostsListController
PostsListController
:
//...

PostsListController = RouteController.extend({
  template: 'postsList',
  increment: 5,
  postsLimit: function() {
    return parseInt(this.params.postsLimit) || this.increment;
  },
  findOptions: function() {
    return {sort: this.sort, limit: this.postsLimit()};
  },
  subscriptions: function() {
    this.postsSub = Meteor.subscribe('posts', this.findOptions());
  },
  posts: function() {
    return Posts.find({}, this.findOptions());
  },
  data: function() {
    var hasMore = this.posts().count() === this.postsLimit();
    return {
      posts: this.posts(),
      ready: this.postsSub.ready,
      nextPath: hasMore ? this.nextPath() : null
    };
  }
});

NewPostsController = PostsListController.extend({
  sort: {submitted: -1, _id: -1},
  nextPath: function() {
    return Router.routes.newPosts.path({postsLimit: this.postsLimit() + this.increment})
  }
});

BestPostsController = PostsListController.extend({
  sort: {votes: -1, submitted: -1, _id: -1},
  nextPath: function() {
    return Router.routes.bestPosts.path({postsLimit: this.postsLimit() + this.increment})
  }
});

Router.route('/', {
  name: 'home',
  controller: NewPostsController
});

Router.route('/new/:postsLimit?', {name: 'newPosts'});

Router.route('/best/:postsLimit?', {name: 'bestPosts'});
Note that now that we have multiple
nextPath
move the nextPath logic from
PostsListController
NewPostsController
BestPostsController
the paths of the two controllers are different.
Also, when we sort by the number of votes, we then determine the order
_id
and the number of votes.
With the new controller, we can safely remove
postList
route.
Remove the following code:
 Router.route('/:postsLimit?', {
  name: 'postsList'
 })
Add a link to header:
<template name="header">
  <nav class="navbar navbar-default" role="navigation">
    <div class="container-fluid">
      <div class="navbar-header">
        <button type="button" class="navbar-toggle collapsed" data-toggle="collapse" data-target="#navigation">
          <span class="sr-only">Toggle navigation</span>
          <span class="icon-bar"></span>
          <span class="icon-bar"></span>
          <span class="icon-bar"></span>
        </button>
        <a class="navbar-brand" href="{{pathFor 'home'}}">Microscope</a>
      </div>
      <div class="collapse navbar-collapse" id="navigation">
        <ul class="nav navbar-nav">
          <li>
            <a href="{{pathFor 'newPosts'}}">New</a>
          </li>
          <li>
            <a href="{{pathFor 'bestPosts'}}">Best</a>
          </li>
          {{#if currentUser}}
            <li>
              <a href="{{pathFor 'postSubmit'}}">Submit Post</a>
            </li>
            <li class="dropdown">
              {{> notifications}}
            </li>
          {{/if}}
        </ul>
        <ul class="nav navbar-nav navbar-right">
          {{> loginButtons}}
        </ul>
      </div>
    </div>
  </nav>
</template>
Finally, we also need to update the deletion event handler for posts:
  'click .delete': function(e) {
    e.preventDefault();

    if (confirm("Delete this post?")) {
      var currentPostId = this._id;
      Posts.remove(currentPostId);
      Router.go('home');
    }
  }
Now that we've done that, we've got a list of the best posts:
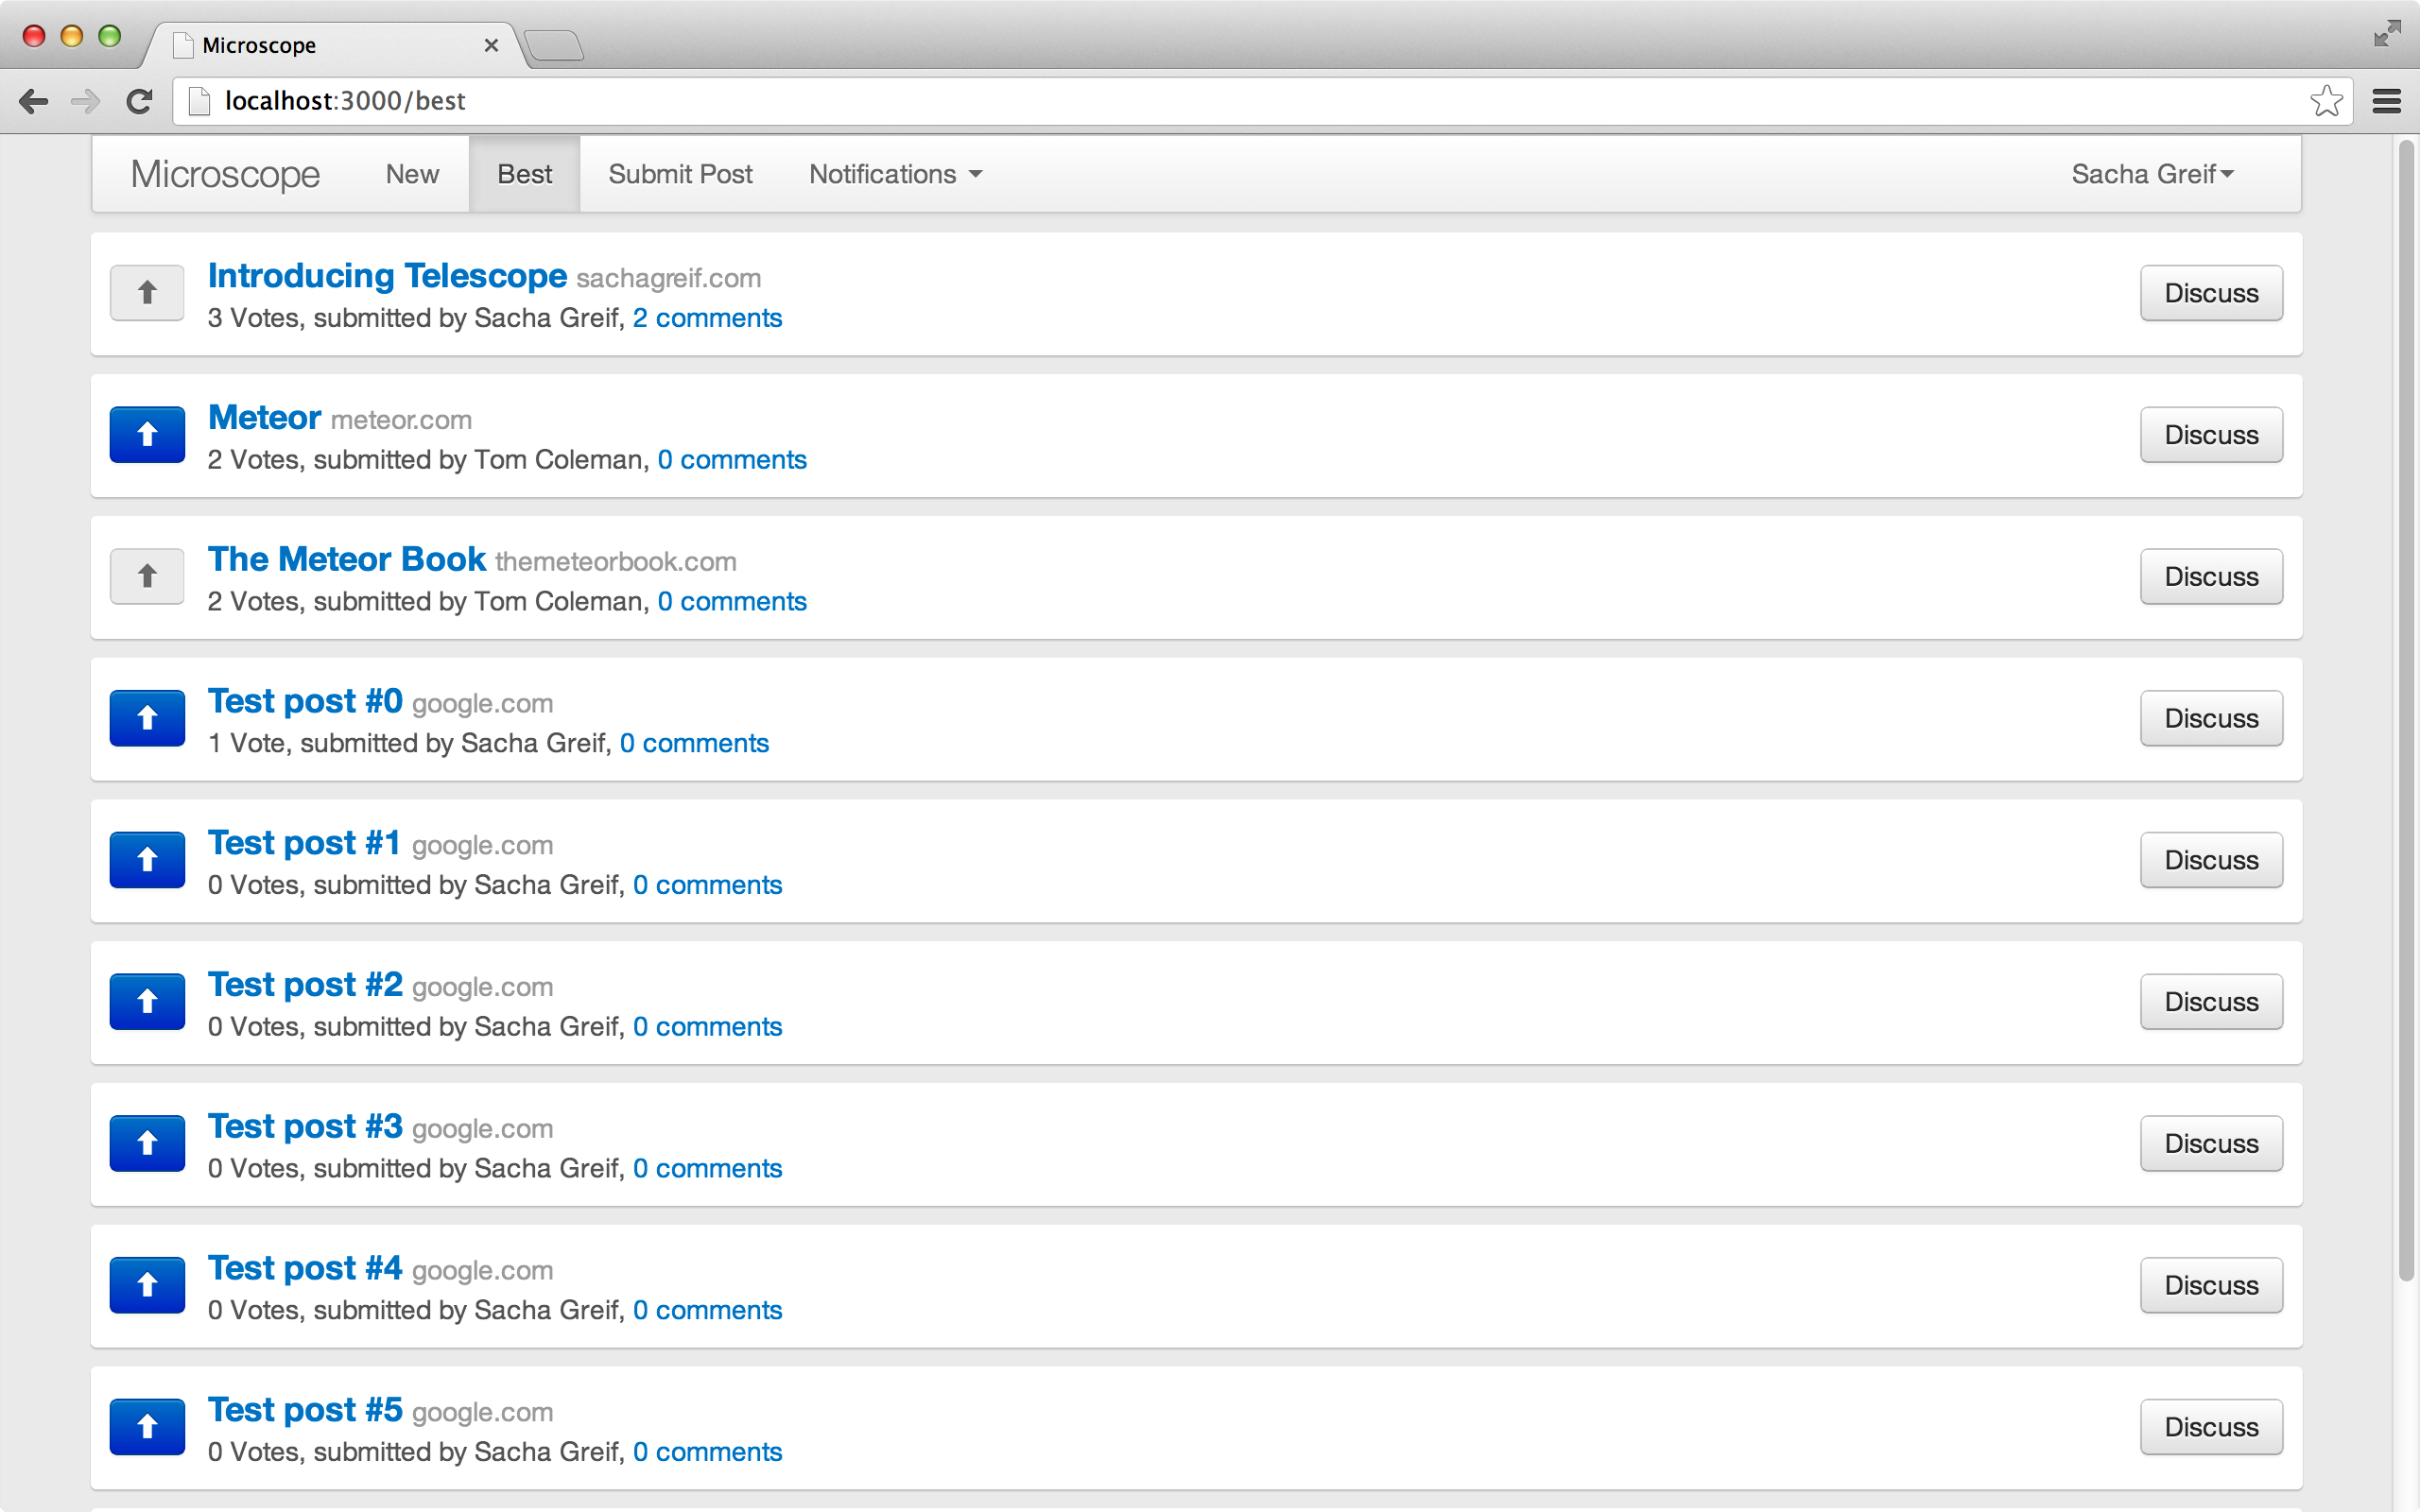
Better Header
Now that we have two posts list pages, it's hard to tell which list you're looking at. N
ow let's make the header of the page more obvious.
We'll create
header.js
manager and create a helper that uses the current path and one or more named routes to add an active class to our navigation bar:
Multiple named routes are
home
because
newPosts
routes (corresponding to URL
/
new
use the same template, respectively.
This means
activeRouteClass
<li>
is smart enough to handle the above situation by marking the label as active.
<template name="header">
  <nav class="navbar navbar-default" role="navigation">
    <div class="container-fluid">
      <div class="navbar-header">
        <button type="button" class="navbar-toggle collapsed" data-toggle="collapse" data-target="#navigation">
          <span class="sr-only">Toggle navigation</span>
          <span class="icon-bar"></span>
          <span class="icon-bar"></span>
          <span class="icon-bar"></span>
        </button>
        <a class="navbar-brand" href="{{pathFor 'home'}}">Microscope</a>
      </div>
      <div class="collapse navbar-collapse" id="navigation">
        <ul class="nav navbar-nav">
          <li class="{{activeRouteClass 'home' 'newPosts'}}">
            <a href="{{pathFor 'newPosts'}}">New</a>
          </li>
          <li class="{{activeRouteClass  'bestPosts'}}">
            <a href="{{pathFor 'bestPosts'}}">Best</a>
          </li>
          {{#if currentUser}}
            <li class="{{activeRouteClass 'postSubmit'}}">
              <a href="{{pathFor 'postSubmit'}}">Submit Post</a>
            </li>
            <li class="dropdown">
              {{> notifications}}
            </li>
          {{/if}}
        </ul>
        <ul class="nav navbar-nav navbar-right">
          {{> loginButtons}}
        </ul>
      </div>
    </div>
  </nav>
</template>
Template.header.helpers({
activeRouteClass: function(/* route names */) {
var args = Array.prototype.slice.call(arguments, 0);
args.pop();
var active = _.any(args, function(name) {
return Router.current() && Router.current().route.getName() === name
});
return active && 'active';
}
});
Helper parameter
So far we haven't used a special design pattern, but like other Spacebars tags, the template's helper tag can come with parameters.
You can pass named arguments to your function, or you can pass in an unsealed number of anonymous arguments and access them
arguments
objects.
In the last case, you might want to
arguments
into a normal JavaScript array, and then call the
pop()
to remove the contents of the end.
For each navigation link,
activeRouteClass
helper can take a set of route names and then
any()
helper method to check which one passes the test (for example: their URL is equal to the current path).
If the route matches the current path,
any()
method
true
Finally, we take advantage of JavaScript's
boolean && string
and string mode, when false and
false && myString
return
false
and when true and
true && myString
myString
Now that users can vote for a post in real time, you'll see how much the post changes with how many votes you get. Wouldn't it be better if there were some animations?