Meteor starts
May 09, 2021 Meteor
Table of contents
2. Choose not to install Meteor
7. The file structure of the Meteor app
8. Does Meteor have an MVC architecture?
9. Don't need a public folder?
Begin
First impressions are important, and installing Meteor doesn't make it difficult. In most cases, it can be done in less than five minutes.
First, if you're on a Mac OS or Linux system, you can open the terminal window and enter the following command to install Meteor:
$ curl https://install.meteor.com | shIf you're using a Windows system, refer to the installation guidance on the Meteor website.
The above command installs
meteor
file in the system, and then you can use Meteor.
-
Choose not to install Meteor
If you can't or don't want to install Meteor locally, we recommend Nitrous.io.
Using Nitrous.io lets you edit code and run programs directly in the viewer. We wrote a short guide on how to use Nitrous.io.
You can read the guide until the Installing Meteor section, and then back in this chapter, starting with the "Create a simple app" section.
Create a simple app
After installing Meteor, let's create an app.
Create an app to use Meteor's command-line
meteor
$ meteor create microscope
The above command downloads Meteor and creates a new, basically available Meteor project.
When the command is executed, you'll see a new folder
microscope/
the following files:
.meteor
microscope.css
microscope.html
microscope.js
The Meteor-generated app is just a simple skeleton that demonstrates some simple patterns.
Although the app doesn't have much functionality, it can also run. To run the app, switch to the terminal and enter the following command:
$ cd microscope
$ meteor
Now open your browser and visit
http://localhost:3000
(or equivalent
http://0.0.0.0:3000
and you should see the following page:
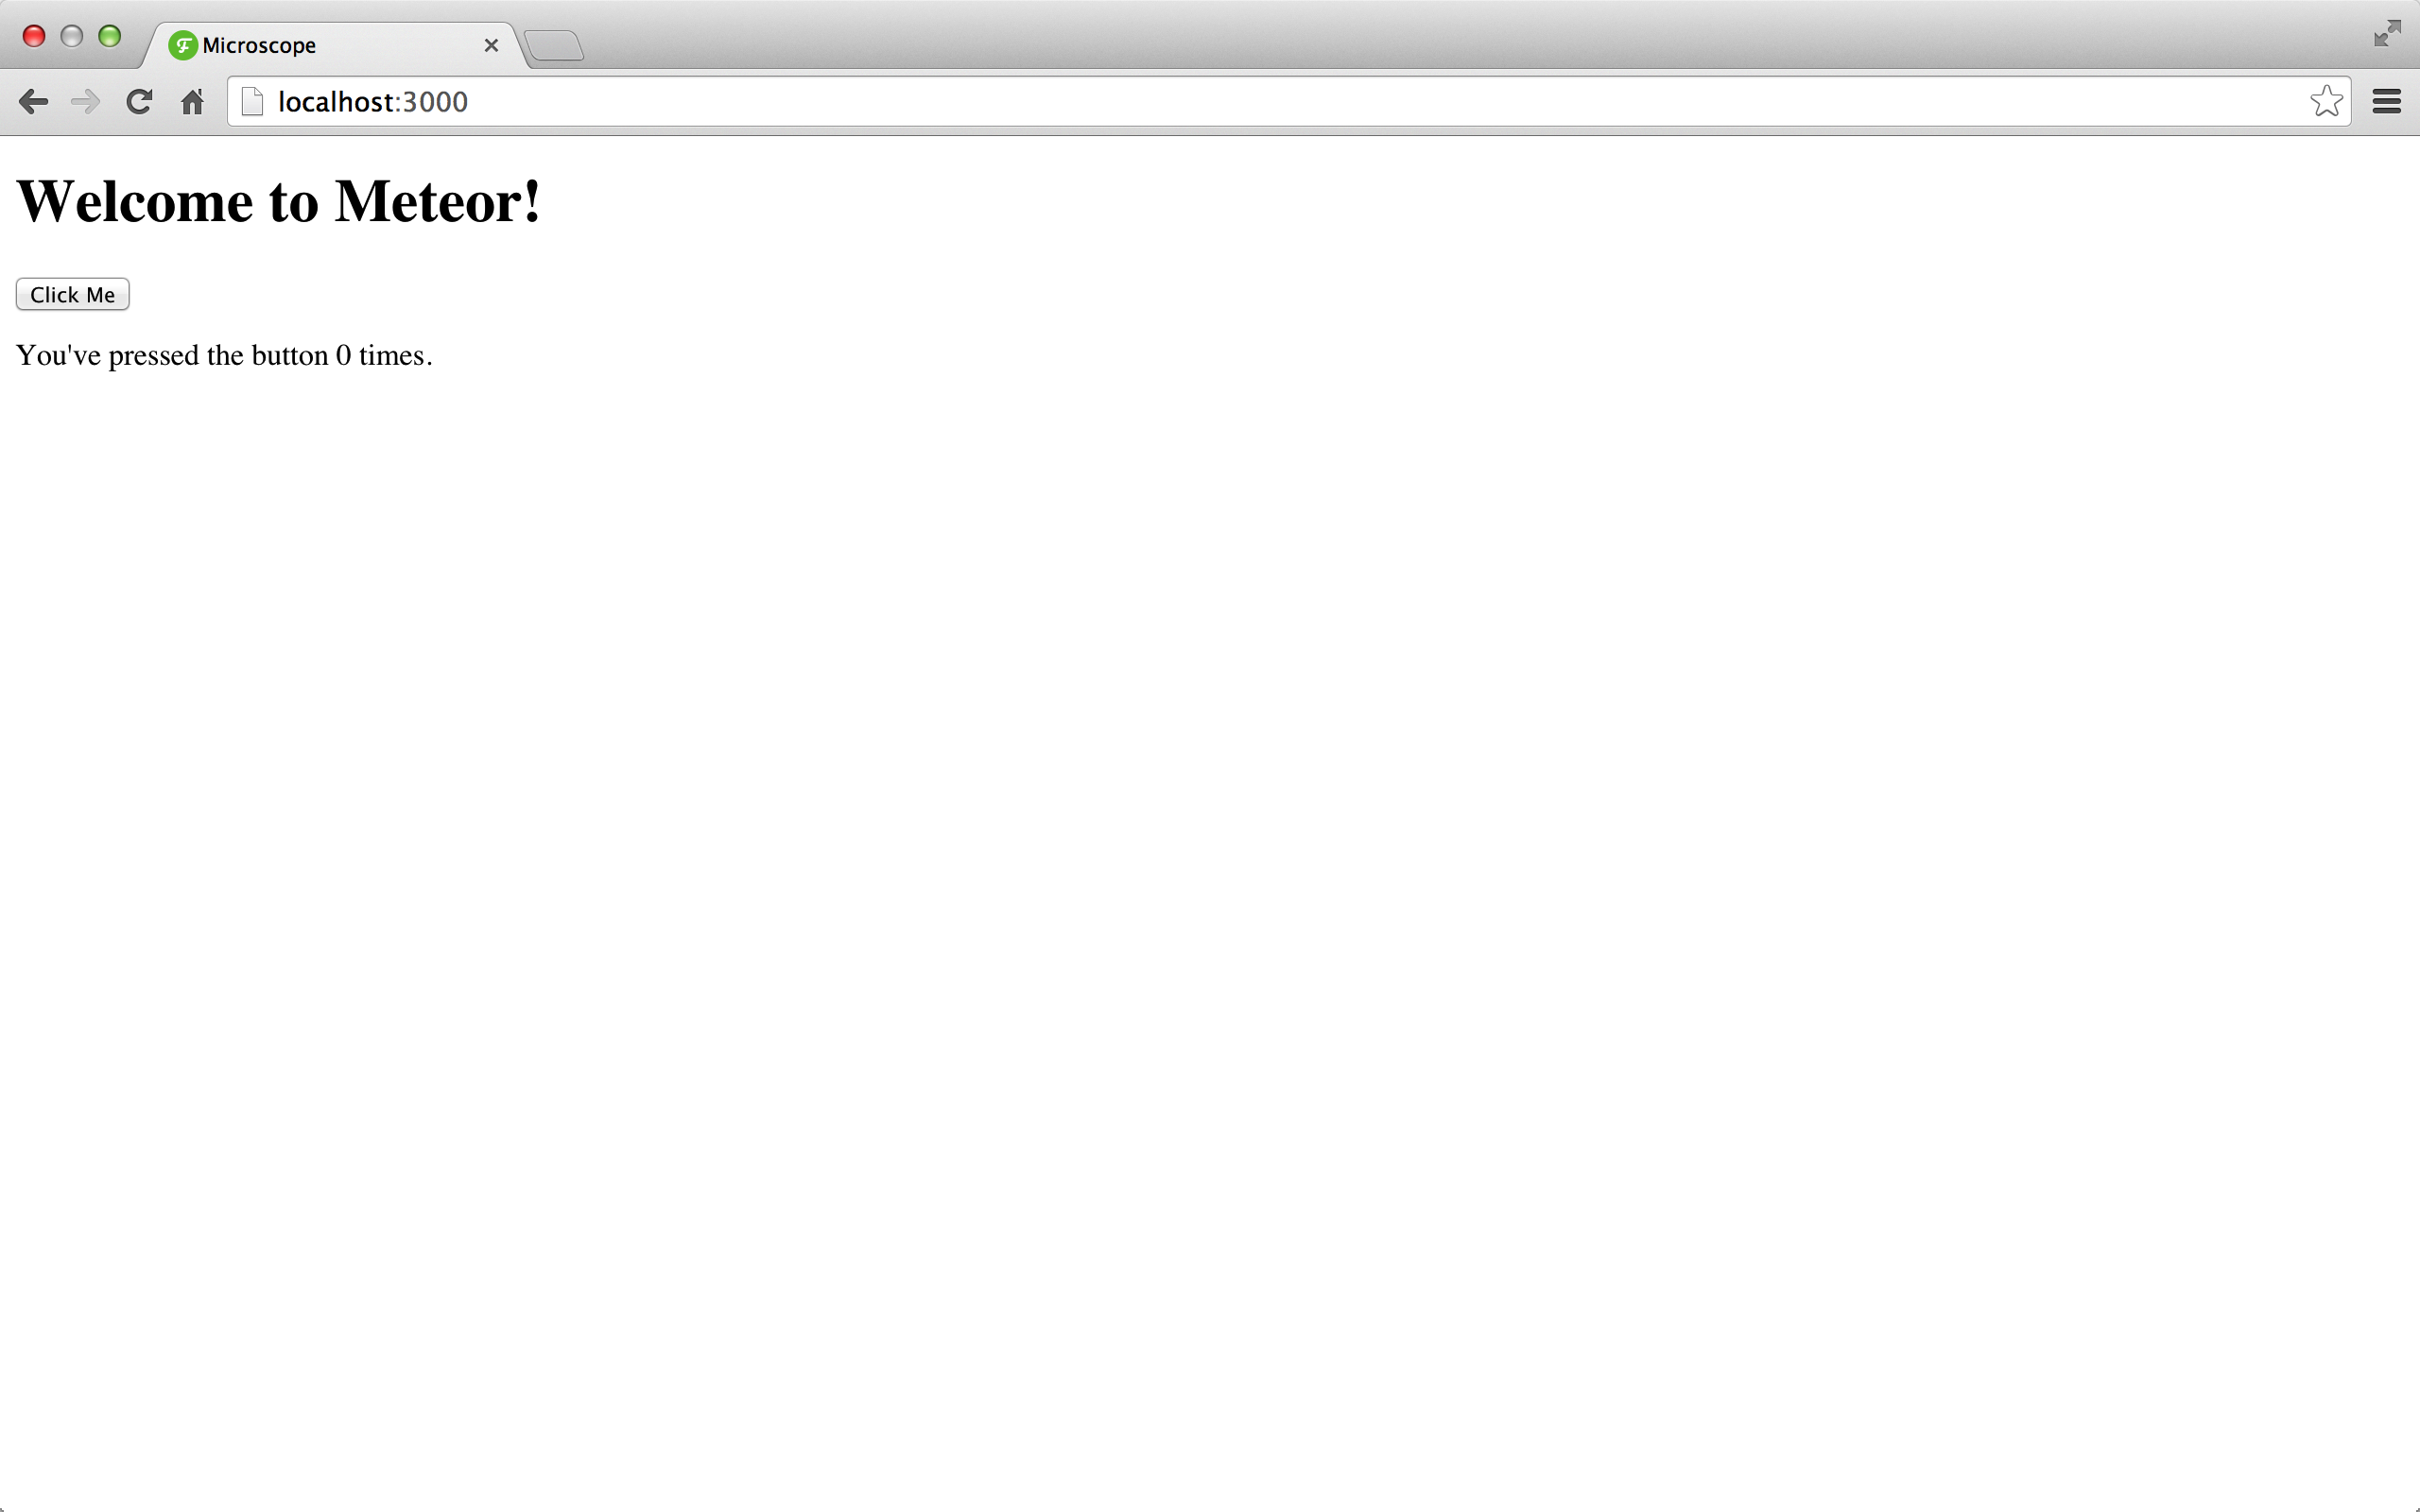
Congratulations! Y
our first Meteor app is running smoothly.
By the way, if you want to stop running the program, just switch to the corresponding
ctrl+c
key.
If you're using Git, it's time to initialize your project repository with
git init
Goodbye Meteorite
There was a time when Meteor relied on the external code pack manager, Meteorite. Since The Meteor 0.9.0 release, Meteorite is no longer needed because its functionality is incorporated into Meteor.
So if you encounter Meteorite's mrt command-line tool in this
mrt
materials, you can
meteor
it with meteor.
Add a code pack
Let's use Meteor's package system to introduce the Bootstrap framework into our project.
This is no different from the usual method of manually adding Bootstrap's CSS and Javascript files, except that we rely on code pack maintainers to update these files for us.
Now that we're talking about this, let's add the Underscore code pack. Underscore is a JavaScript tool library that is useful for manipulating JavaScript data structures.
As of the time of writing,
underscore
code pack still counts as meteor's "official" code pack, so it has no author:
meteor add twbs:bootstrap
meteor add underscore
Note that now we've added Bootstrap 3. Some of the screenshots in this book were taken when the older version of Microscope used Bootstrap 2, and all of them look slightly different.
Once you've added the Bootstrap code pack, you should notice a change in our app:
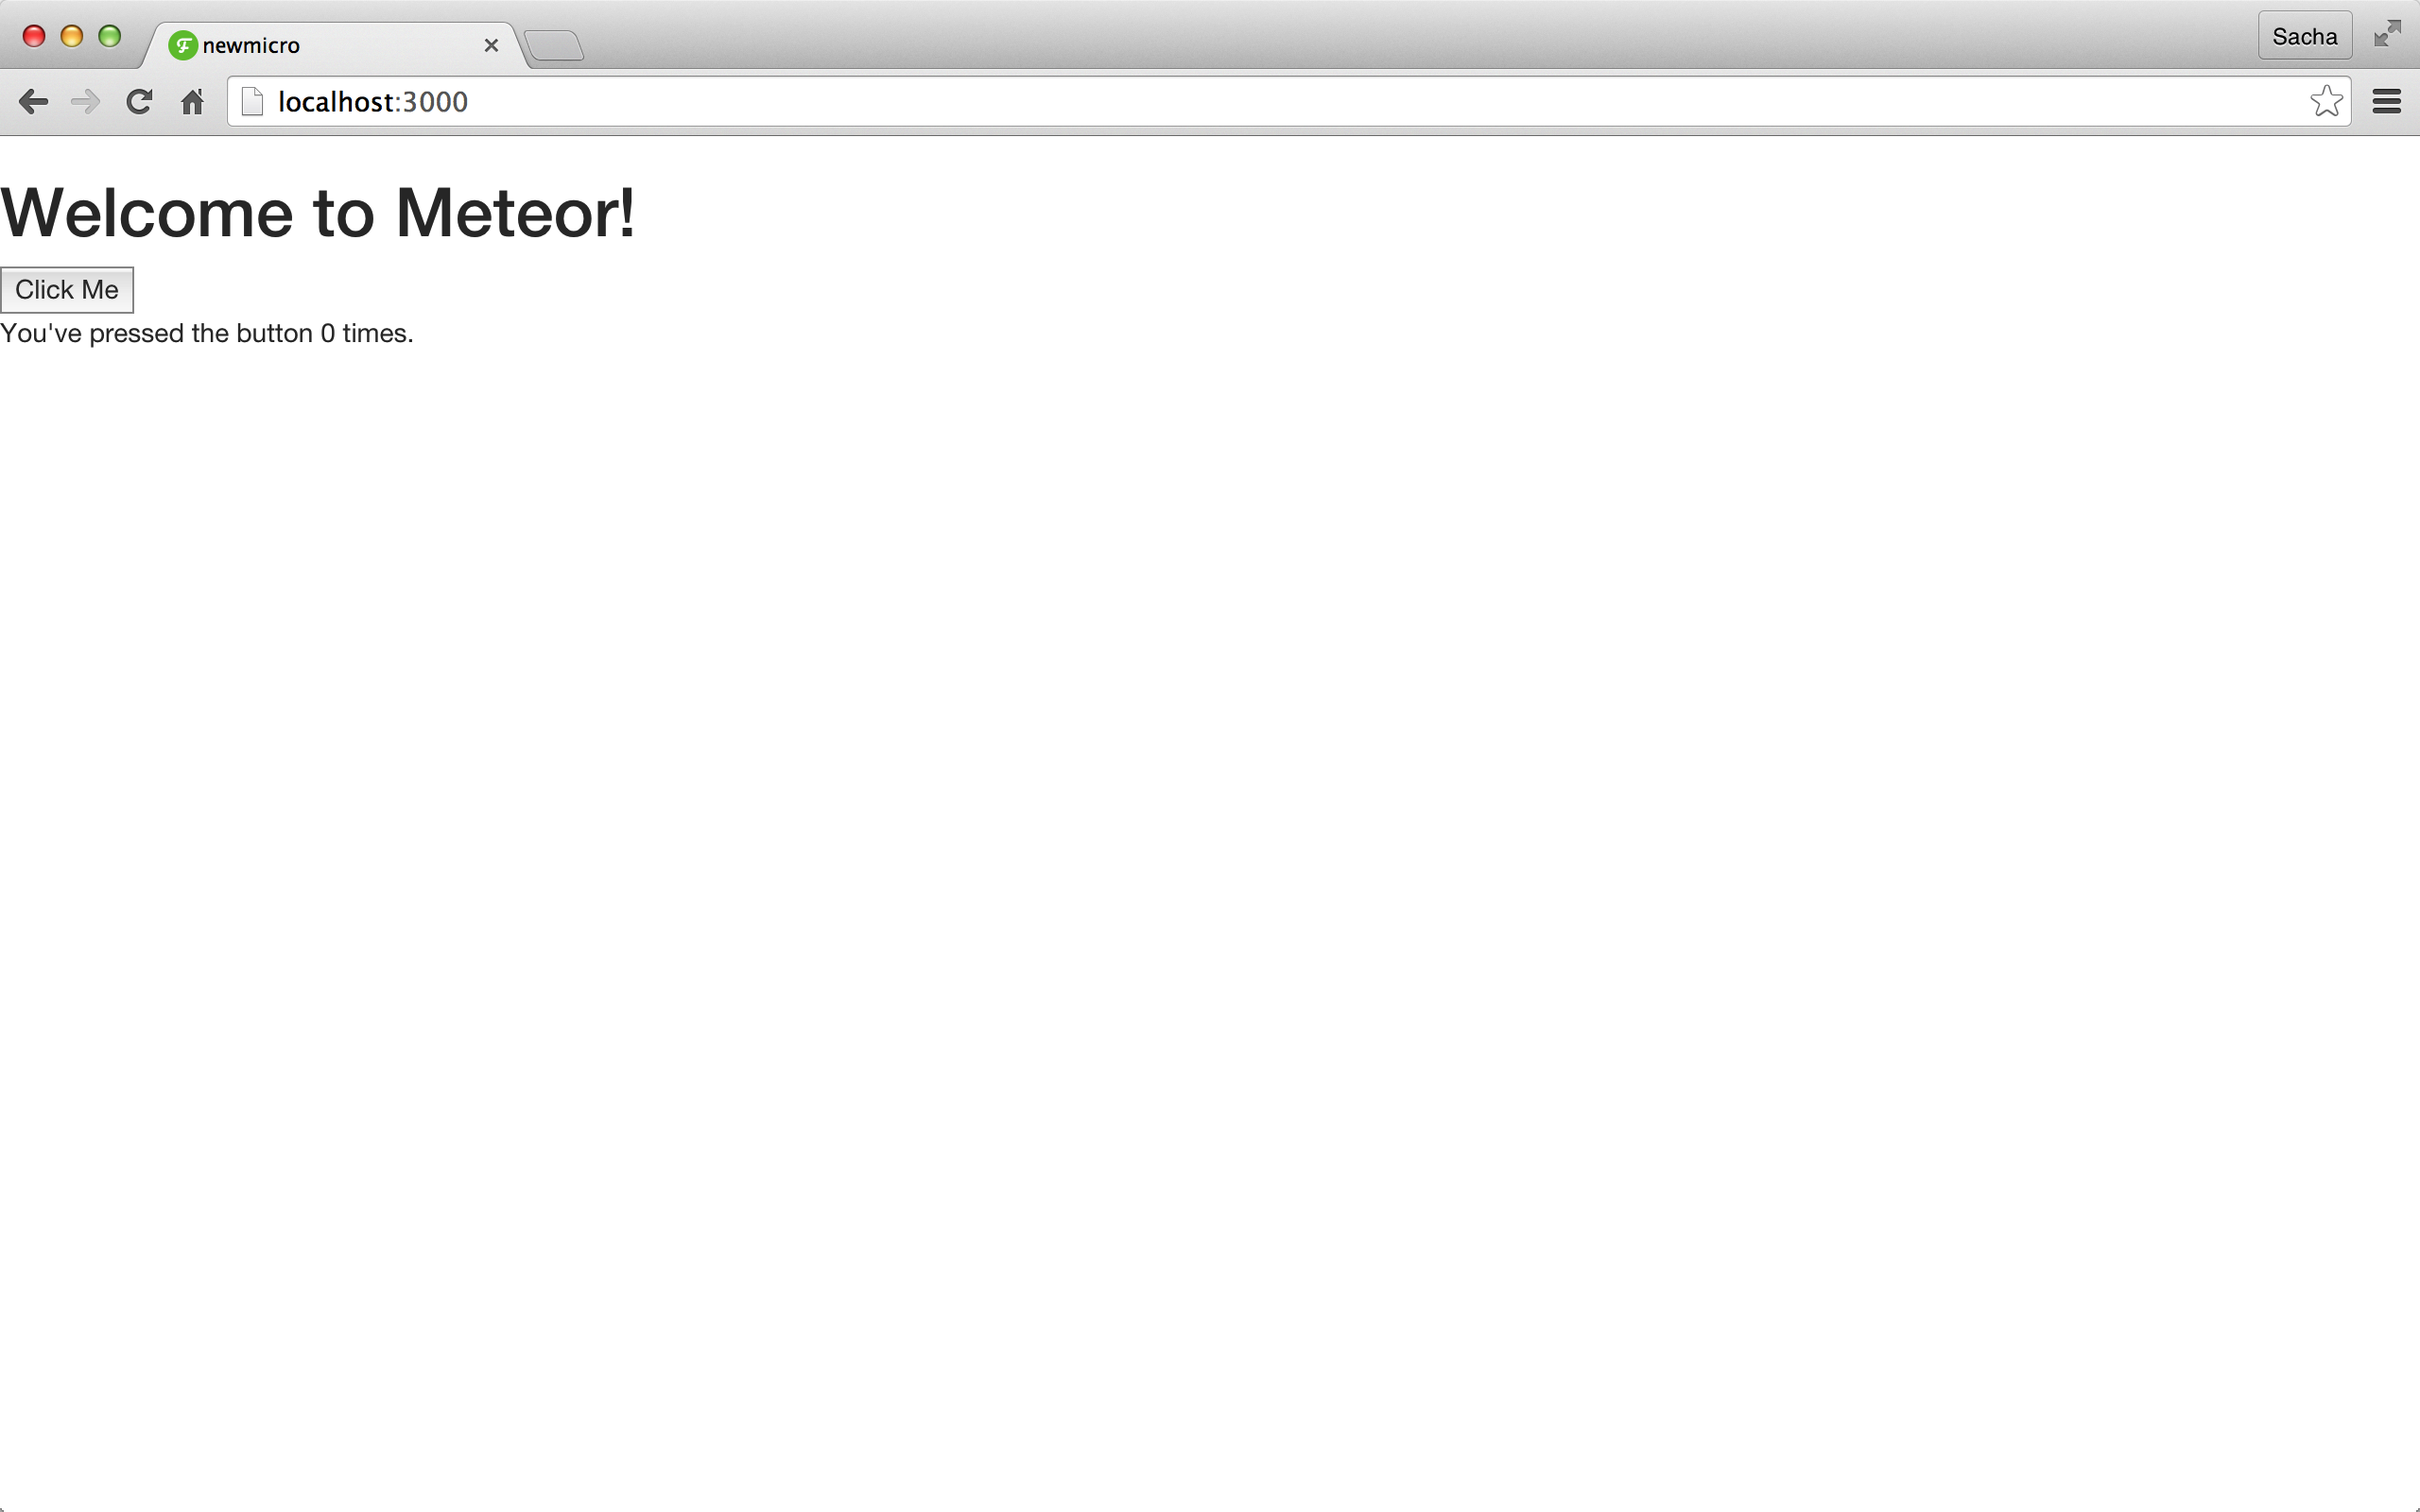
Unlike the "traditional" way of adding external resources, we haven't linked any CSS or JavaScript files yet, because Meteor has helped us get it done! This is one of the many benefits of the Meteor code pack.
About the code package
The code pack in Meteor is a little special and is divided into five categories:
- The Meteor core code itself is divided into multiple core packages, which are included in each Meteor application, and you basically don't need to spend effort maintaining them
-
Regular Meteor code packs are called
isopacks,
or isomorphic packages, meaning they work both on the client side and on the server side.
The first type of code pack,
accounts-uiorappcachemaintained by the Meteor core team and bundled with Meteor. -
A third-party code pack is
an isopack developed by another user that is uploaded to Meteor's code pack server.
You can browse these code
meteor searchvisiting the Atmosphere or meteor search commands. -
The local package
is a self-developed code pack that is stored
/packagesfolder. - The NPM package is a code pack for Node .js and cannot be used directly with Meteor, but can be used in several of the above code packs
The file structure of the Meteor app
Before we can start writing code, we have to set up the project correctly.
To keep your
microscope
folder and remove
microscope.html
microscope.js
microscope.css
Create four
microscope
in the microscope folder:
/client
/server
/public
/lib
T
hen
/client
new empty files in the
main.html
main.js
If the program doesn't work, don't worry, we'll write code from the next chapter.
It is worth mentioning that some of the above folders have special effects. With regard to files, Meteor has several rules:
-
The
/serverfolder will only run on the server side. -
The
/clientfolder will only run on the client. - The other code will run on both the server side and the client side.
-
Place all static files (fonts, pictures, etc.)
/publicfolder.
It is also useful to know in what order Meteor loads files:
-
Files
/libfolder will be loaded first. -
All files
main.*be loaded after the other files are loaded. - Other files are loaded in alphabetical order of file names.
It's important to note that even if Meteor contains the rules above, that doesn't mean it forces you to adopt any preset file structure for your Meteor app. The above structure is only our proposal and is not static.
For more information, we strongly recommend that you refer to the Official Meteor documentation.
Does Meteor have an MVC architecture?
If you've ever been developed in a framework like Ruby on Rails before, you might have this question in mind, Does Meteor use the Model View Controller architecture?
The short answer is, no. U nlike Rails, Meteor does not impose any preset architecture on your app. So this book will give us the code that we think makes the most sense without giving too much thought to any existing architecture.
Don't need a public folder?
Well, we admit to fooling everyone a little bit before. W
e don't really need to build a
public/
our app, because Microscope doesn't need to use any static files.
But it's worth noting that most Meteor apps use more or less pictures,
public/
are worth talking about.
In addition, you may notice a hidden
.meteor
folder. T
his is where Meteor stores its internal code, and trying to change what's inside isn't a good idea. I
n fact, you don't have to care about what's in it. T
wo exceptions are
.meteor/packages
file and
.meteor/release
file. T
hey list all the smart code packs you install and the version of Meteor you use.
When you add a code pack or change the Meteor version to your app, it may be helpful to review the changes to both files.
Underlined Nomenclale vs Hump Nomenclale
For the time-honored
my_variable
and
myVariable
don't think it matters which one to choose, as long as you stick to it in your project.
In this book, we'll use the hump nomenclat nomenclat because it's a convention in JavaScript (after all, it's called JavaScript java_script it!). )。
The only exception to this is that for the naming of a file, we'll use an underlined nomenclat
my_file.js
F
or the CSS class, we'll use a gabyte
.my-class
This is done because underscore nomenclats are most common in file systems, and the CSS syntax itself uses a
font-family
text-align
Get the CSS done
This book does not focus on CSS. S o to avoid spending too much time on CSS details, we decided to provide you with a complete CSS file at the beginning of this book. So you don't have to worry about it longer.
CSS files are automatically loaded and simplified by Meteor. T
herefore, unlike other static files, which are placed
/public
folder, put the CSS files in
/client
folder.
Create a
client/stylesheets/
and place
style.css
the file inside.
.grid-block, .main, .post, .comments li, .comment-form {
  background: #fff;
  border-radius: 3px;
  padding: 10px;
  margin-bottom: 10px;
  -webkit-box-shadow: 0 1px 1px rgba(0, 0, 0, 0.15);
  -moz-box-shadow: 0 1px 1px rgba(0, 0, 0, 0.15);
  box-shadow: 0 1px 1px rgba(0, 0, 0, 0.15); }

body {
  background: #eee;
  color: #666666; }

#main {
  position: relative;
}
.page {
  position: absolute;
  top: 0px;
  width: 100%;
}

.navbar {
  margin-bottom: 10px; }
  /* line 32, ../sass/style.scss */
  .navbar .navbar-inner {
    border-radius: 0px 0px 3px 3px; }

#spinner {
  height: 300px; }

.post {
  /* For modern browsers */
  /* For IE 6/7 (trigger hasLayout) */
  *zoom: 1;
  position: relative;
  opacity: 1; }
  .post:before, .post:after {
    content: "";
    display: table; }
  .post:after {
    clear: both; }
  .post.invisible {
    opacity: 0; }
  .post.instant {
    -webkit-transition: none;
    -moz-transition: none;
    -o-transition: none;
    transition: none; }
  .post.animate{
    -webkit-transition: all 300ms 0ms;
    -moz-transition: all 300ms 0ms ease-in;
    -o-transition: all 300ms 0ms ease-in;
    transition: all 300ms 0ms ease-in; }
  .post .upvote {
    display: block;
    margin: 7px 12px 0 0;
    float: left; }
  .post .post-content {
    float: left; }
    .post .post-content h3 {
      margin: 0;
      line-height: 1.4;
      font-size: 18px; }
      .post .post-content h3 a {
        display: inline-block;
        margin-right: 5px; }
      .post .post-content h3 span {
        font-weight: normal;
        font-size: 14px;
        display: inline-block;
        color: #aaaaaa; }
    .post .post-content p {
      margin: 0; }
  .post .discuss {
    display: block;
    float: right;
    margin-top: 7px; }

.comments {
  list-style-type: none;
  margin: 0; }
  .comments li h4 {
    font-size: 16px;
    margin: 0; }
    .comments li h4 .date {
      font-size: 12px;
      font-weight: normal; }
    .comments li h4 a {
      font-size: 12px; }
  .comments li p:last-child {
    margin-bottom: 0; }

.dropdown-menu span {
  display: block;
  padding: 3px 20px;
  clear: both;
  line-height: 20px;
  color: #bbb;
  white-space: nowrap; }

.load-more {
  display: block;
  border-radius: 3px;
  background: rgba(0, 0, 0, 0.05);
  text-align: center;
  height: 60px;
  line-height: 60px;
  margin-bottom: 10px; }
  .load-more:hover {
    text-decoration: none;
    background: rgba(0, 0, 0, 0.1); }

.posts .spinner-container{
  position: relative;
  height: 100px;
}

.jumbotron{
  text-align: center;
}
.jumbotron h2{
  font-size: 60px;
  font-weight: 100;
}

@-webkit-keyframes fadeOut {
  0% {opacity: 0;}
  10% {opacity: 1;}
  90% {opacity: 1;}
  100% {opacity: 0;}
}

@keyframes fadeOut {
  0% {opacity: 0;}
  10% {opacity: 1;}
  90% {opacity: 1;}
  100% {opacity: 0;}
}

.errors{
  position: fixed;
  z-index: 10000;
  padding: 10px;
  top: 0px;
  left: 0px;
  right: 0px;
  bottom: 0px;
  pointer-events: none;
}
.alert {
          animation: fadeOut 2700ms ease-in 0s 1 forwards;
  -webkit-animation: fadeOut 2700ms ease-in 0s 1 forwards;
     -moz-animation: fadeOut 2700ms ease-in 0s 1 forwards;
  width: 250px;
  float: right;
  clear: both;
  margin-bottom: 5px;
  pointer-events: auto;
}CoffeeScript instructions
In this book we will use pure JavaScript. B ut if you're more inclined to use CoffeeScript, Meteor can help you do that. All you have to do is add the CoffeeScript code pack and you're back in the project!
meteor add coffeescript