Meteor edits the post
May 10, 2021 Meteor
Table of contents
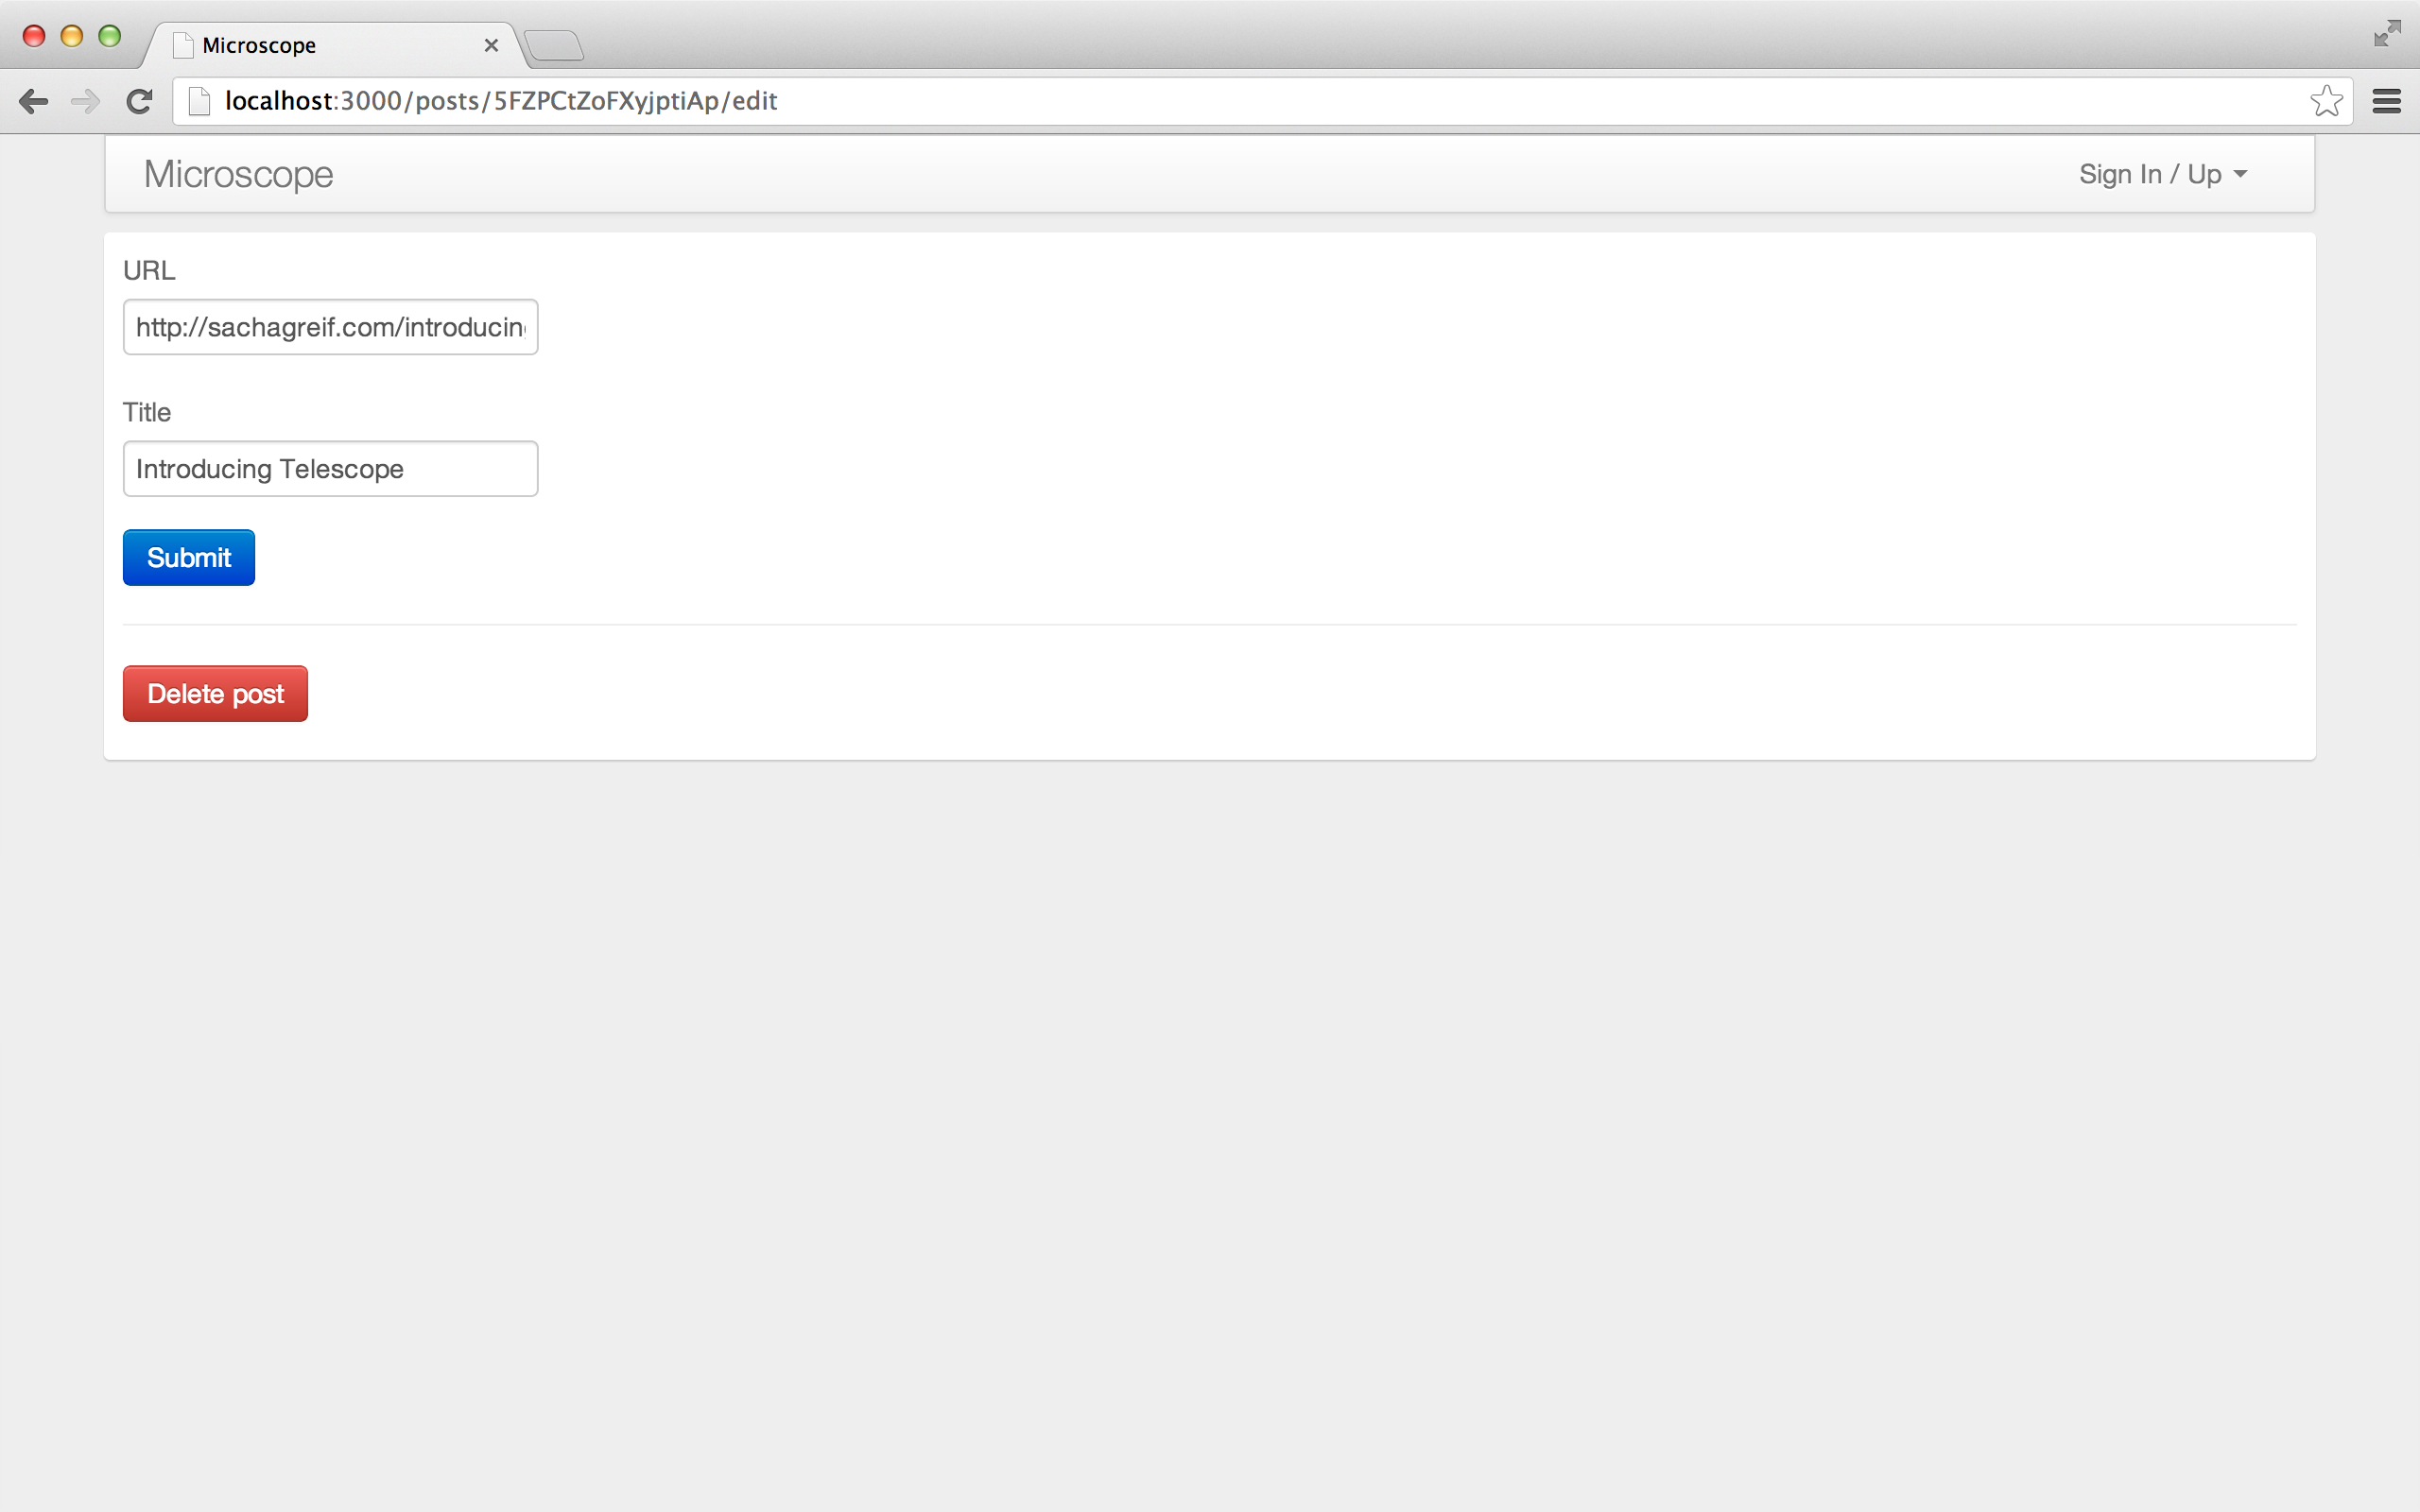
Edit the post
In the last chapter, we learned to create posts, and here's how to edit and delete them. The code for the page is very simple, so let's talk about how Meteor manages user rights at this point.
Let's first set up our router, add a path that can access the post editing page, and set its data context:
Router.configure({
  layoutTemplate: 'layout',
  loadingTemplate: 'loading',
  notFoundTemplate: 'notFound',
  waitOn: function() { return Meteor.subscribe('posts'); }
});

Router.route('/', {name: 'postsList'});

Router.route('/posts/:_id', {
  name: 'postPage',
  data: function() { return Posts.findOne(this.params._id); }
});

Router.route('/posts/:_id/edit', {
  name: 'postEdit',
  data: function() { return Posts.findOne(this.params._id); }
});

Router.route('/submit', {name: 'postSubmit'});

var requireLogin = function() {
  if (! Meteor.user()) {
    if (Meteor.loggingIn()) {
      this.render(this.loadingTemplate);
    } else {
      this.render('accessDenied');
    }
  } else {
    this.next();
  }
}

Router.onBeforeAction('dataNotFound', {only: 'postPage'});
Router.onBeforeAction(requireLogin, {only: 'postSubmit'});
Post editing templates
We can focus on templates now.
Our
postEdit
template contains a fairly standard form:
<template name="postEdit">
  <form class="main form">
    <div class="form-group">
      <label class="control-label" for="url">URL</label>
      <div class="controls">
          <input name="url" id="url" type="text" value="{{url}}" placeholder="Your URL" class="form-control"/>
      </div>
    </div>
    <div class="form-group">
      <label class="control-label" for="title">Title</label>
      <div class="controls">
          <input name="title" id="title" type="text" value="{{title}}" placeholder="Name your post" class="form-control"/>
      </div>
    </div>
    <input type="submit" value="Submit" class="btn btn-primary submit"/>
    <hr/>
    <a class="btn btn-danger delete" href="#">Delete post</a>
  </form>
</template>
Use
post_edit.js
to match this template:
Template.postEdit.events({
  'submit form': function(e) {
    e.preventDefault();

    var currentPostId = this._id;

    var postProperties = {
      url: $(e.target).find('[name=url]').val(),
      title: $(e.target).find('[name=title]').val()
    }

    Posts.update(currentPostId, {$set: postProperties}, function(error) {
      if (error) {
        // 向用户显示错误信息
        alert(error.reason);
      } else {
        Router.go('postPage', {_id: currentPostId});
      }
    });
  },

  'click .delete': function(e) {
    e.preventDefault();

    if (confirm("Delete this post?")) {
      var currentPostId = this._id;
      Posts.remove(currentPostId);
      Router.go('postsList');
    }
  }
});
I'm sure you're pretty familiar with all this code now.
We have two event callback functions: a submit event for
submit
and a click event for
click
The callback function that removes the link is very simple: first prevent the default click event, and then prompt the confirmation window. If you confirm the deletion, it takes the ID of the current post from the template's data context, deletes it, and finally redirects the user to the home page.
The updated callback function takes a little longer, but it's not complicated.
After preventing the default submission event and then getting the current post, we'll get the values of the fields from the form and store them in a
postProperties
object.
We then pass the
$set
Collection.update()
method through the $set operator (which updates only the value
Collection.update()
determines that the error message appears if the update fails, and if the update is successful, it is automatically returned to the page of the post.
Add a link
We should also add a link to edit the post so that users can access the post editing page:
<template name="postItem">
  <div class="post">
    <div class="post-content">
      <h3><a href="{{url}}">{{title}}</a><span>{{domain}}</span></h3>
      <p>
        submitted by {{author}}
        {{#if ownPost}}<a href="{{pathFor 'postEdit'}}">Edit</a>{{/if}}
      </p>
    </div>
    <a href="{{pathFor 'postPage'}}" class="discuss btn btn-default">Discuss</a>
  </div>
</template>
Of course, we can't let your posts be made available to other users to edit.
This is to
ownPost
helper:
Template.postItem.helpers({
  ownPost: function() {
    return this.userId === Meteor.userId();
  },
  domain: function() {
    var a = document.createElement('a');
    a.href = this.url;
    return a.hostname;
  }
});
Our post editing form looks good, but we can't edit anything yet, so why?
Set permissions
Since we removed the
insecure
all client modifications have now been rejected.
To solve this problem, we need to establish some permission rules. F
irst, create a new
lib
file in
permissions.js
directory.
Doing so will load our permission file first (it can be loaded on both the service side and the client):
// check that the userId specified owns the documents
ownsDocument = function(userId, doc) {
  return doc && doc.userId === userId;
}
In creating the post section, we abandoned
allow()
method because we only inserted new posts through the service-side method
allow()
method).
But now we're going to edit and delete posts on the client!
Let's
posts.js
and add
allow()
:
Posts = new Mongo.Collection('posts');

Posts.allow({
  update: function(userId, post) { return ownsDocument(userId, post); },
  remove: function(userId, post) { return ownsDocument(userId, post); }
});

//...
Limit editing
Although you can edit your own posts, that doesn't mean you can allow you to edit each property of the post. For example, we don't allow users to create a post and assign it to other users.
We use Meteor's
deny()
to ensure that users can only edit specific fields:
Posts = new Mongo.Collection('posts');

Posts.allow({
  update: function(userId, post) { return ownsDocument(userId, post); },
  remove: function(userId, post) { return ownsDocument(userId, post); }
});

Posts.deny({
  update: function(userId, post, fieldNames) {
    // 只能更改如下两个字段:
    return (_.without(fieldNames, 'url', 'title').length > 0);
  }
});

//...
fieldNames
that contains fields that need to be modified and
returns a sub-array that does not contain url and title fields using
Underscore's
without()
method.
url
title
Normally, this array should be empty and its length should be 0.
If someone takes another action, the length of the array becomes 1 or more, and the callback function
true
are prohibited).
You may have noticed that there is no code in our code that checks for duplicate links. T his means that once the user has successfully added a link, the check is bypassed when editing. This problem can also be solved by using Meteor's built-in methods for editing post forms, but we leave it to the reader as an exercise.
Callbacks for built-in methods vs client data operations
To create posts, we use
postInsert
while editing and deleting posts, we
update
the
remove
allow
usage rights by allow and
deny
How do we choose to use it?
When the operation is relatively intuitive and you can
allow
rules with
deny
it is usually easier to do so directly on the client side.
However, once you need to do something outside of user control, such as timestamping a new post, or assigning a post to the right user, it's better to use the built-in method.
The built-in method also applies in some other scenarios:
- Instead of waiting for a response and synchronization to pass the data when you need to get the return value through the callback function of the built-in method.
- For some heavy database operations, such as extracting a large collection of data.
- When calculating or totaling data (e.g. count, average, sum).
Read our blog to learn more about this topic.