JUnit - Eclipse plug-in
May 15, 2021 jUnit
Table of contents
JUnit - Eclipse plug-in
In order to set up JUnit with eclipse, you need to follow these steps.
Step 1: Download Junit Archive
Download JUnit
| Operating system | Filename |
|---|---|
| Windows | junit4.10.jar |
| Linux | junit4.10.jar |
| Mac | junit4.10.jar |
Let's say you copied the above JAR file in the C:;JUnit folder.
Step 2: Set up the Eclipse environment
- Open eclipse -gt; right-click on project and click on property and Build Path and Configure Build Path, and then use the External Add Jar button to add junit-4.10 to the library.jar.

- Let's say your eclipse already has a junit plug-in built in and it's in the C:;eclipse/plugins directory, so if you can't get it, you can download it from JUnit Plugin. U nzip the downloaded zip file in eclipse's plug-in folder. F inally restart eclipse.
Now your eclipse is ready for the development of the JUnit test case.
Step 3: Verify the Junit installation in Eclipse
- Create a TestJunit project anywhere on eclipse.
- Create a MessageUtil class to test in your project.
/*
* This class prints the given message on console.
*/
public class MessageUtil {

   private String message;

   //Constructor
   //@param message to be printed
   public MessageUtil(String message){
      this.message = message;
   }

   // prints the message
   public String printMessage(){
      System.out.println(message);
      return message;
   }
} - Create a Test Class TestJunit in your project
import org.junit.Test;
import static org.junit.Assert.assertEquals;
public class TestJunit {
String message = "Hello World";
MessageUtil messageUtil = new MessageUtil(message);
@Test
public void testPrintMessage() {
assertEquals(message,messageUtil.printMessage());
}
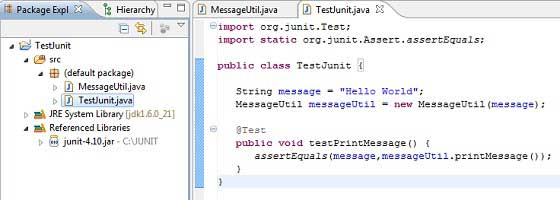
}The following is the project structure
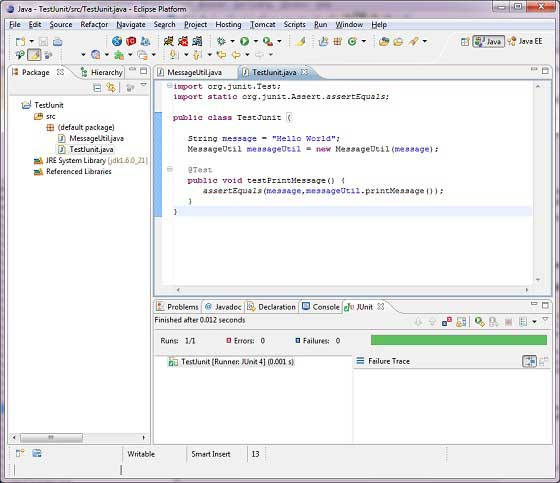
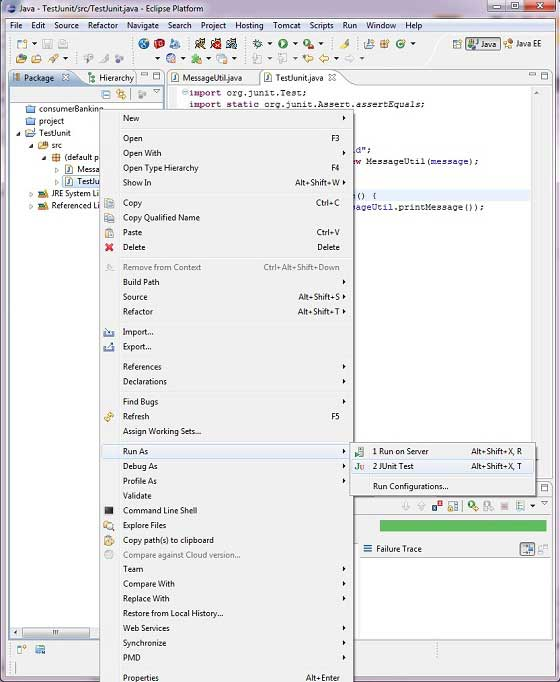
Finally, verify the output of the program by right-clicking the program and run as junit.
Verify the results