Cloud development WordPress static deployment
May 27, 2021 Web Cloud Development and Web Hosting Learning Guide
Table of contents
Believe that many students have been in contact with or used the blog system WordPress, WordPress has to say is a very good CMS, there is no doubt about it, both in terms of its performance and in terms of its overall functionality. So this article teaches you how to deploy a static WP to the cloud development of Tencent Cloud.
Here are students asked, what is static? Why do we use static?
1. What is static? ----- what we're talking about here is static web sites.
Each of its pages is composed of html files with CSS, Javascript, or other media elements, this type of website, each modification is a need to redeploy, the name we also know, static, fixed. But students also do not understand that static website is from the visual static.
2. Why do we use static WordPess? ------ on this issue, in fact, static and dynamic can be said to have their own strengths.
- Stability --- because it is static, so its page content is relatively stable, he will not because of some errors in the program will cause some display of abnormal.
- Security --- especially secure because they are html files in themselves and do not involve any databases, etc.
- Speed--- static files load faster than dynamic files, for example, we use a php program, it needs to call the database, need to execute the instructions we wrote for him, static files do not have these steps. Then you can work with CDNs (content distribution systems) to make website visits faster.
- The cost --- use fewer resources for static files.
Here are students have problems, static so good, why do we have to use dynamic?
As I said above, static and dynamic have their own advantages, let's talk about the disadvantages of WordPress static:
- Comment systems, membership modules, a variety of plug-ins and so on a series of need to use PHP and database all modules will fail, if you often need to interact and so on, then this static WP may not be very suitable for you, perhaps you can also find other solutions.
- Content changes need to be redeployed because they are static files, so every change you make needs to be redeployed to our cloud development, which is relatively cumbersome, and if you're updating often or even day-to-day, then this static WP may not be very good for you.
In summary, this scheme is more suitable for students who are not updated frequently and have display needs. Introduced so much, we began to get into the main topic!
The installation depends on the environment
First we need to install .js and npm, and we can refer to the .js node and installation guide
Then we need to install the CLI for cloud development
npm install -g @cloudbase/cli //Previously required to install node .js
Once the installation is complete, we need to deploy a PHP environment on our premises as well as install our WP. T he local environment can use PHPSTUDY or WAPSERVER
Once we have installed our local environment, we start our local web service
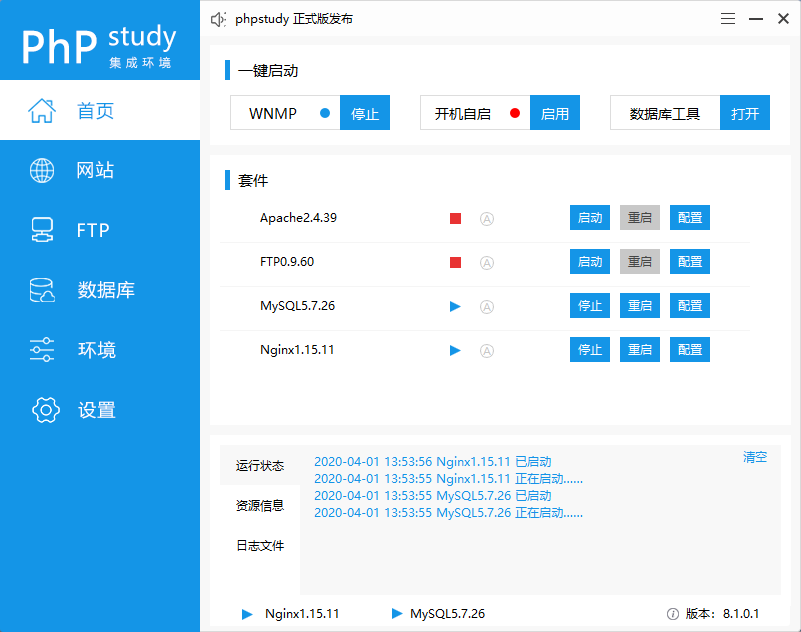
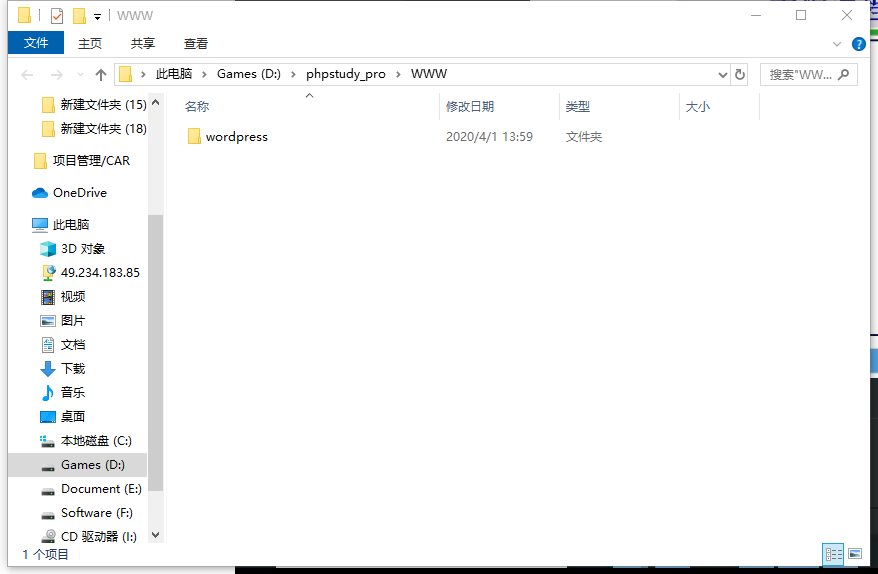
Click on --- to --- the root of the management website and you can go to our local website root
Then we go to WordPress website to download the Wordpress program, open and unziw the wordpress folder to the root of the local website.
Immediately after we go to the browser, visit our wordpress
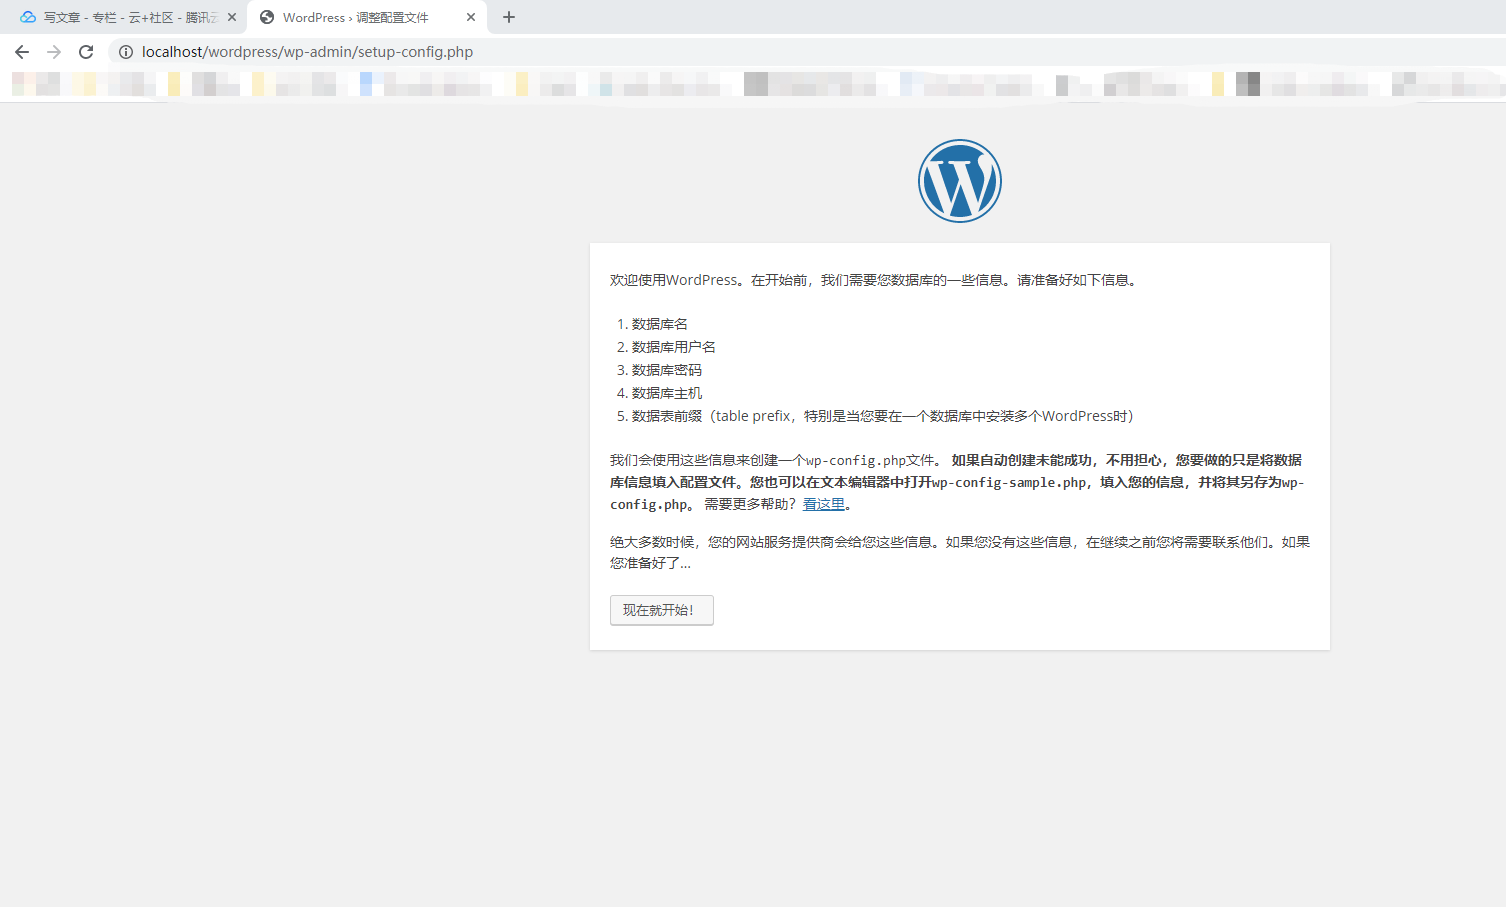
Click now and we'll see that we're asked to fill out the database information. Let's start by creating a database on our local environment
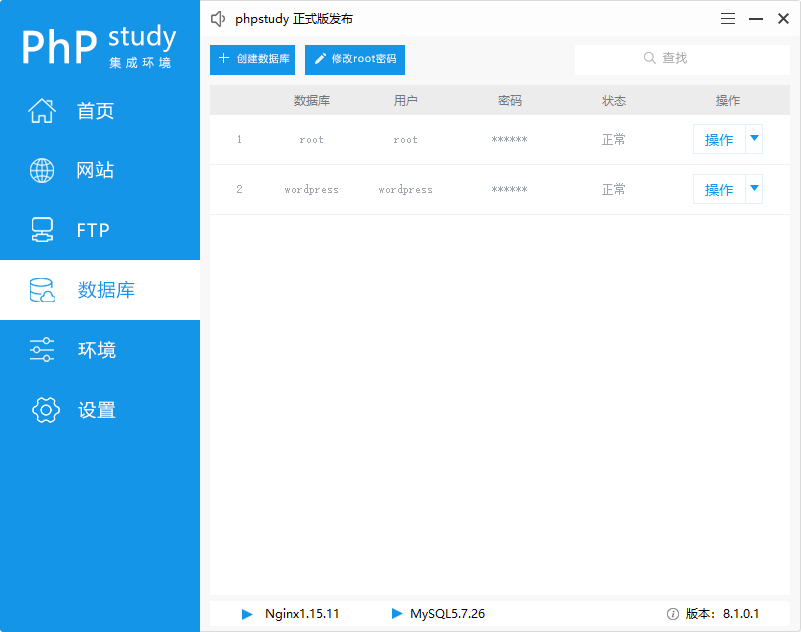
Immediately after we enter our database information, the database host we use the default localhost, the table prefix does not need to be changed
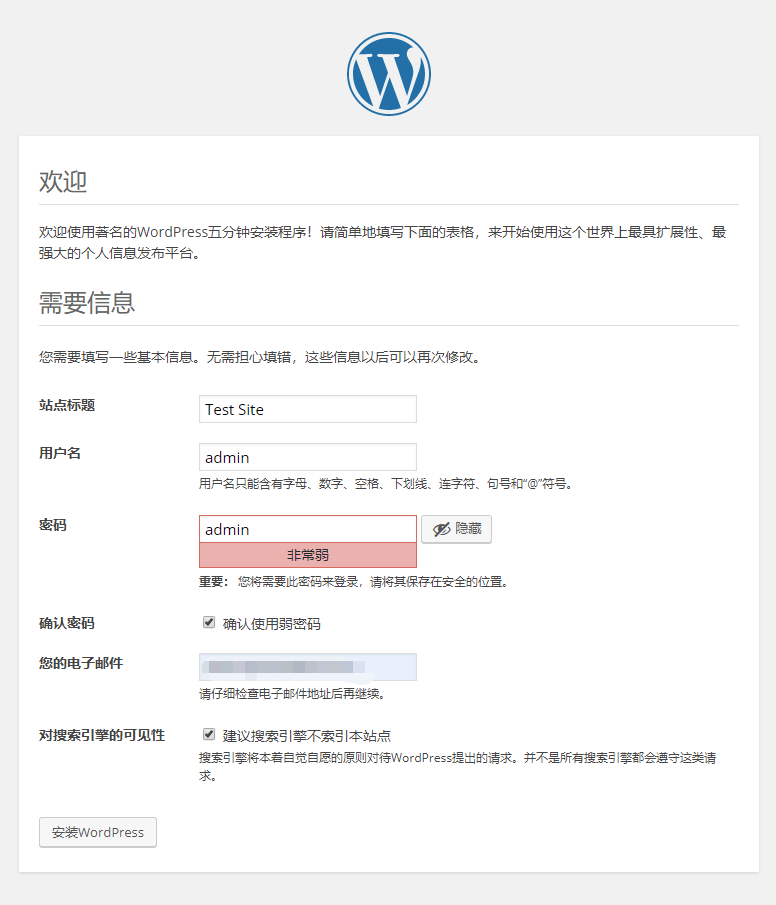
Click to submit after we will go to the site information supplement, fill in our administrator user and password and site name, etc. We click to install
After the installation is complete, some students click to log in may appear that the page does not function properly localhost is currently unable to process this request. HTTP ERROR 500 error,
Here we can enter
http://本地链接/wordpress/
go to our main page to see, not surprisingly, the students have shown our home page.
Then we can
http://本地/wordpress/wp-admin/ (http://localhost/wordpress/wp-admin/)
our back-office management page and enter the username and password we filled in before to log in to the background management page.
(Local please replace it with localhost)
Some students WP page will appear some PHP-related errors or Warning, you can go to the local environment php .ini change the error display.
Students using phpstudy can go to the settings-profile.ini php.ini and click php7.3.4ns to access php.ini.
WAMP students can click on the taskbar WAMP small icon to find the php .ini.
When we get into the php .ini, we search for error_reporting and
error_reporting=E_ALL
the pp
error_reporting=E_ALL & ~E_DEPRECATED & ~E_STRICT
Continue
display_errors
display_errors=On
display_errors=Off
Continue searching log_errors and
log_errors=On
of the log_errors to
log_errors=Off
After that, we restart the web service, and then visit our homepage without error prompts!
We then installed three plug-ins
After downloading the attachment above, upload the plug-in to the plug-in managed in the background, import and enable the plug-in in turn.
The first plug-in is WP2Static, which helps us convert WP to static files
The second plug-in is Wenprise Pinyin Slug, which converts Chinese name of the computer to Pinyin (the conversion on the path is used)
Then we can start our creation!
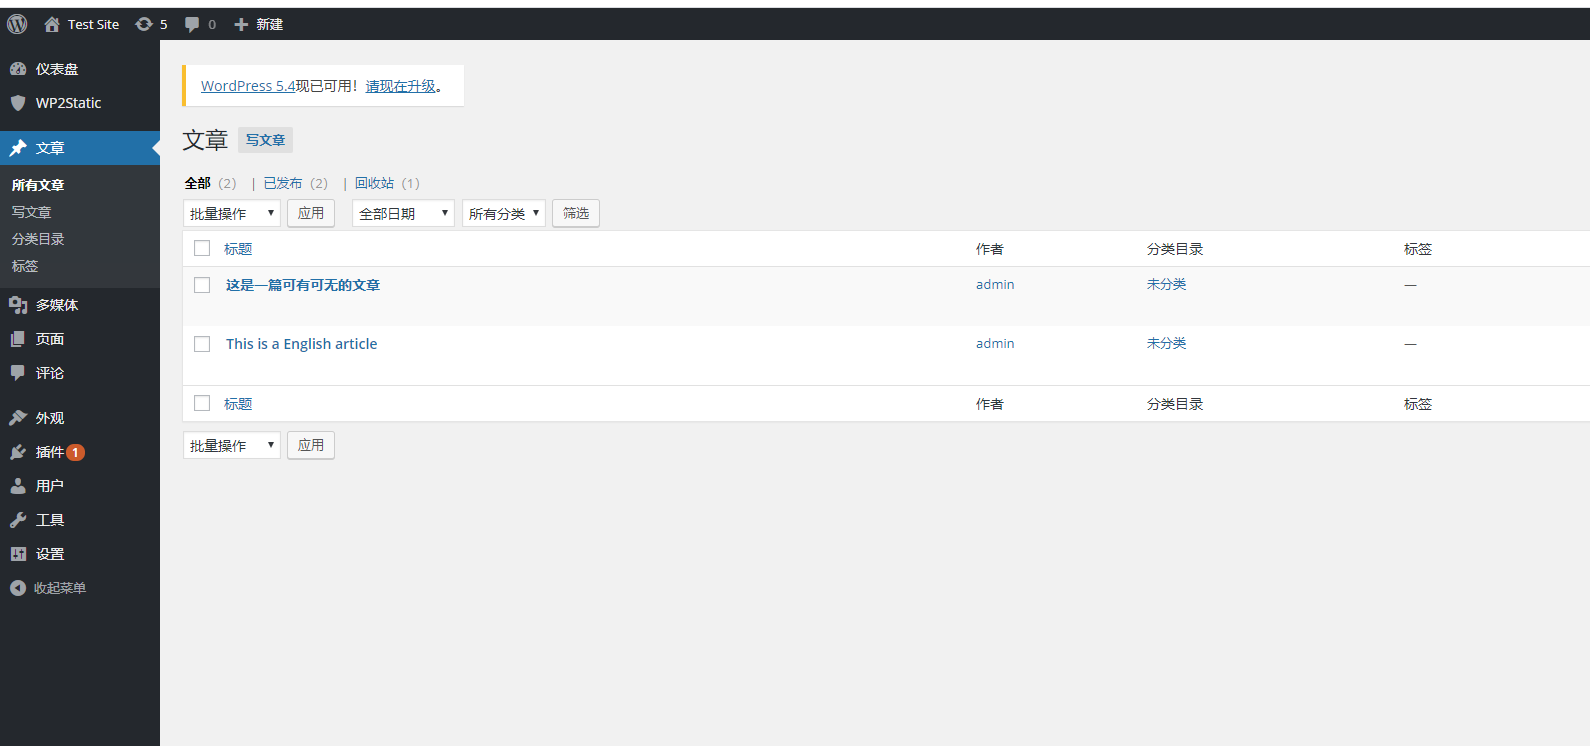
I casually created two articles for test use and added attachments and pictures
Then we go to the plug-in wp2static plug-in for static operations. B efore using the plug-in, we went to our Tencent Cloud console to find cloud development and create a good cloud environment, and then went into the cloud environment to open the site hosting. If nothing unexpected, we can see our cloud environment ID my is ykc-151533
Then we go to the plug-in page
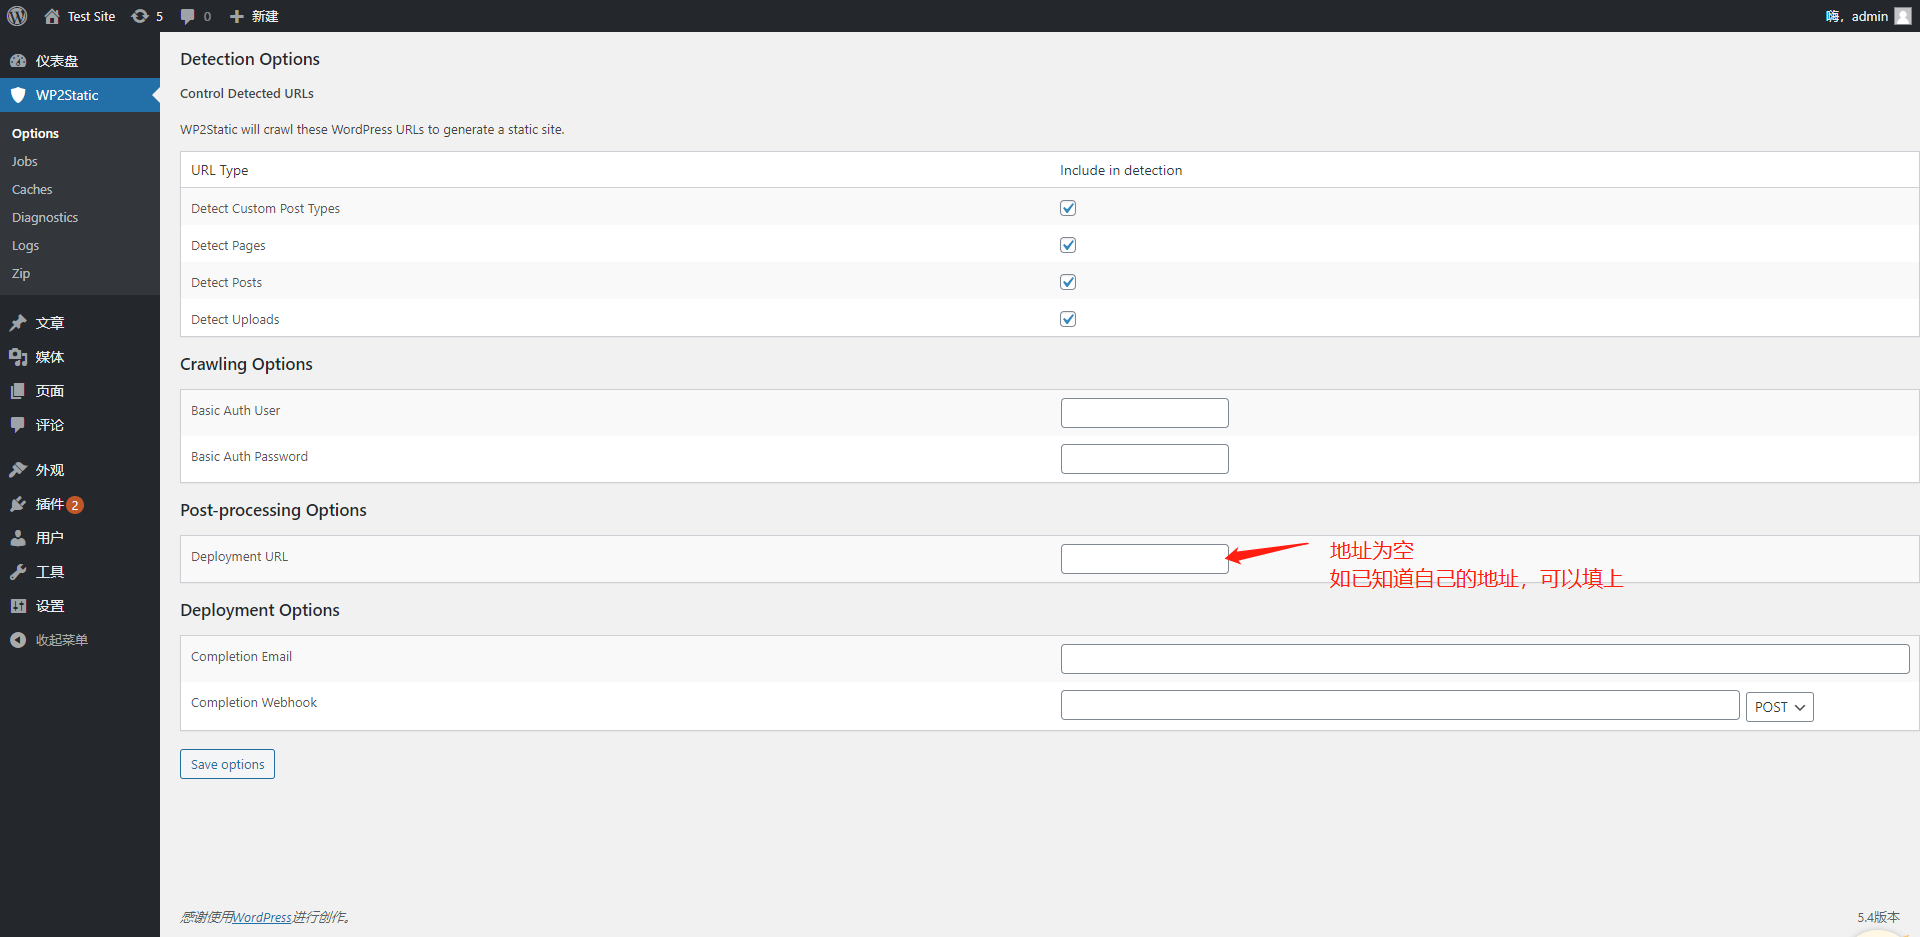
Then we click on Jobs below Option, select interval as the time (in this place, when the plug-in starts working), and then click Manually Enqueue Jobs Now (manually added to the execution queue)
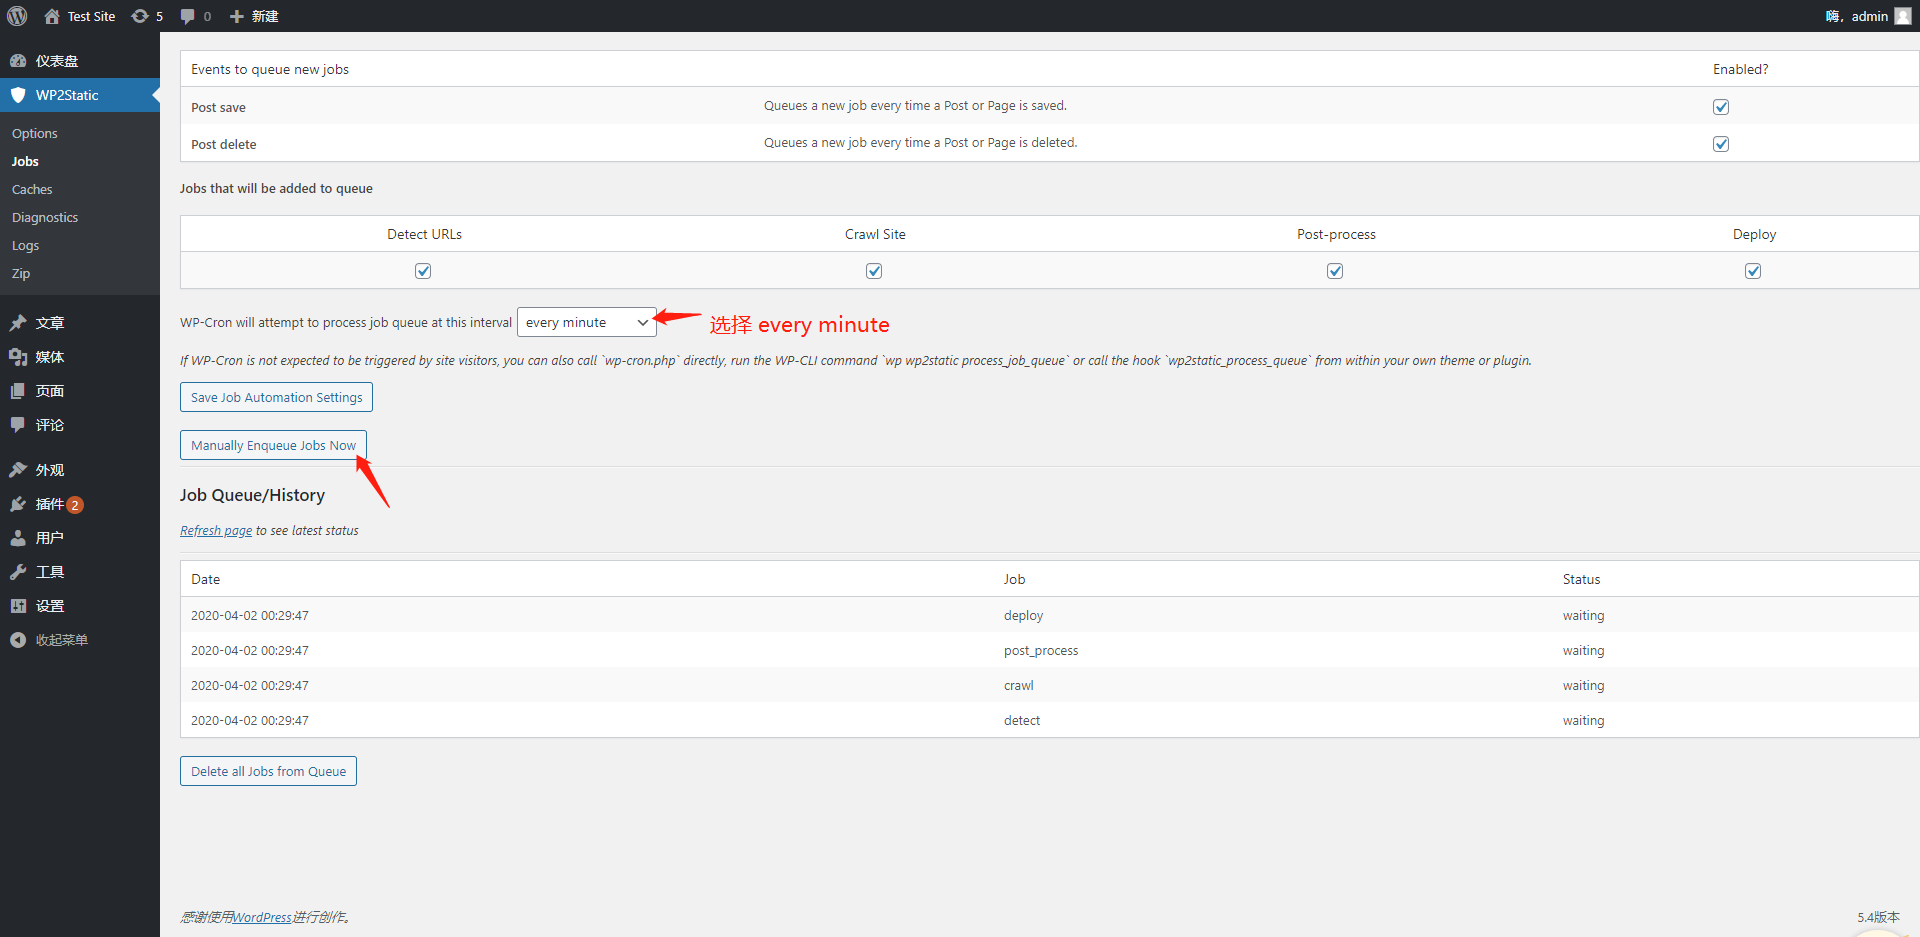
Then we wait a moment, click on the Refresh page from time to time, and when we see that all the work of Status (status) shows completed (complete), we go to the ZIP below (under the logs) and select download zip. After downloading, this zip file is our WP static file
Immediately after we started deploying this static file to our cloud development, we unziped the file into a directory, and I unziped it to e:\test if nothing unexpected, you'll see a folder like index.html wordpress wp-content index.php and so on
Then we open the terminal and go into his parent directory
cd D:\
Immediately after we log in to our Cloudbase CLI we enter the command
tcb login
Will automatically jump to the Tencent cloud page for authorization, after the authorization is over, we enter
tcb hosting: deploy test -e your cloud environment ID
Mine is ykc-151533 so I enter
tcb hosting:deploy test -e ykc-151533
Then we'll upload our entire test directory to the cloud, and then we'll enter the terminal command
tcb hosting: detail -e ykc-151533 (replace it with your own ID Oh!) // View static site domain names
Mine is
https://ykc-151533.tcloudbaseapp.com
It can be seen that both english Chinese are normal display of a state, accessories are also available
This deployment is complete! B ecause the default domain name for cloud development is for test use only, the down-going speed is limited to 10KB/S. I f you need to formally provide website services to the outside world, bind your recorded custom domain name. So the opening speed may be a little slow, conditional students can bind their own domain name!
Well, this share is here, have an idea or have any questions about this deployment students can go to the comments section below!