Cloud Development Deploy Next .js projects
May 27, 2021 Web Cloud Development and Web Hosting Learning Guide
Table of contents
We know that the best way to deploy web applications is as static HTML applications, because he is very search engine friendly, fast and so on, which is very nice for us to write a small site like a personal blog. If your app can be used as static HTML, try Next .js.
It can export an application as a static page, so how can exported static pages be deployed to static hosting? Let's take cloud development as an example of a static managed service.
What is cloud development?
It can be understood that it does a lot of things for us in advance (e.g. load balancing, cold and hot, network security, etc.) so that we can just focus on the business logic. J ust like making dumplings, someone has prepared dumplings and hairy noodles for you in advance, we just need to make dumplings. Learn more and check out Cloud Development
First we need to prepare the environment and tools as follows:
Necessary environment:
node.js
Open up the cloud environment
Development tools:
create-next-app
@cloudbase/cli
Let's go into more detail
First, let's install the create-next-app
npm i create-next-app
and cloud development tools @cloudbase/cli
npm i @cloudbase/cli
The npm command is installed automatically when .js node device is installed
Build a Next project
Create a project with scaffolding
npx create-next-app 项目名称
The project name here is the root name of your project
Once the creation is complete, we go into the project
cd 项目名称
We need to create a new next.config file in the .js directory
module.exports = { exportTrailingSlash: true, exportPathMap: function () { return { '/': {page: '/'} }; },};
If you want to generate a static file that doesn't just contain the first page and 404 pages (Next auto-generated), you can add
'/about': {page: '/about/about'}
to the next next page and create an about.js file write under pages, if just testing the first page and 404 is enough, jump straight to step 4
const about = () => ( <div>about</div>)export default about
Attach the full code added .js next.config:
module.exports = { exportTrailingSlash: true, exportPathMap: function () { return { '/': {page: '/'}, '/about': {page: '/about/about'} }; },};
Add a script command to the package
"export": "next export"
We run the following code to generate static files
npm run buildnpm run export
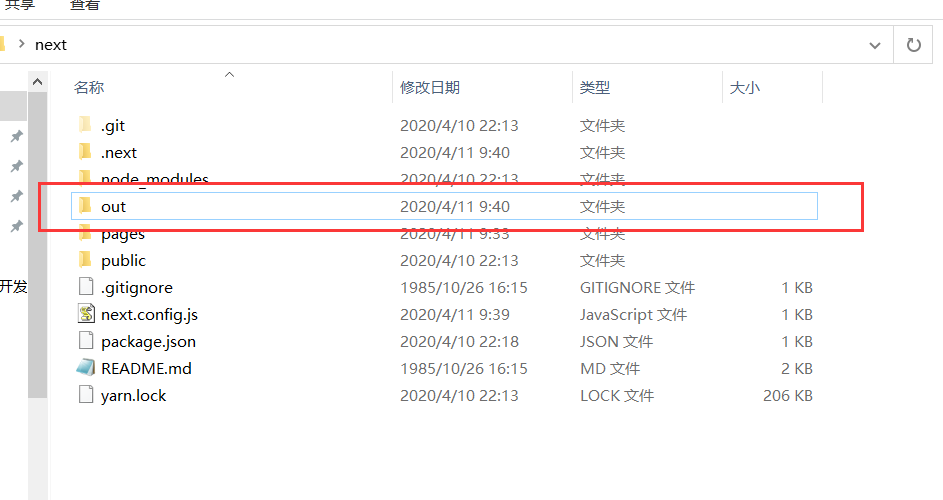
We found that an out folder was generated in the root directory, and all the files under that folder were static files that we generated, so the next thing to do was to open the cloud environment and deploy it to a static site hosting.
Open up the cloud environment
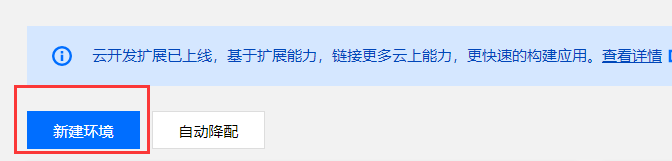
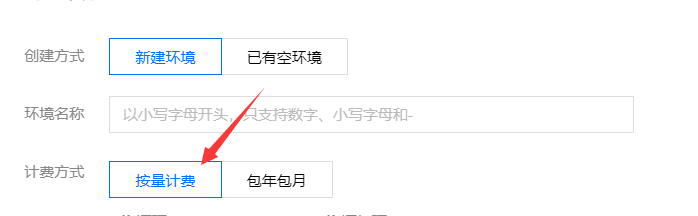
Let's open the cloud to develop and create a new environment
Note here that the selection is a metered model (static site hosting can only be opened on a metered bill).
The environment is automatically initialized after successful creation (this process takes approximately 2 to 3 minutes).

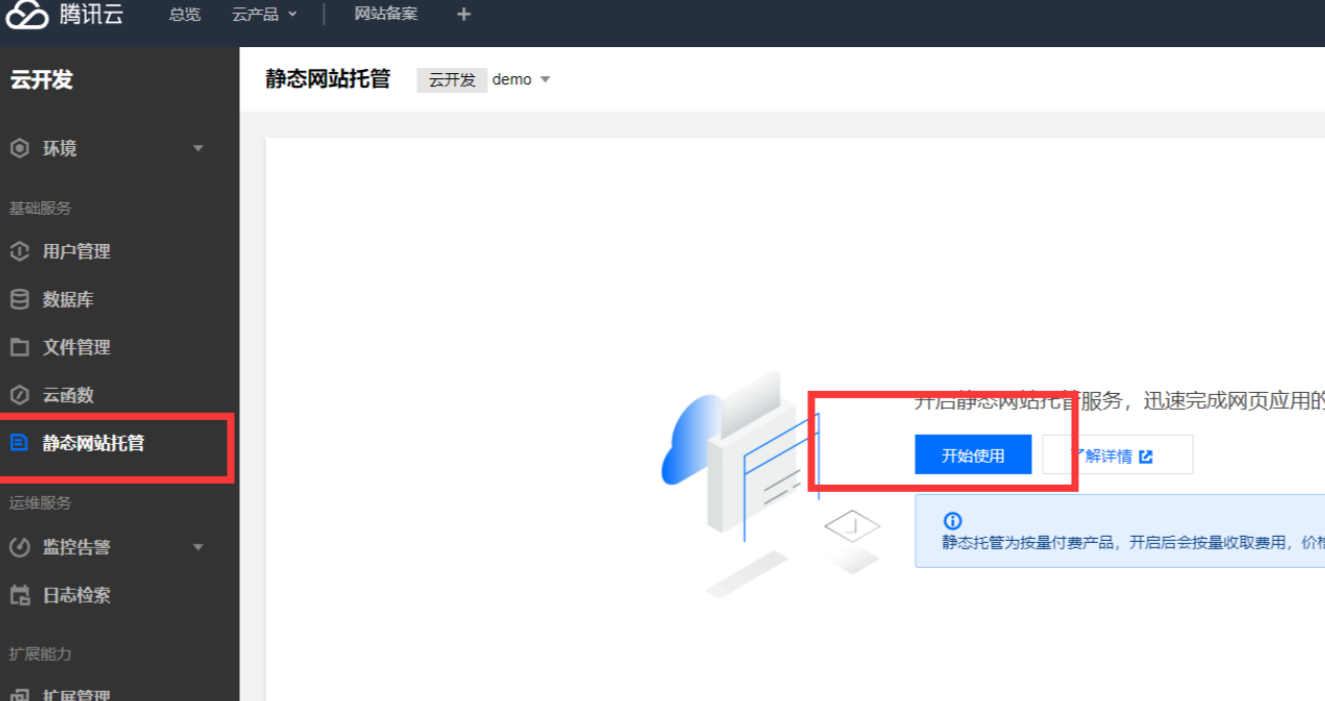
After the initialization was successful, we went into the corresponding environment to find static site hosting and started using it
Wait for the static website service to be initialized before you can use it
Deploy uploads
Start by executing the cloud development login command at the root of the project
tcb login

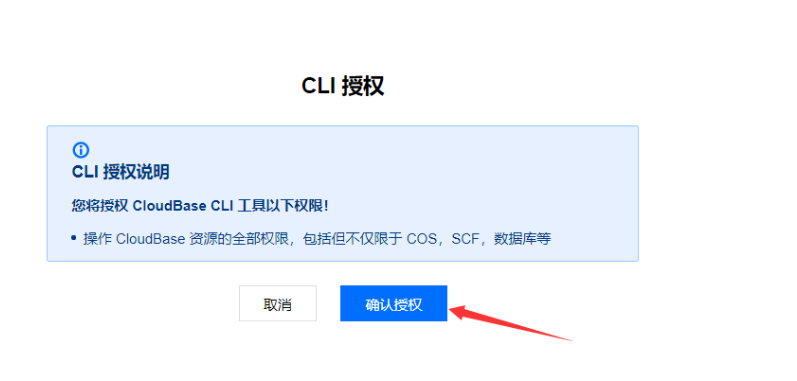
Authorize the action on the pop-up page
To do the upload operation, here we want all the files under the out folder to be uploaded, so we execute the command
tcb hosting:deploy ./out -e 你的云开发环境ID

The cloud environment ID can be viewed under the environment ID

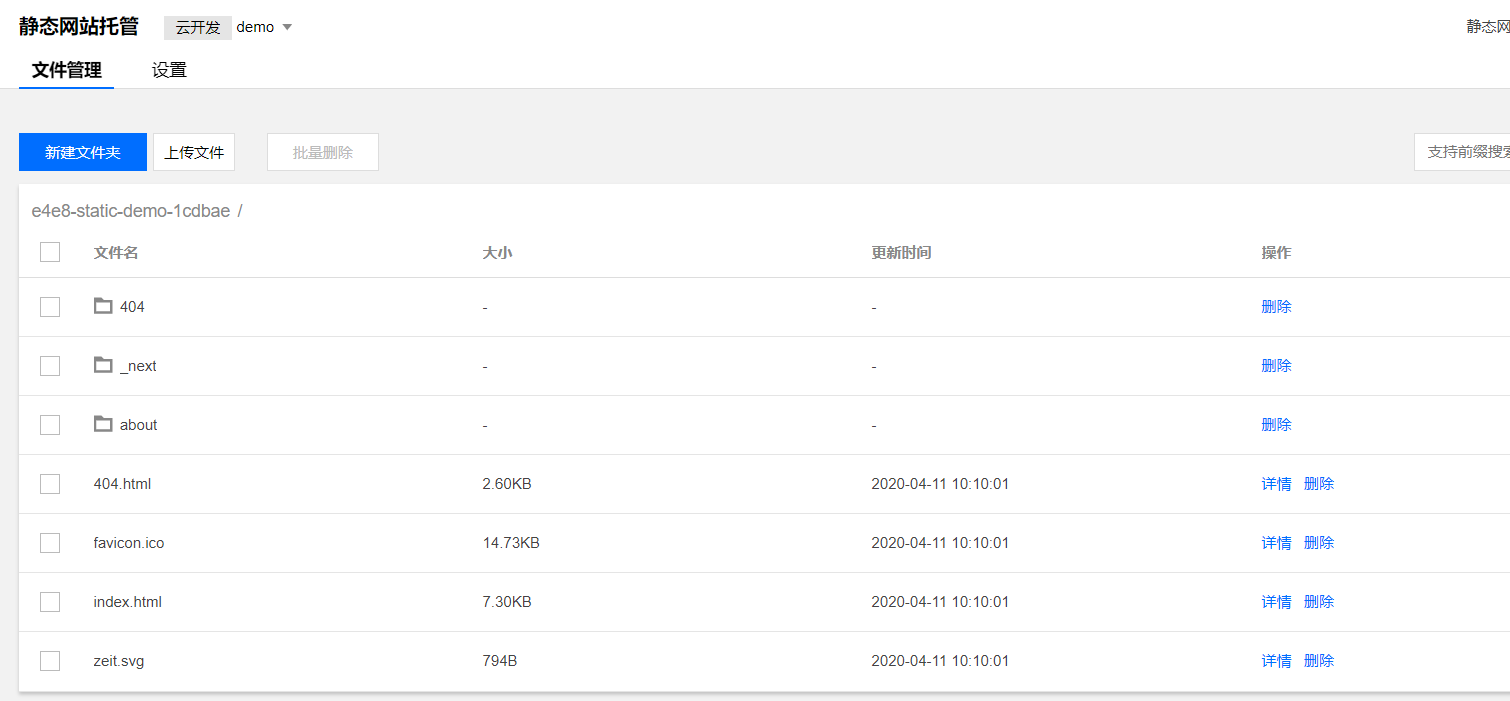
After the upload is complete, we can see all the files in our out directory in static site hosting
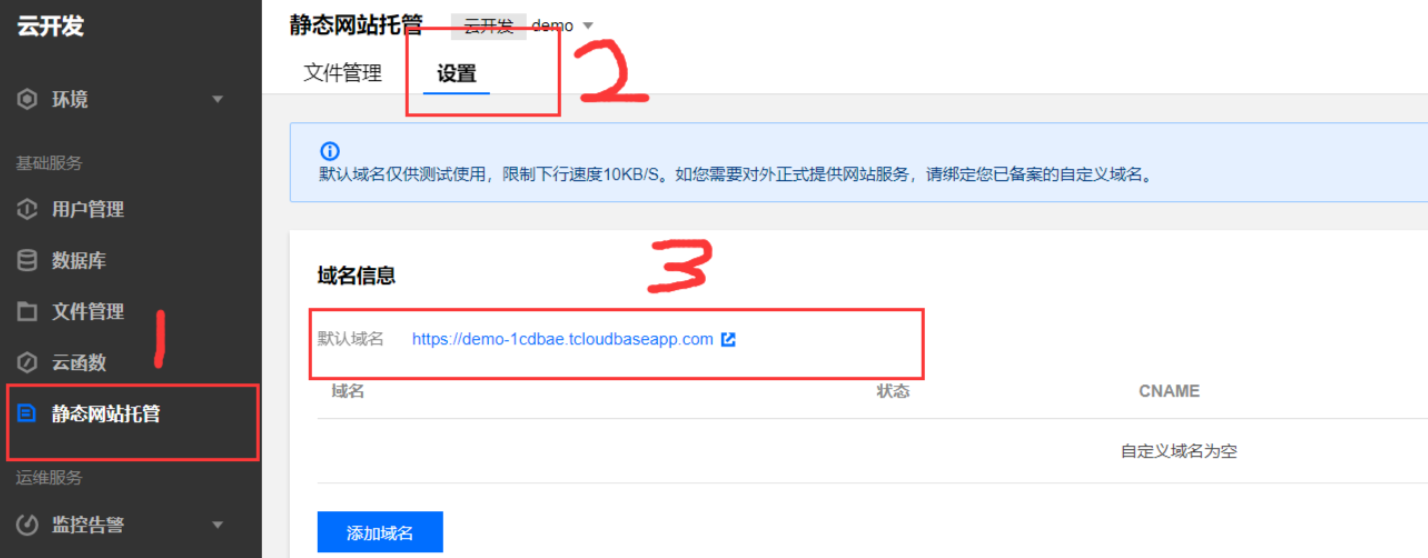
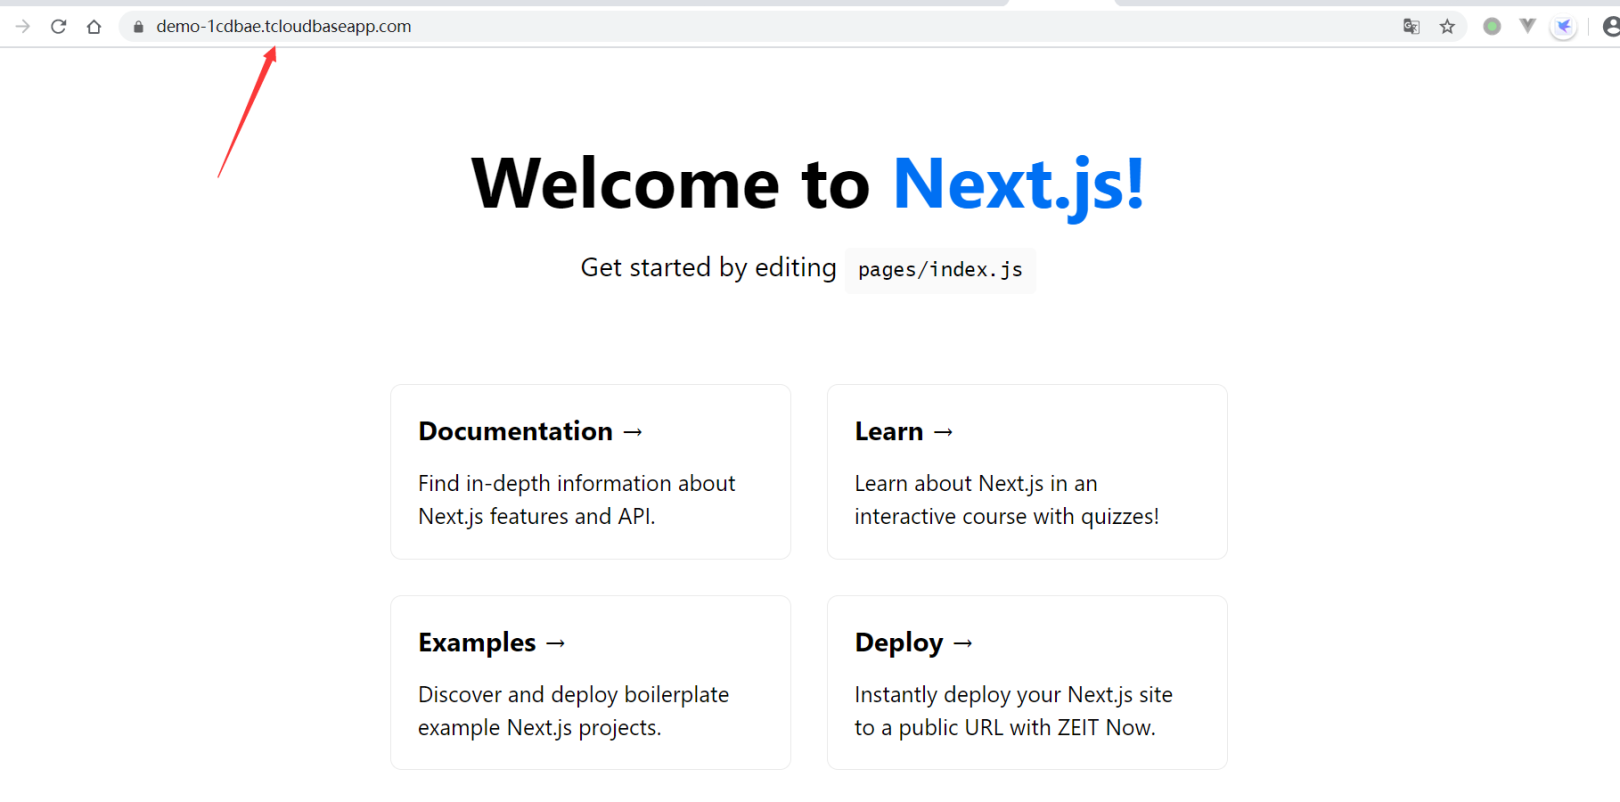
Cloud development provides a default domain name corresponding to the environment that can be accessed through this default domain name.
Summarize
Let's summarize the steps, which are generally only three steps
- Create a Next project and generate a static file
- Launch cloud environment and static website hosting services
- Deploy uploads using the cloud development tool cloudbase/cli command