7.1.3 Disk Arrays and Backup Disks
May 23, 2021 That's what Linux should learn
UP to 50% of hard disk devices in raid 10 disk arrays are allowed to fail, but there is an extreme case where all hard disk devices in the same RAID 1 disk array are damaged and can result in data loss. I n other words, in a RAID 10 disk array, if one of the hard drives in RAID 1 fails and we're on our way to repair, just as another hard drive device in the RAID1 disk array fails, the data is completely lost. Mr. Liu Wei is really not a crow's mouth, this RAID 1 disk array of hard disk equipment at the same time damaged by the situation has really been encountered by my students.
What should I do in such a situation? I n fact, we can use RAID backup disk technology to prevent such accidents. T he core idea of the technology is to prepare a hard drive large enough that it is usually idle and will automatically replace it if a hard drive fails in the RAID disk array. That's great!
To avoid conflicts between multiple experiments, we need to ensure the relative independence of each experiment, so we need to restore the virtual machine to its original state on our own. A lso, since the deployment method for RAID 10 disk arrays has just been demonstrated, let's look at the deployment effect of RAID 5. When deploying a RAID 5 disk array, you need at least 3 hard drives and an additional backup drive, so a total of 4 hard disk devices need to be simulated in the virtual machine, as shown in Figure 7-6.
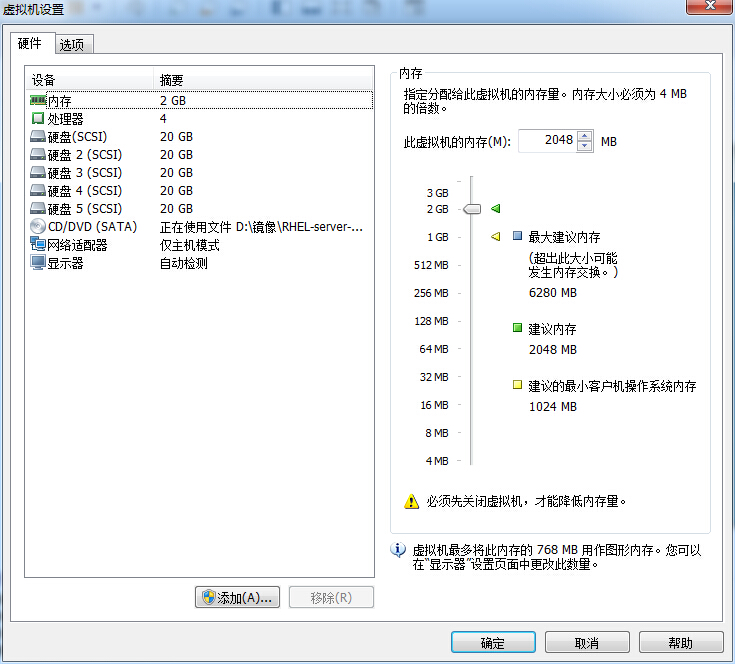 Figure 7-6 simulates adding 4 hard disk devices to a virtual machine
Now create a RAID 5 disk array plus backup disk. I n the following command, parameter -n 3 represents the number of hard drives required to create this RAID 5 disk array, parameter -l 5 represents the level of RAID, and parameter -x 1 represents a backup disk. When you look at the /dev/md0 (that is, the name of the RAID 5 disk array) disk array, you can see that a backup disk is waiting.
[root@linuxprobe ~]# mdadm -Cv /dev/md0 -n 3 -l 5 -x 1 /dev/sdb /dev/sdc /dev/sdd /dev/sde mdadm: layout defaults to left-symmetric mdadm: layout defaults to left-symmetric mdadm: chunk size defaults to 512K mdadm: size set to 20954624K mdadm: Defaulting to version 1.2 metadata mdadm: array /dev/md0 started. [ root@linuxprobe ~]# mdadm -D /dev/md0 /dev/md0: Version : 1.2 Creation Time : Fri May 8 09:20:35 2017 Raid Level : raid5 Array Size : 41909248 (39.97 GiB 42.92 GB) Used Dev Size : 20954624 (19.98 GiB 21.46 GB) Raid Devices : 3 Total Devices : 4 Persistence : Superblock is persistent Update Time : Fri May 8 09:22:22 2017 State : clean Active Devices : 3 Working Devices : 4 Failed Devices : 0 Spare D evices : 1 Layout : left-symmetric Chunk Size : 512K Name : linuxprobe.com:0 ( local to host linuxprobe.com) UUID: 44b1a152:3f1809d3:1d234916:4ac70481 Events: 18 Major Major Minor RaidDevice State 0 8 16 0 sync active /dev/sdb 1 8 32 1 active sync /dev/sdc 4 8 48 2 active sync /dev/sdd 3 8 64 - spare /dev/sde now formats the deployed RAID 5 disk array in the ext4 file format and mounts it to the directory before it is ready for use.
[root@linuxprobe ~]# mkfs.ext4 /dev/md0 mke2fs 1.42.9 (28-Dec-2013) Filesystem label= OS type: Linux Block size=4096 (log=2) Fragment size=4096 (log=2) Stride=128 blocks, Stripe width=256 blocks 2621440 inodes, 10477312 blocks 523865 blocks (5.00%) r eserved for the super user First data block=0 Maximum filesystem blocks=2157969408 320 block groups 32768 blocks per group, 32768 fragments per group 8192 inodes per group Superblock backups stored on blocks: 32768, 98304, 163840, 229376, 294912, 819200, 884736, 1605632, 2654208, 4096000, 7962624 Allocating group tables: done Writing inode tables: done Creating journal (32768 b locks): done Writing superblocks and filesystem accounting information: done (root@linuxprobe s) s echo "/dev/md0 /RAID ext4 defaults 0 0" sgt; /etc/fstab s/root@linuxprobe root@linuxprobe s/ W e move the hard drive device/dev/sdb out of the disk array again, and then quickly look at the status of the /dev/md0 disk array and we see that the backup disk has been automatically replaced and the data synchronization has begun. This backup disk technology in RAID is very practical and can further improve data reliability on the basis of ensuring the security of RAID disk array data, so if the company is not bad money, you can buy another backup disk just in case.
[root@linuxprobe ~]# mdadm /dev/md0 -f /dev/sdb mdadm: set /dev/sdb faulty in /dev/md0 [root@linuxprobe ~]# mdadm -D /dev/md0 /dev/md0: Version : 1.2 Creation Time : Fri May 8 09:20:35 2017 Raid Level : raid5 Array Size : 41909248 (39.97 GiB 42.92 GB) Used Dev Size : 20954624 (19.98 GiB 21.46 GB) Raid Devices : 3 Total Devices : 4 Persistence : Superblock is persistent Update Time : Fri May 8 0 9:23:51 2017 State : active, degraded, recovering Active Devices : 2 Working Devices : 3 Failed Devices : 1 Spare Devices : 1 Layout : left-symmetric Chunk Size : 512K Rebuild Status : 0% complete Name : linuxprobe.com:0 ( local to host linuxprobe.com) UUID : 44b1a152:3f1809d3:1d234916:4ac70481 Events : 21 Number Major Minor RaidDevice State 3 8 64 0 spare rebuilding /dev/sde 1 8 32 1 active sync /dev/sdc 4 8 48 2 active sync /dev/sdd 0 8 16 - faulty /dev/sdb