WordPress plug-in settings
May 15, 2021 WordPress
In this chapter, we'll look at how to use plug-ins in WordPress websites. /b10> Plug-ins allow you to easily modify, customize or enhance WordPress blogs or posts. /b11> The WordPress plug-in is a software that can be uploaded to extend the functionality of a website. /b12> They add services or features to the WordPress blog. /b13> Plug-ins are used to make your job easier. /b14> Here are the easy steps to add a plug-in.
Step (1) - In the left column, click Plugins → Installed Plugins, as shown on the screen.
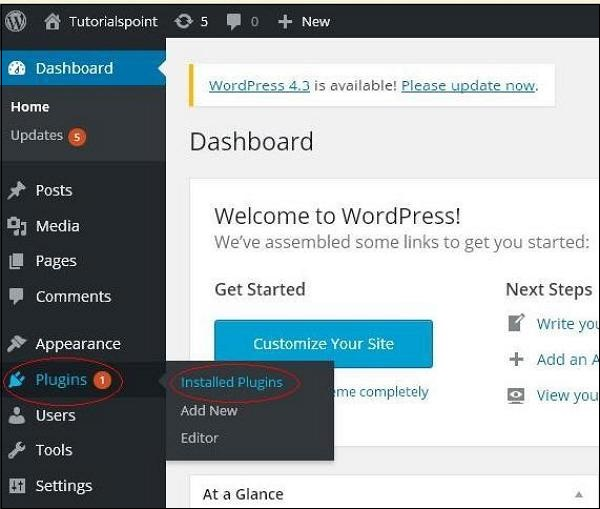
Step (2) - The following page is displayed.
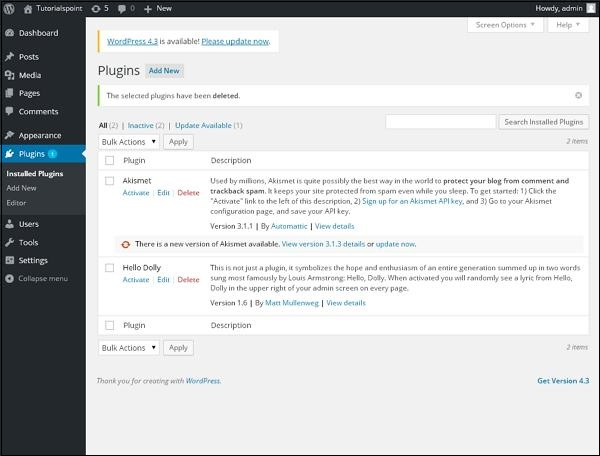
In this section, you can view installed plug-ins.
Step (3) - Click Plugins → Add New, as shown below.
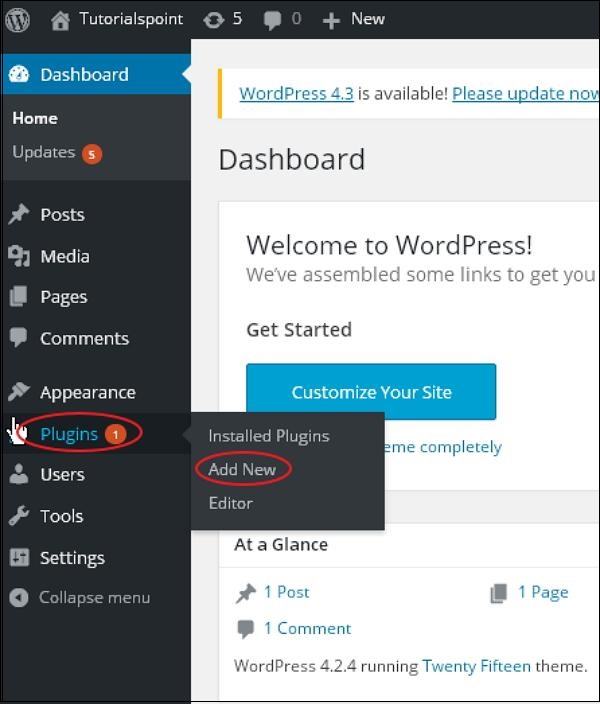
Step (4) - Appears in the list of plug-ins used in WordPress. /b10> You can install the hanger directly from the available manifest here, or you can upload the external app with a click on Upload Plugin.

When you click upload plug-in, you will get the following page.
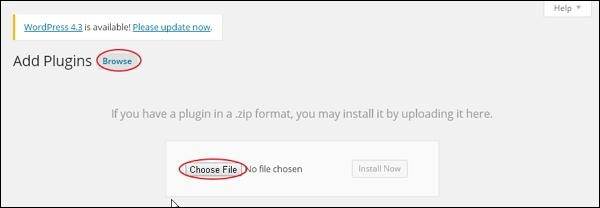
Click Browse and it will return to the page where you can select the plug-in from the WordPress website. /b10> If you click Choose File, you can add files from the system. /b11> Otherwise, you can select the plug-in you want directly and click Install now, as shown in the screenshot below.
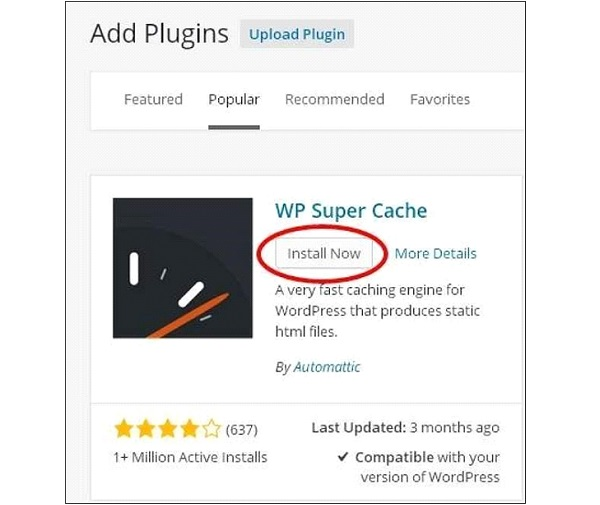
When you click Install Now, the package starts downloading and installing. /b10> Then, click Activate plugin to activate the plug-in for use in WordPress, as shown on the screen below.

When you click Activate plug-in, you receive a message that the plug-in is activated and you can find the installed plug-in in the list.
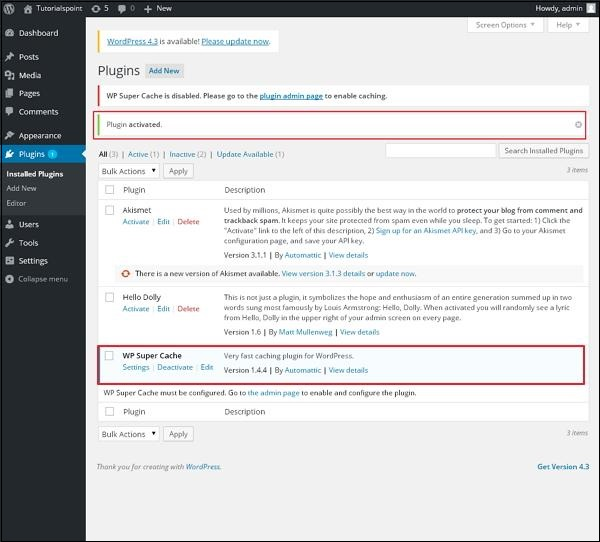
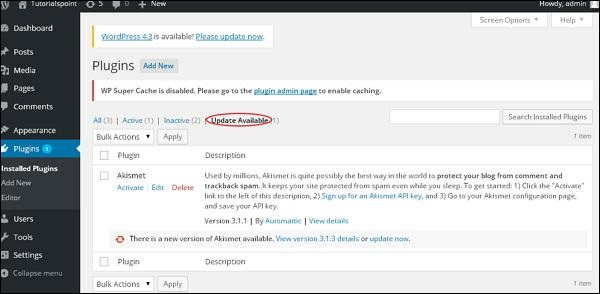
Under
plug-in enabled,
you can view several options,
such as All, Active, Inactive,
and
Update available
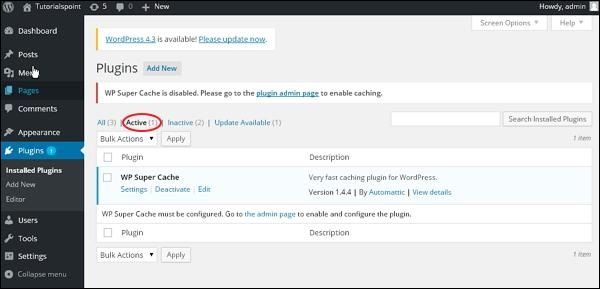
When you click Active, the following page is displayed. /b10> Here you can view all activated plug-ins.
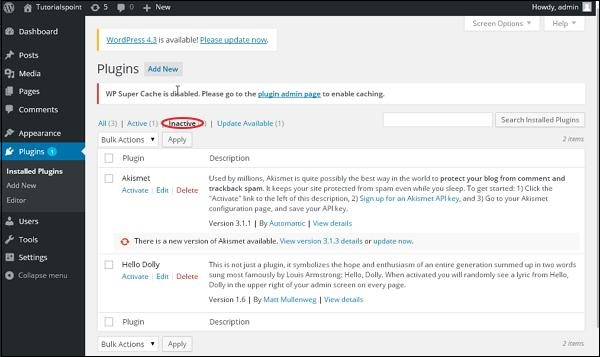
When we click Inactive, the plug-ins that are available but not activated are displayed. /b10> You can activate this plug-in by clicking Activate.
When you click Update available, you see a list of plug-ins that must be updated. /b10> Click Update and you'll receive an update message.
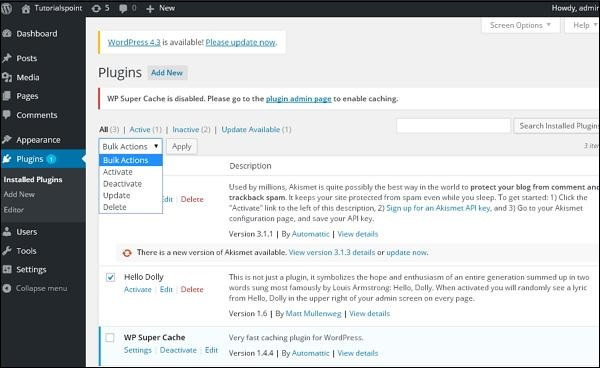
Click Bulk Actions and select any option. Click the Apply button to update, delete, activate or deactivate each plug-in by checking the appropriate box.
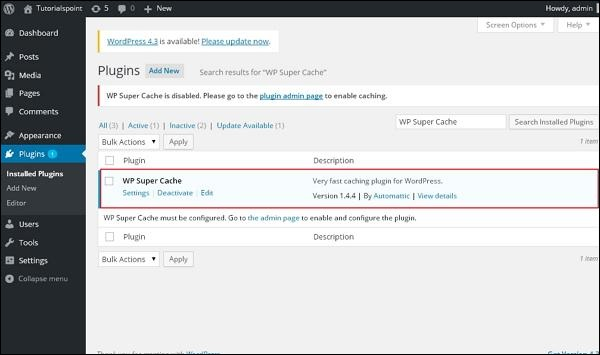
In Search Installed Plugins, simply enter your plug-in name in the installed text box and click the Install Searched Plugins button.

When you click the Search installed Plugin button, you'll see the following page and the appropriate plug-in.
Step (5) - Click Plugins in the sidebar → Editor.
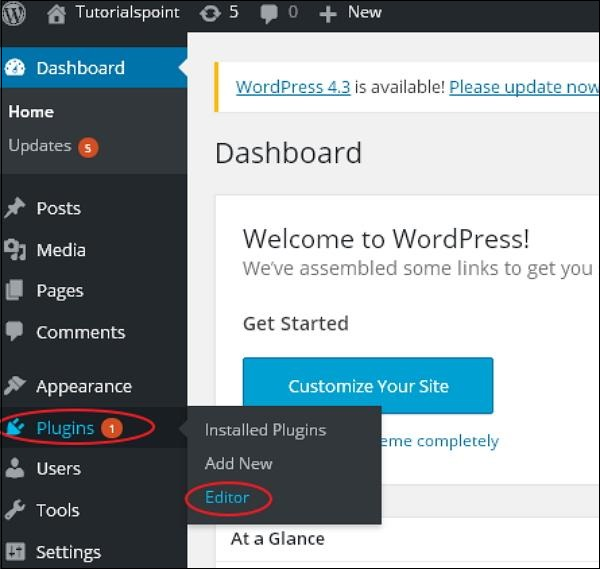
Step (6) - The following page is displayed.
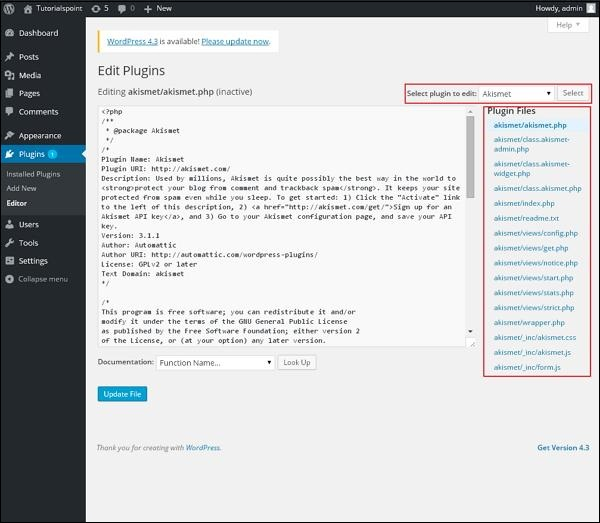
This page allows you to edit the plug-in. /b10> Explain a few options.
-
Select plugin to edit ( to edit) - allows you to select a plug-in from the drop-down list and edit it.
-
Documentation - Allows you to select tools from a drop-down list to edit plug-ins.
-
Plugin files - allows you to select files from the list and edit them accordingly.
Finally, after editing the plug-in file, click Update file.