PHP connects to memcached services
May 17, 2021 Memcached
Table of contents
In the previous sections, we've covered how to install the Memcached service, and we'll show you how PHP uses the Memcached service.
PHP Memcache extended installation
PHP Memcache Extension Package Download Address: Http://pecl.php.net/package/memcache, you can download the latest stable.
wget http://pecl.php.net/get/memcache-2.2.7.tgz
tar -zxvf memcache-2.2.7.tgz
cd memcache-2.2.7
/usr/local/php/bin/phpize
./configure --with-php-config=/usr/local/php/bin/php-config
make && make install
If you are a PHP7 version, you will need to download the specified branch:
git clone -b php7 https://github.com/php-memcached-dev/php-memcached.gitIf your system hasn't compiled libmemcached yet, download compile it: https://launchpad.net/libmemcached/+download
Note: /usr/local/php/for php installation path, need to be adjusted according to the actual directory you installed.
When installed successfully, your memcache.so extended, such as mine:
Installing shared extensions: /usr/local/php/lib/php/extensions/no-debug-non-zts-20090626/
Finally we need to add this extension to php, open your php .ini file and add the following at the end:
[Memcache]
extension_dir = "/usr/local/php/lib/php/extensions/no-debug-non-zts-20090626/"
extension = memcache.so
After adding to restart php, I'm using the nginx-php-fpm process so the command is as follows:
kill -USR2 `cat /usr/local/php/var/run/php-fpm.pid`
If aache is using the following command:
/usr/local/apache2/bin/apachectl restart
Check the installation results
/usr/local/php/bin/php -m | grep memcache
Successful installation outputs: memcache.
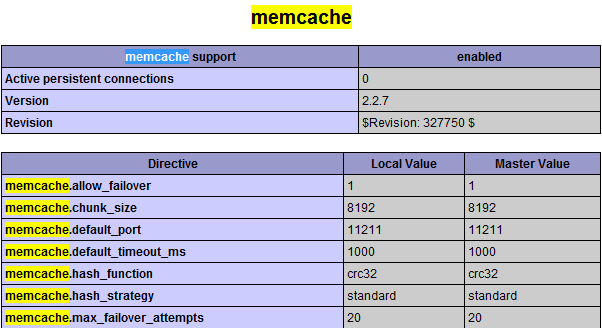
Or view it by accessing the phpinfo() function through a browser, as shown below:
PHP connection Memcached
<?php
$memcache = new Memcache;             //创建一个memcache对象
$memcache->connect('localhost', 11211) or die ("Could not connect"); //连接Memcached服务器
$memcache->set('key', 'test');        //设置一个变量到内存中,名称是key 值是test
$get_value = $memcache->get('key');   //从内存中取出key的值
echo $get_value;
?>