MS Access creates tables
May 16, 2021 MS Access
Table of contents
When you create a database, the data is stored in the table. /b10> Because other database objects depend on tables, you should always start designing the database by creating all the tables in the database to create any other objects. /b11> Before you create a table, carefully consider your needs and determine all the tables you need.
Let's try to create the first table that stores basic contact information about the employee, as shown in the table below -
| The name of the field | The data type |
|---|---|
| EmployeelD | AutoNumber |
| FirstName | Short Text |
| LastName | Short Text |
| Address1 | Short Text |
| Address2 | Short Text |
| City | Short Text |
| State | Short Text |
| Zip | Short Text |
| Phone | Short Text |
| Phone Type | Short Text |
Now let's use Short Text as the data type for all these fields and open a blank database in Access.

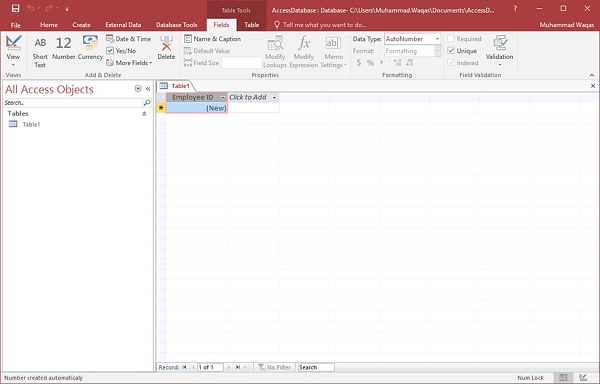
This is where we left off. We created the database, and then Access automatically opens the table - a table view of the data table.
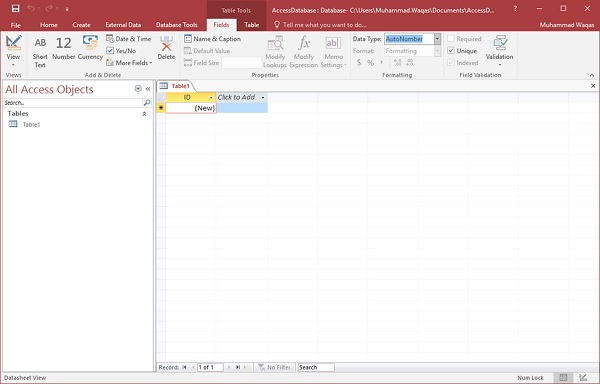
Now let's go to the live tag and you'll see that it's also automatically created. This is the ID of an auto-numbered field as our unique identifier and is the primary key of the table.
The ID field has been created and we now want to rename it to meet our criteria. This is an Employee table, which will be the unique identifier for our employees.
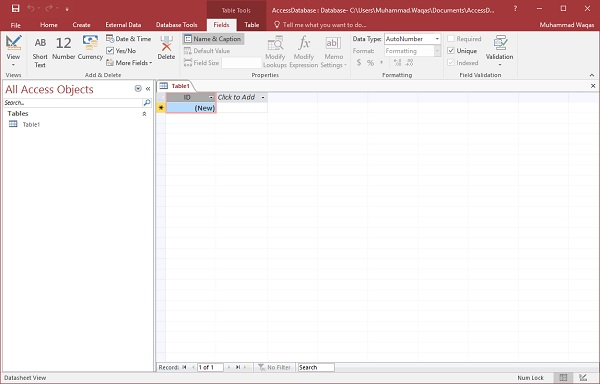
Click the name and title options in the feature area and you'll see the following dialog box.
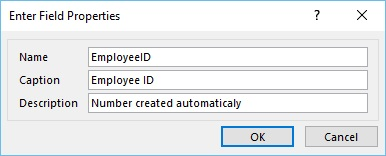
Change the name of this field to EmployeeID to make it more specific to this table. If necessary, enter additional optional information, and then click OK.
Our Employee ID field now has the title "Employee ID". This is automatically set to automatic numbering, so we don't need to change the data type.
Now let's add more fields by clicking "Click Add".
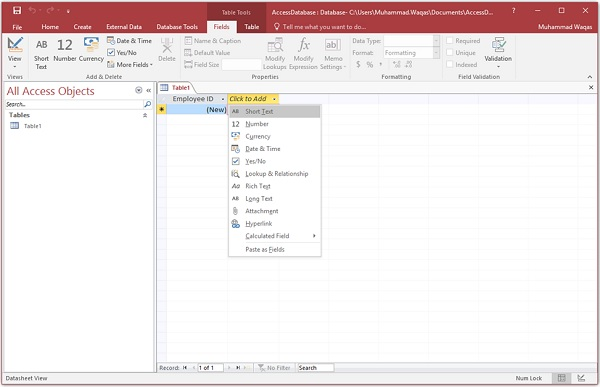
Select short text as the field. When you select short text, Access automatically highlights the field name, all you have to do is type the field name.
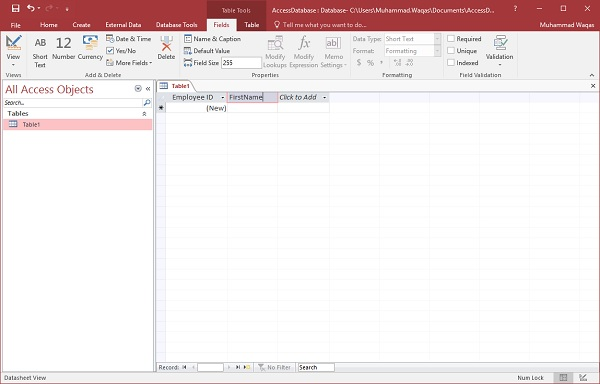
Type FirstName as the field name. Similarly, add all required fields, as shown in the screenshot below.
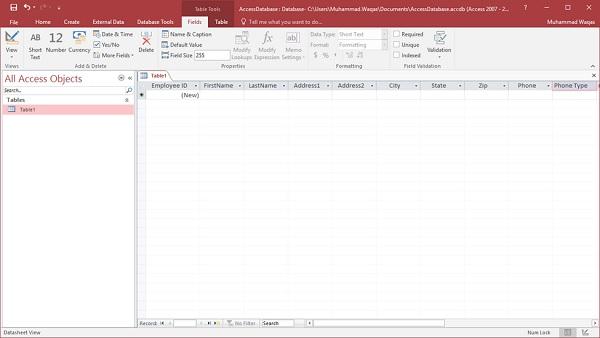
After you've added all the fields, click the Save icon.
You will now see save as a dialog box where you can enter the table name of the table.
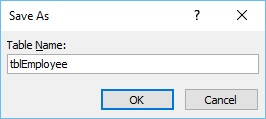
Enter the name of the table in the Table Name field. T he tbl prefix here stands for table. Let's click Ok and you'll see your table in the navigation pane.

Table design view
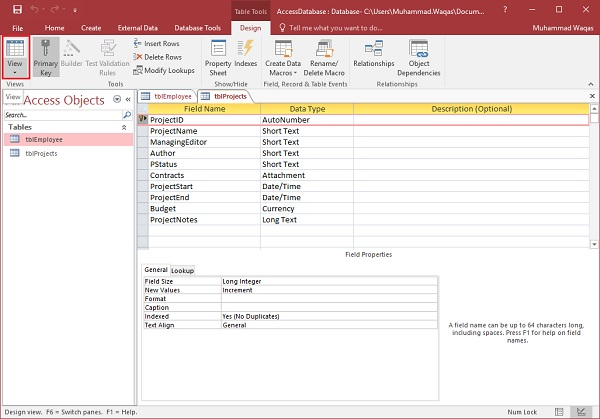
Because we've created a table with a data table view. /b10> We will now create another table using the table design view. W e will create the following fields in this table. T hese tables will store some information about various book items.
| The name of the field | The data type |
|---|---|
| Project ID | AutoNumber |
| ProjectName | Short Text |
| ManagingEditor | Short Text |
| Author | Short Text |
| PStatus | Short Text |
| Contracts | Attachment |
| ProjectStart | Date/Time |
| ProjectEnd | Date/Time |
| Budget | Currency |
| ProjectNotes | Long Text |
Now let's go to the Create tab.

In a table group, click the table and you can see that this looks completely different from the data table view. In this view, you can view the field name and data type side by side.
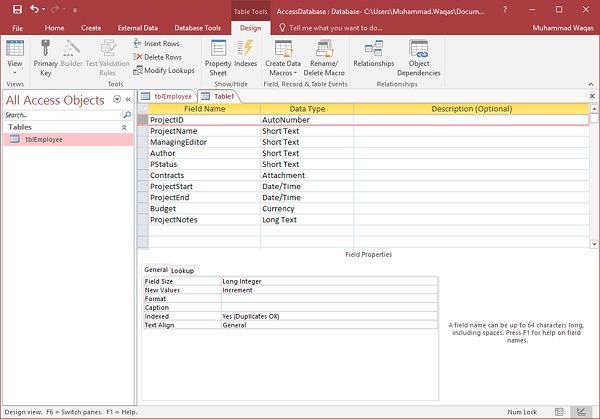
Now we need to make ProjectID the primary key for the table, so let's select ProjectID and click the Primary Key option in the feature area.
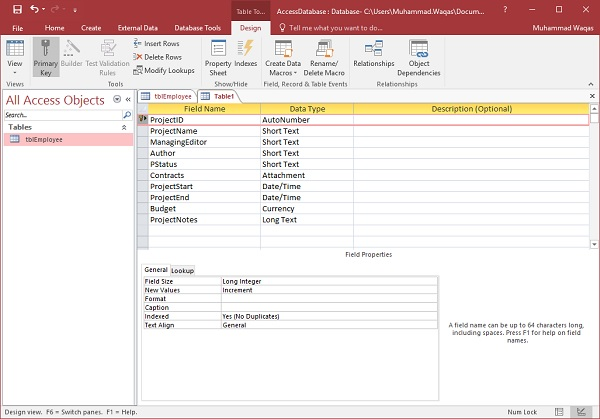

You can now see a small key icon that appears next to the field. This indicates that the field is part of the primary key of the table.
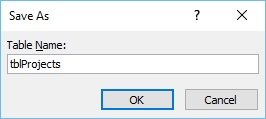
Let's save this table and give it a name.
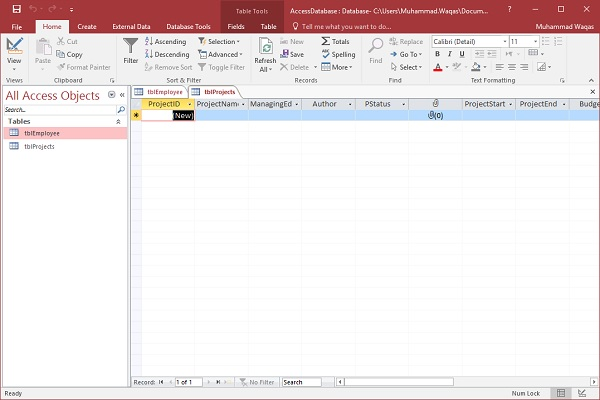
Click OK, and you can now see what the table looks like in the data sheet view.
Let's click the data sheet view button in the upper left corner of the function area.
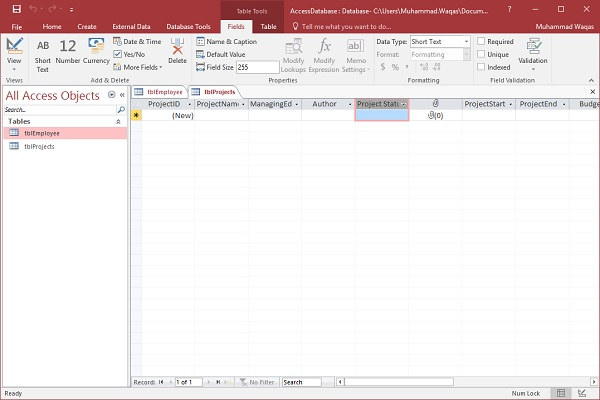
If you want to change this table or any particular field, you don't always have to go back to the design view to change it. ow. et's update the PStatus field, as shown in the screenshot below.
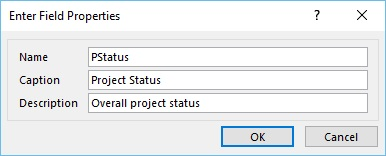
Click OK and you'll see the changes.