Meteor template
May 09, 2021 Meteor
Table of contents
Template
To make it easier to get into Meteor's development, we'll build the project in an outward-looking way. In other words, we'll first build an HTML/JavaScript shell and then put it in our project, with internal details to be worked out later.
This means that in this chapter, we focus only on the things in the
/client
directory.
Let's
/client
a main .html the
main.html
directory and writing the following code:
<head>
  <title>Microscope</title>
</head>
<body>
  <div class="container">
    <header class="navbar navbar-default" role="navigation">
      <div class="navbar-header">
        <a class="navbar-brand" href="/">Microscope</a>
      </div>
    </header>
    <div id="main">
      {{> postsList}}
    </div>
  </div>
</body>
This is our main app template. Y
ou'll see a lot of familiar HTML tags on it, except for this
{{> postsList}}
which is the insertion point
postsList
template, and we'll talk about it.
Now, let's create more templates.
Meteor template
At the heart of our project is the social news site, which is made up of a series of posts, and that's why we're calling templates.
Let's start by creating a
/templates
/client
Here we put all our templates so that you can keep the project structure clear and
/templates
/posts
to store the templates related to the post.
Find the file
Meteor's power lies in the lookup of files. N
o matter where you put your code file under the
/client
directory, Meteor can find it and compile it correctly.
This means that you never have to manually write the call path for JavaScript or CSS files.
This also means that you might put all the files in the same directory, or even all the code in the same file. But because Meteor compiles all the code into a compressed file, we prefer to keep the project organized and use a cleaner file structure to improve the readability of the project.
Let's start by creating a second template.
In
client/templates/posts
directory, create
posts_list.html
:
<template name="postsList">
  <div class="posts">
    {{#each posts}}
      {{> postItem}}
    {{/each}}
  </div>
</template>
And
post_item.html
<template name="postItem">
  <div class="post">
    <div class="post-content">
      <h3><a href="{{url}}">{{title}}</a><span>{{domain}}</span></h3>
    </div>
  </div>
</template>
Notice the
name="postsList"
which tells Meteor to track the location of the template based on that name. (
Note that the file name of the actual file is not relevant.)
)
It's time to introduce Meteor's template system, Spacebars. Spacebar is simple HTML plus three things: Inclusion (sometimes referred to as "partial"), Expression, and Block Helper.
Inclusion:
{{> templateName}}
and directly tell Meteor that this section needs to be replaced with a template with the same name (in our
postItem
Expression:
For
{{title}}
that calls the property of the current object or corresponds to the helper method defined in the current template manager and returns its method value (discussed in more detail later).
Block Helper:
Special labels that control the process in the
{{#each}}…{{/each}}
o
r
{{#if}}…{{/if}}
。
Learn more
If you want to learn more about Spacebars, you can refer to the Spacebars documentation.
With this knowledge, we can easily understand.
First of all,
postsList
template,
{{#each}}…{{/each}}
B
lock Helper traverses a
posts
object.
Then, each iteration we go to
postItem
template.
Where
posts
object come from? G
ood question.
It's
actually a template helper,
and you can imagine it's a placeholder for dynamic values.
postItem
template itself is quite simple.
It uses only three
{{url}}
both the s url and the s
{{title}}
return the properties of their collection, and the helper
{{domain}}
for the template is called.
Template Helper
So far we've learned to use Spacebars, which is just a few more tags based on HTML. Unlike other languages such as PHP (even regular HTML pages, which also include JavaScript), Meteor simply separates templates from logic, which themselves don't require much complexity.
To make the connection smoother, a template requires a helper. You can imagine these helpers being cooked by the chef with ingredients (your data) and then brought to you by the waiter.
In other words, templates are limited to displaying or looping variables, while helper plays a fairly important role: assigning values to each variable.
Contoller controller?
We may be reluctant to think that the file that contains all the template helper is a controller. But this is fuzzy because controllers (at least in the case of MVC) often have a different effect.
So we decided to move away from that term and simply call it "the helper of the template" or "the logic of the template" when talking about javaScript code involved in the template.
For simplicity, we'll name the file that contains its helper in the same name as the template,
with the .js
extension.
Well, let's create the posts_list.js file in the
/client/templates/posts
directory right away and start building our first helper:
posts_list.js
var postsData = [
  {
    title: 'Introducing Telescope',
    url: 'http://sachagreif.com/introducing-telescope/'
  },
  {
    title: 'Meteor',
    url: 'http://meteor.com'
  },
  {
    title: 'The Meteor Book',
    url: 'http://themeteorbook.com'
  }
];
Template.postsList.helpers({
  posts: postsData
});
If you're running correctly, you should now see this in your browser:
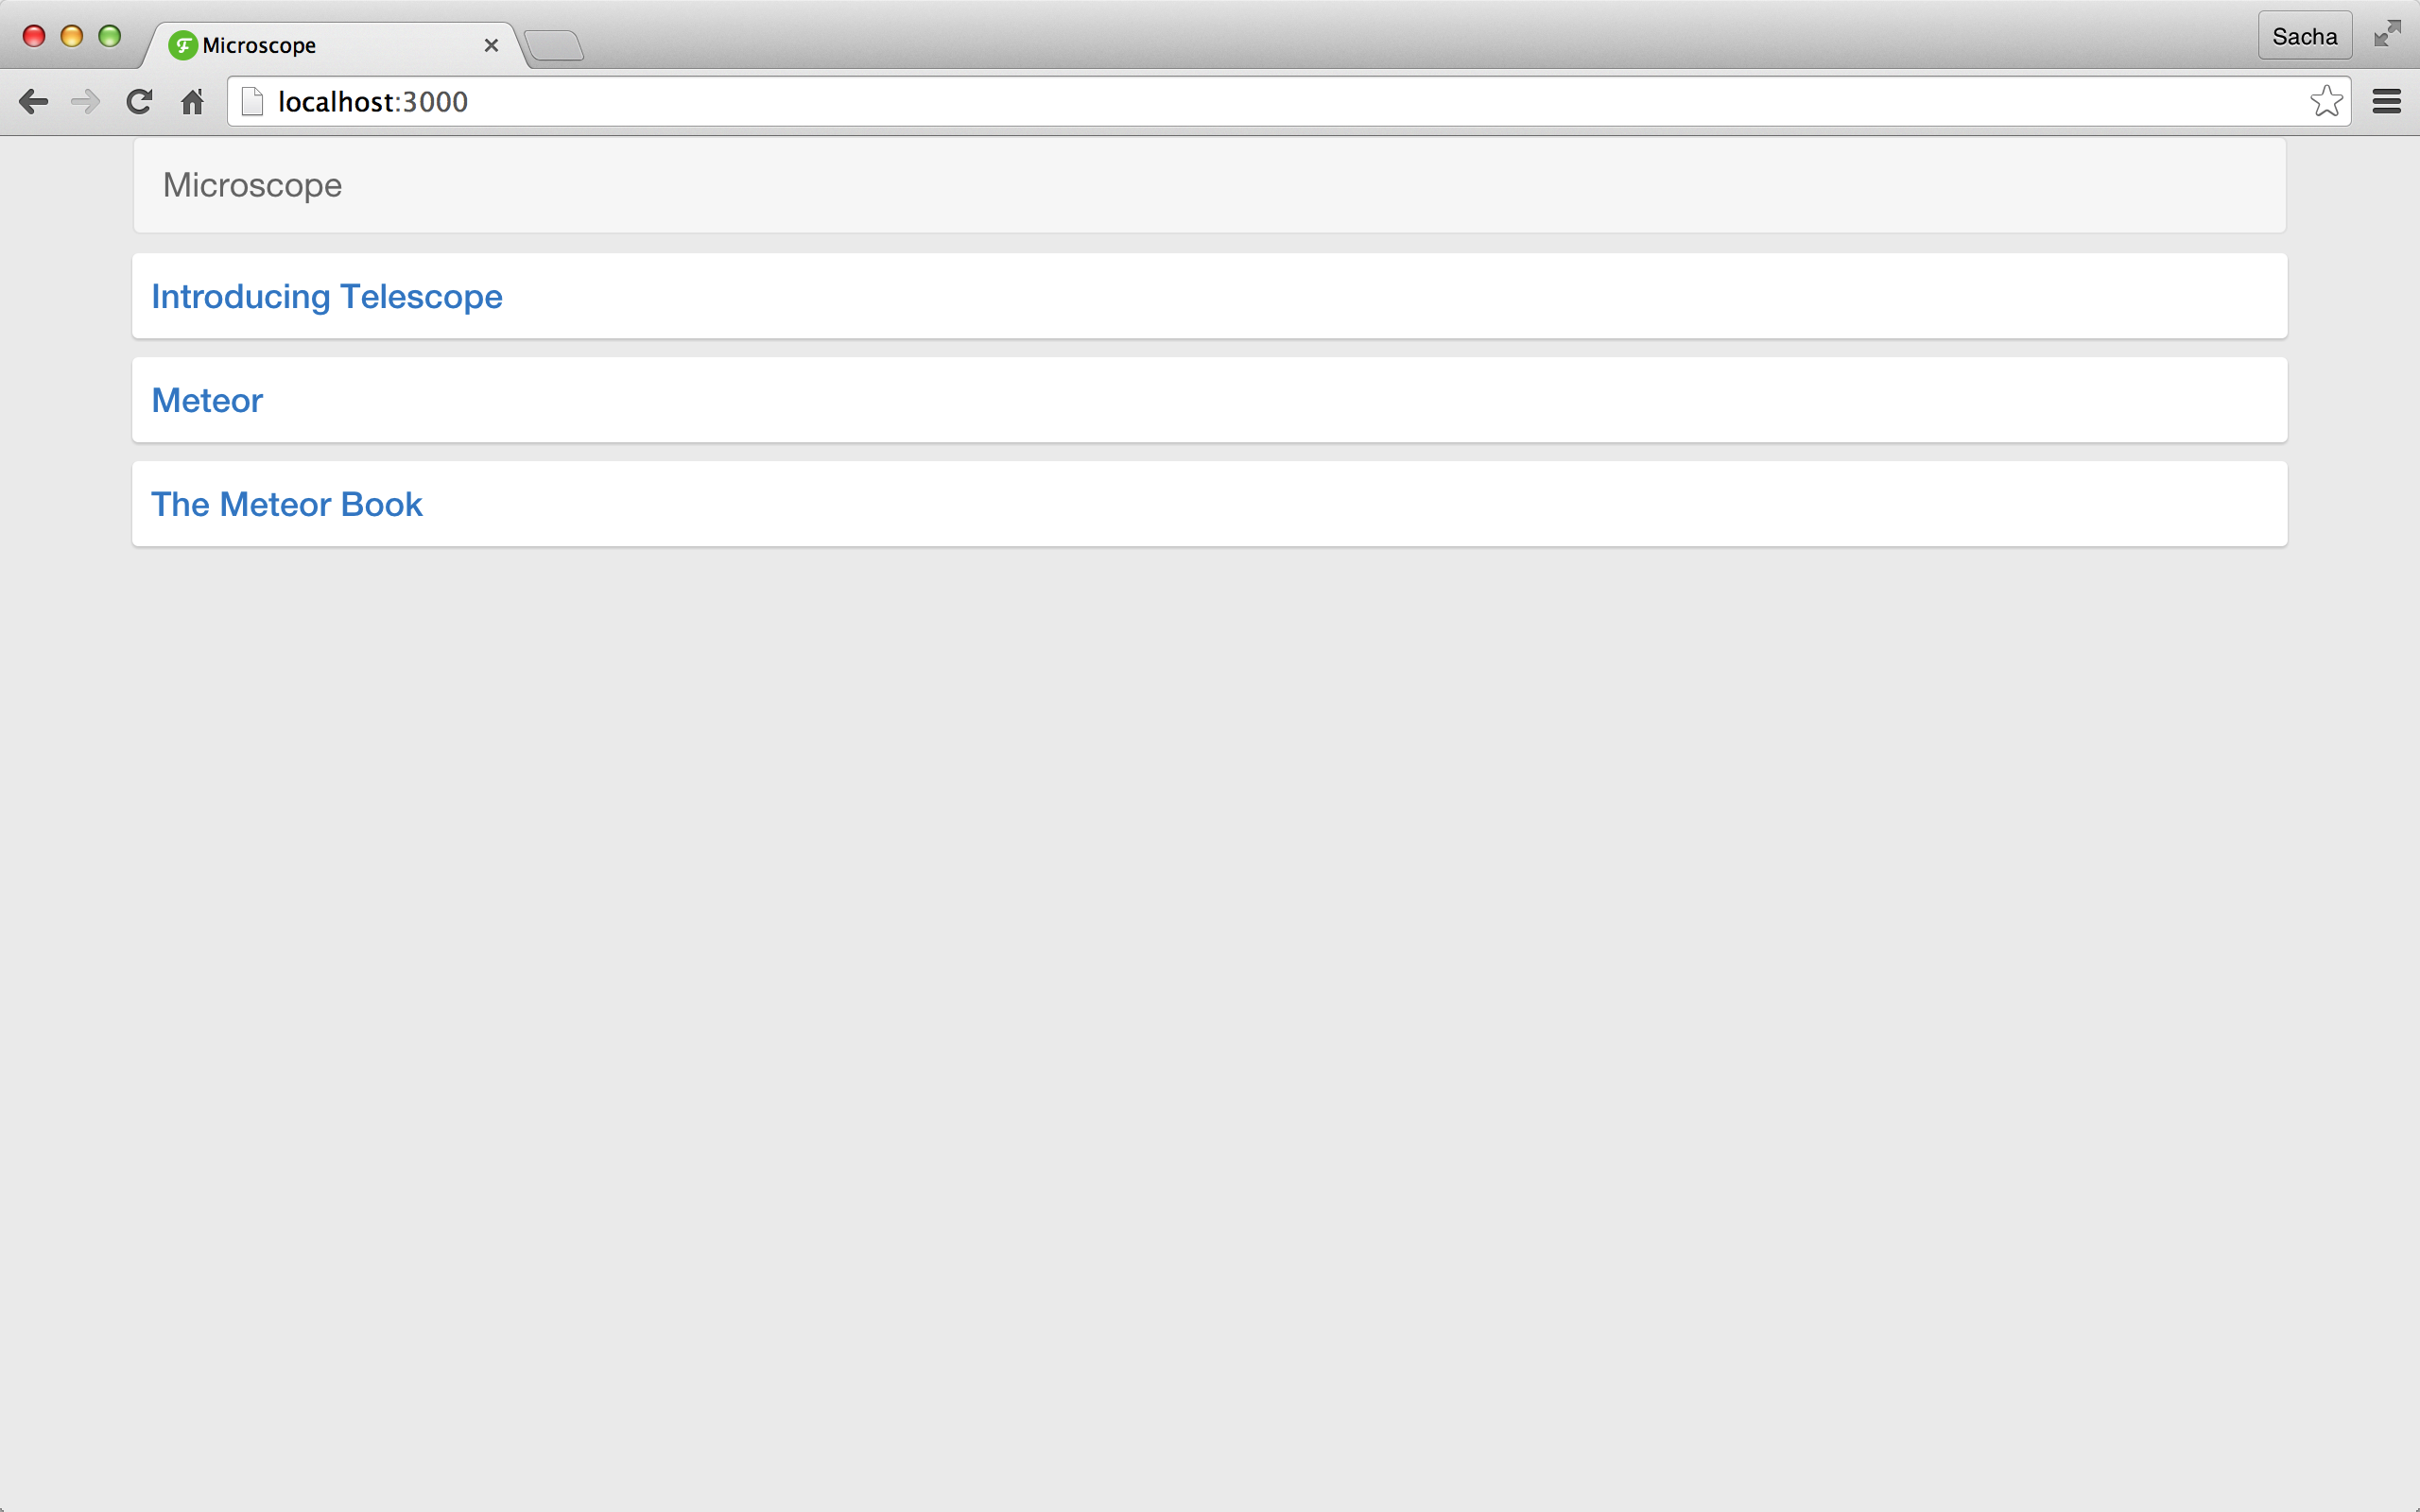
We're just doing two things. F
irst we place some virtual basic data into
postsData
array.
The data was supposed to come from the database, but since we haven't learned what to do (the next chapter reveals), we're going to "cheat" by using static data.
Then, we use Meteor's
Template.postsList.helpers()
posts
template helper to return the
postsData
array.
If you remember, now we
postsList
in the
posts
template:
<template name="postsList">
  <div class="posts">
    {{#each posts}}
      {{> postItem}}
    {{/each}}
  </div>
</template>
Defining
posts
helper allows our template to use it, so the
postsData
array and send each
postItem
template.
Added basic post list templates and static data
About domain Helper
Similarly, we now create a
post_item.js
that contains the logic of
postItem
template:
Template.postItem.helpers({
  domain: function() {
    var a = document.createElement('a');
    a.href = this.url;
    return a.hostname;
  }
});
This time our
domain
helper's value is no longer an array, but an anonymous function.
This pattern is more common (and more useful) than the previous example of simplified virtual data.

This
domain
helper method gets a URL address through JavaScript and returns its domain name.
But where did it get its URL address in the first place?
To answer this question, we need to go
posts_list.html
template.
{{#each}}
our array, it also gives the value of this to the
object being
this
within the scope of the block.
This means
{{#each}}
each post can be accessed
this
in turn and extends all the way to the
post_item.js
We now understand why
this.url
the URL of the current post.
And, if
post_item.html
{{title}}
post_item.html template, meteor
{{url}}
will know that we need to
this.title
this.url
to return the correct value we want.
Magical JavaScript
Although this is not special for Meteor, here's a brief explanation of the "magic JavaScript code" above.
First, we create an empty anchor
a
HTML tag and store it in memory.
Then we set
href
to the URL of the current post (as we just said,
this
exactly the object being operated in the helper).
Finally, we use the
a
property of the
hostname
return the domain name of the URL.
If you follow our progress correctly, you'll see a post list in your browser. B ut this list simply calls static data, which doesn't take advantage of Meteor's real-time characteristics. We'll show you how to modify it in the next chapter!
Dynamic code overload
You may have noticed that when you modify a file, you don't need to manually refresh the page, and the browser automatically reloads.
This is because Meteor tracks all the files in the project directory and automatically refreshes your browser when one of the files is detected to have changed.
Meteor's dynamic code overload is pretty smart, and it can even save your app state between two refresh actions.